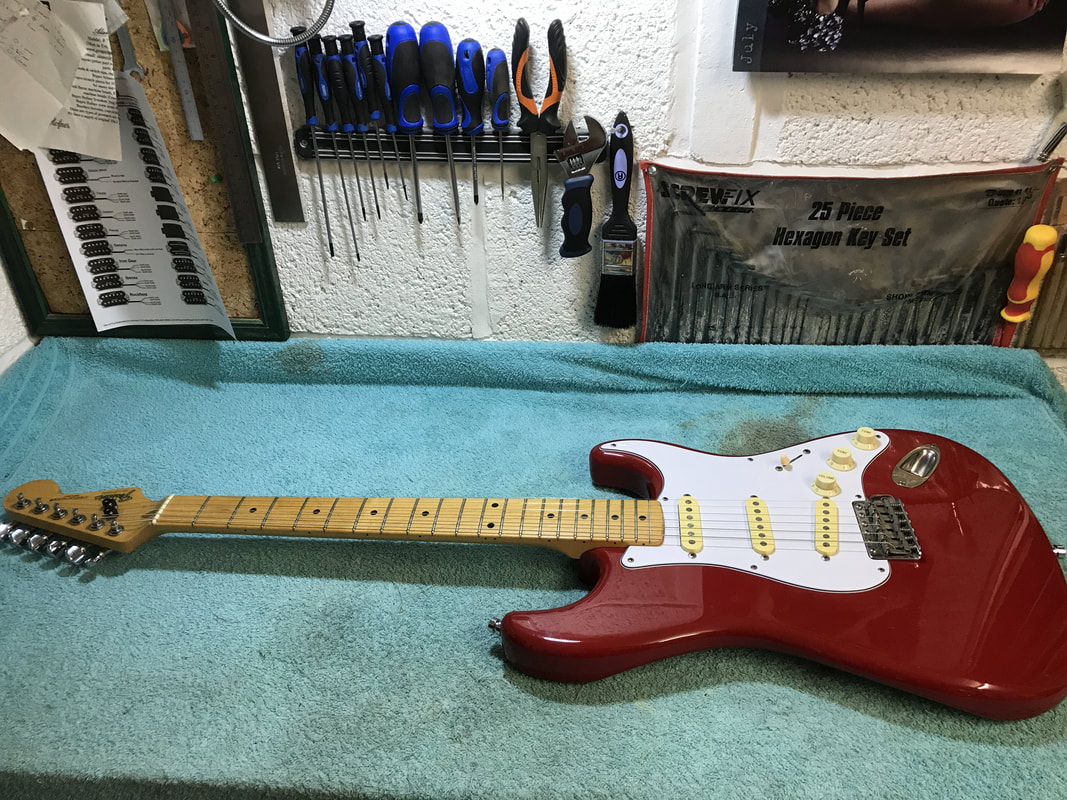
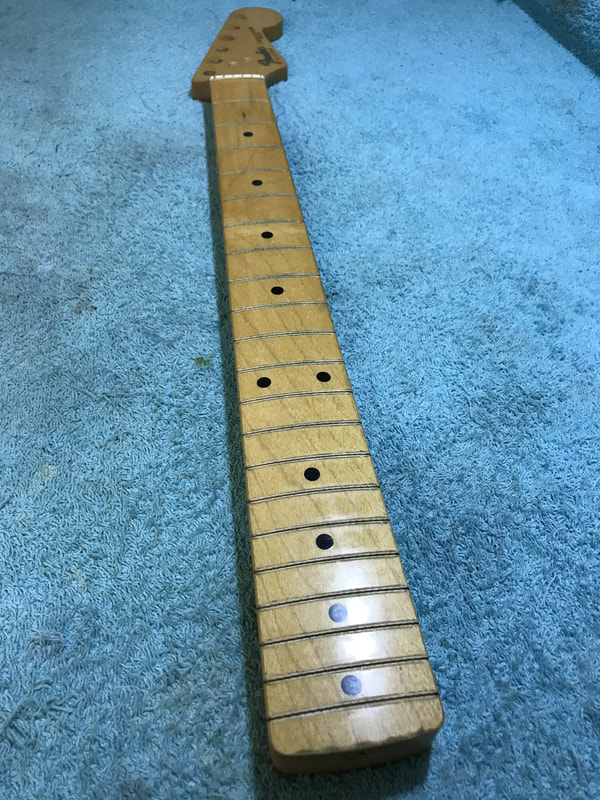
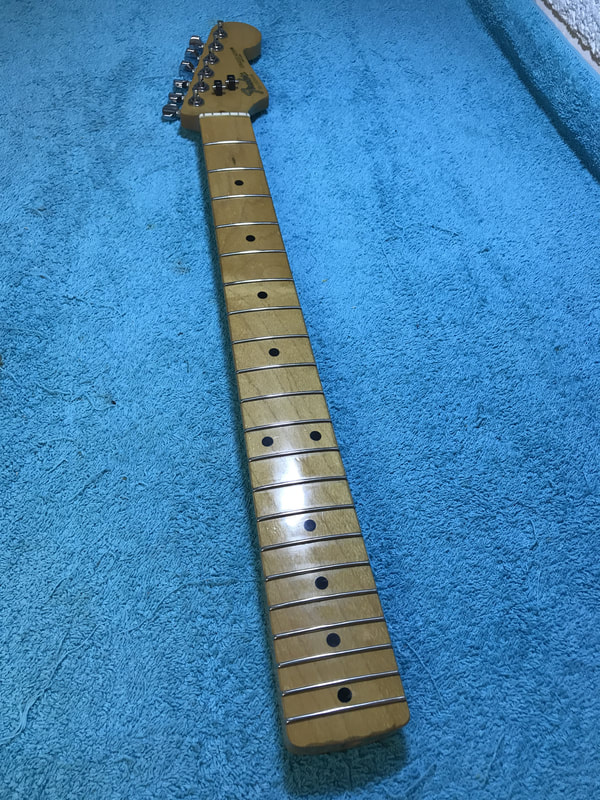
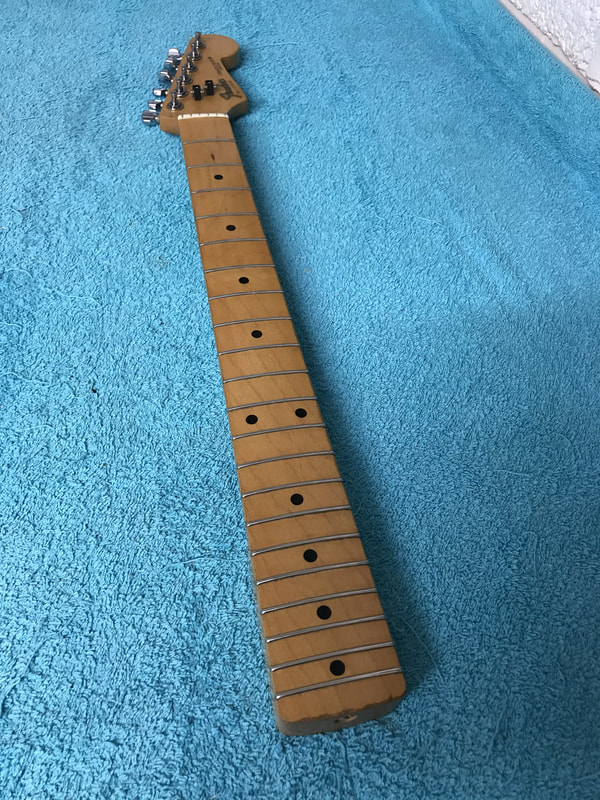
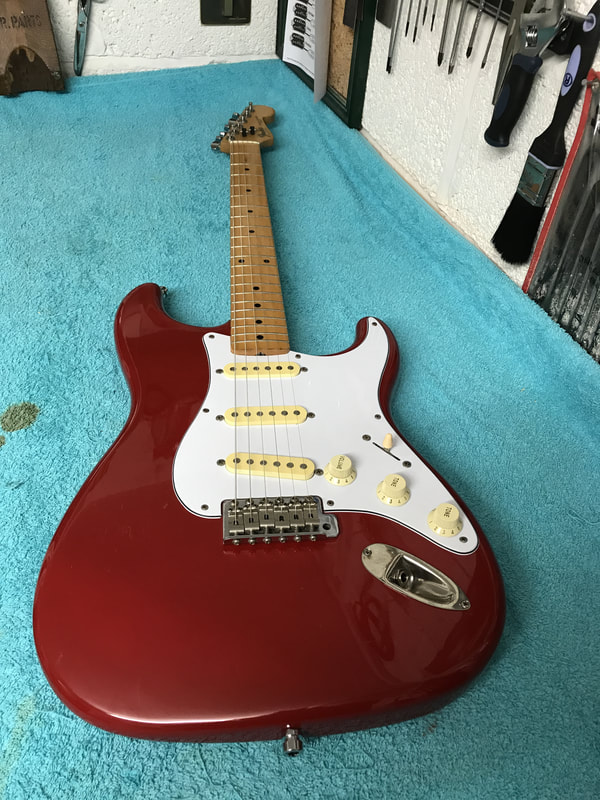
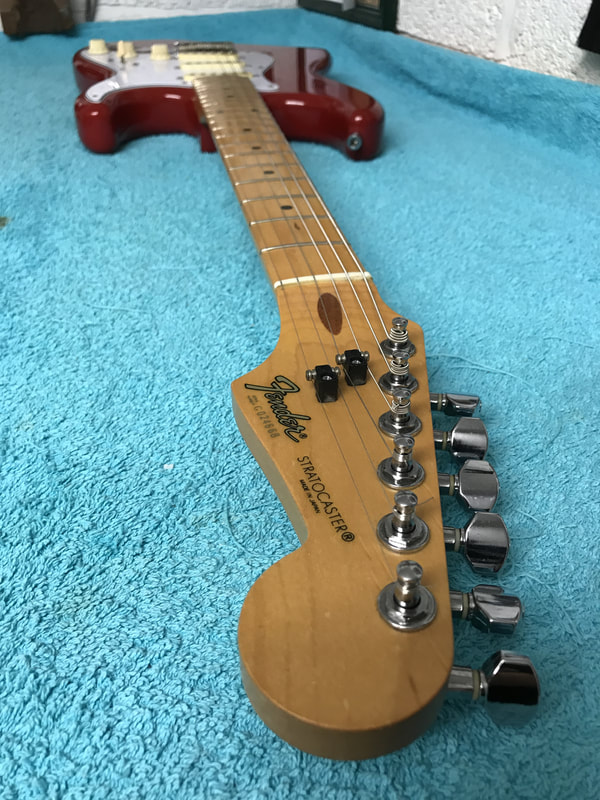
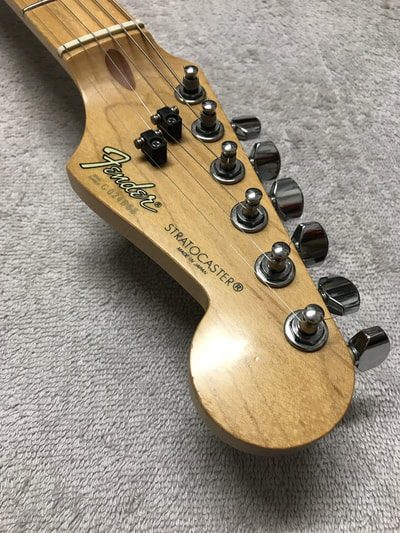
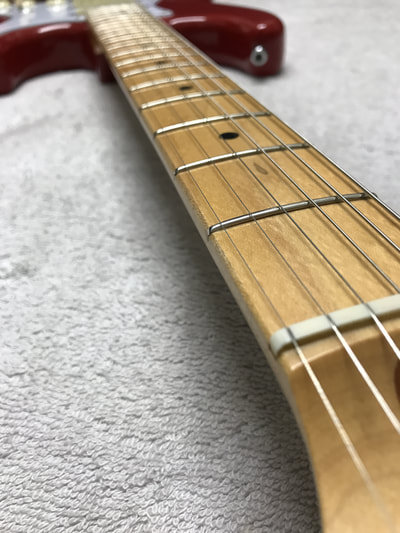
| This lovely 80's Japanese Stratocaster was recently brought in for a setup. A previous Luthier had filed the frets to make them level, in doing so he had removed too much of the frets, leaving them flat without a crown and buzzing when played. The only option left was a refret which would return the playablity to the guitar |
|
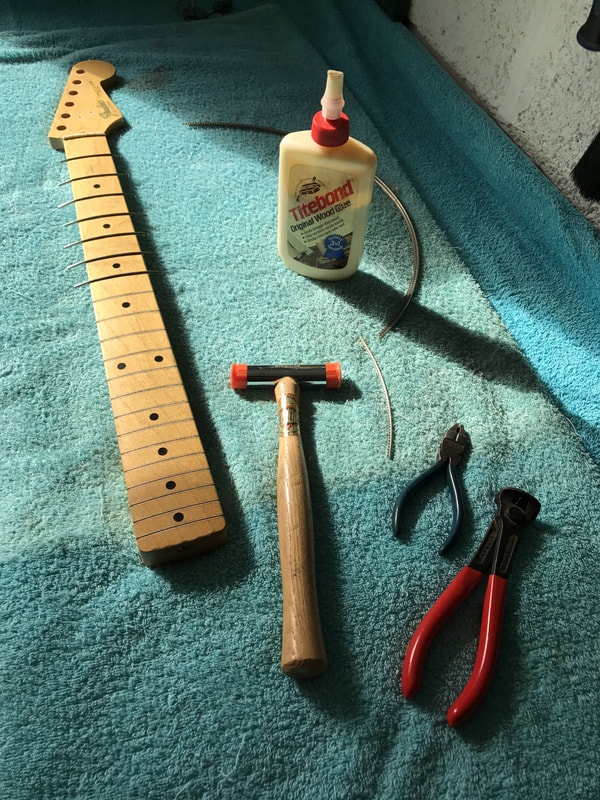
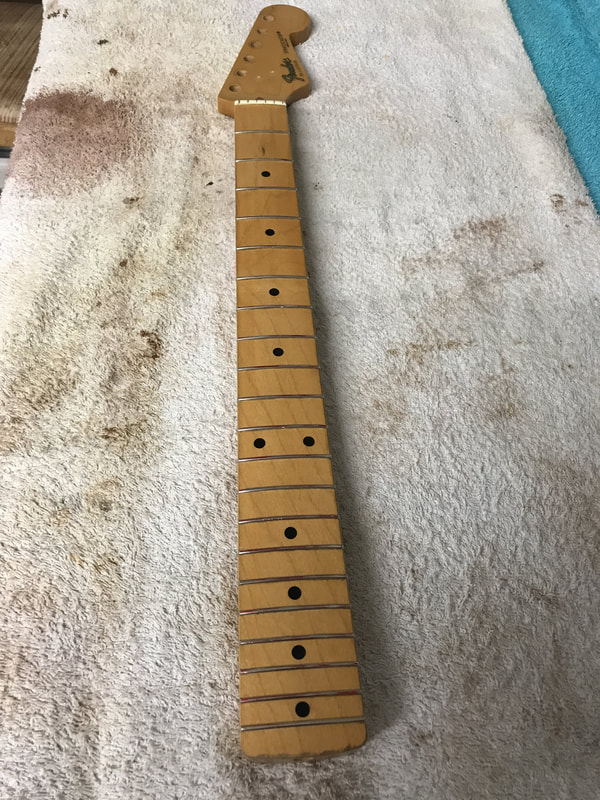
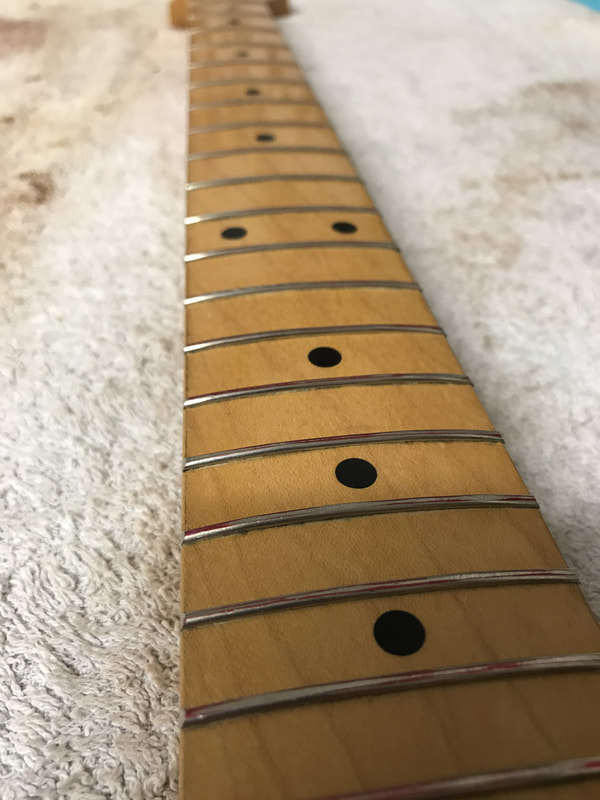
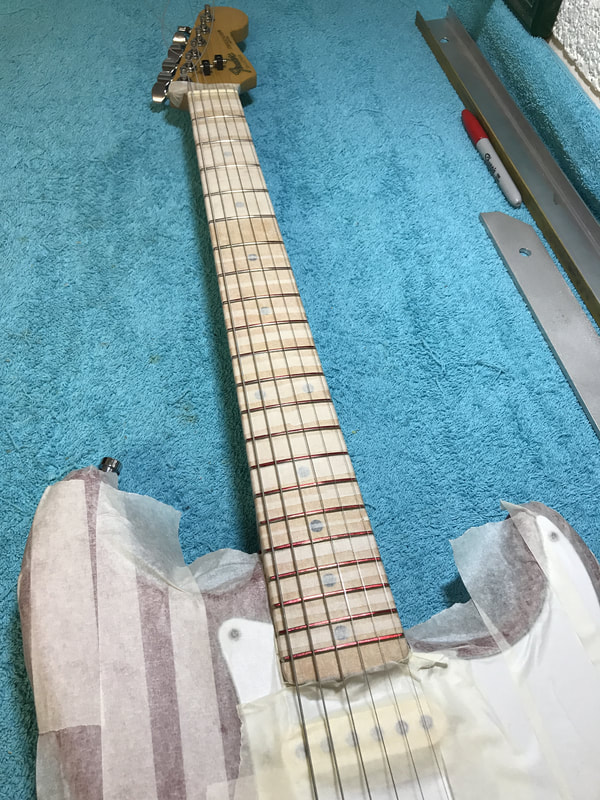
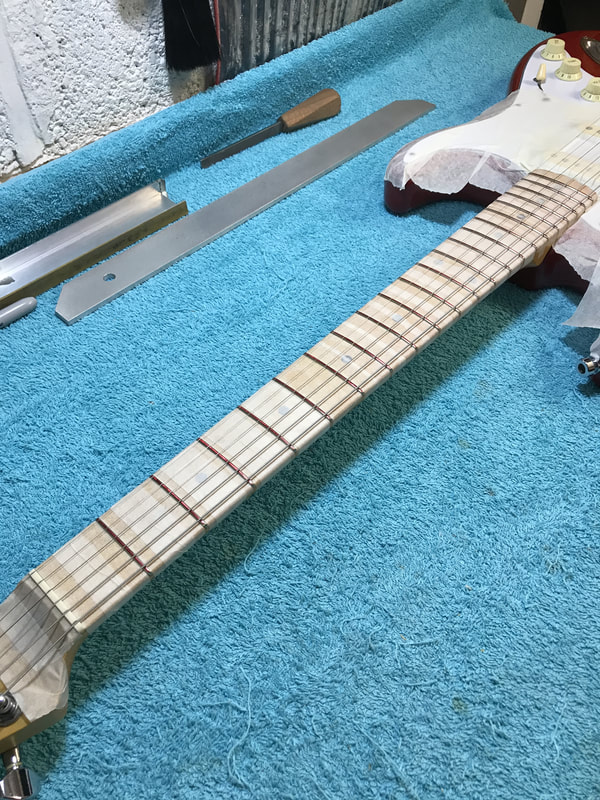
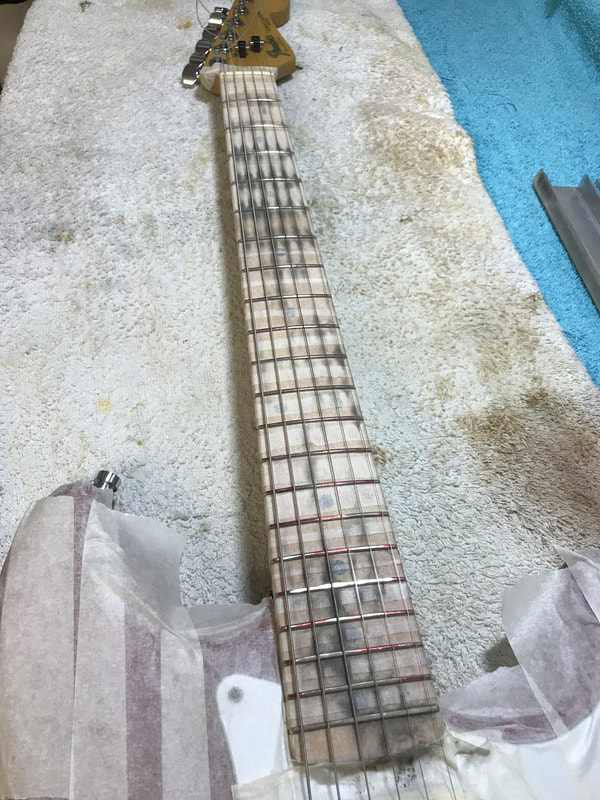
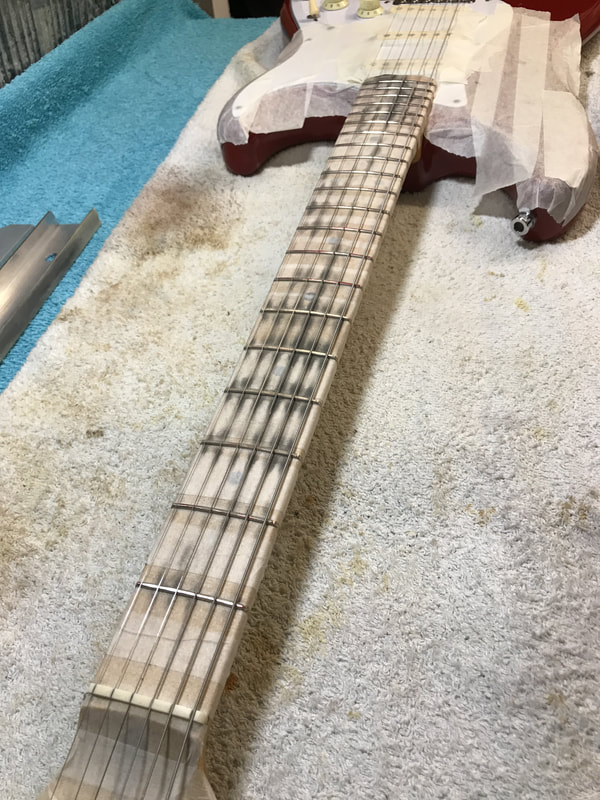
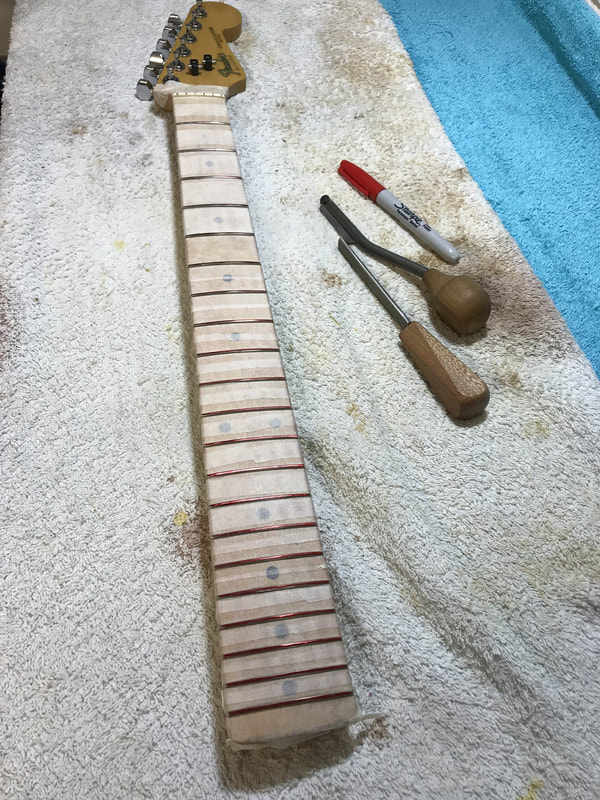
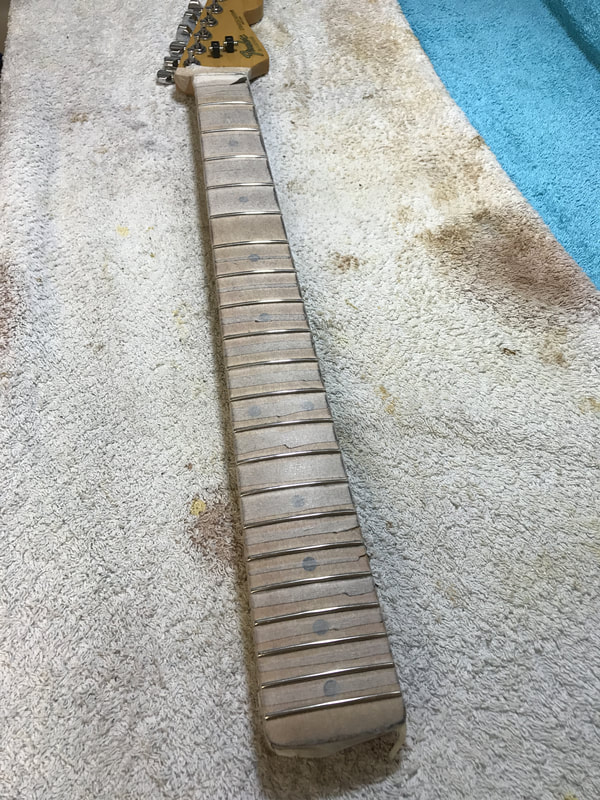
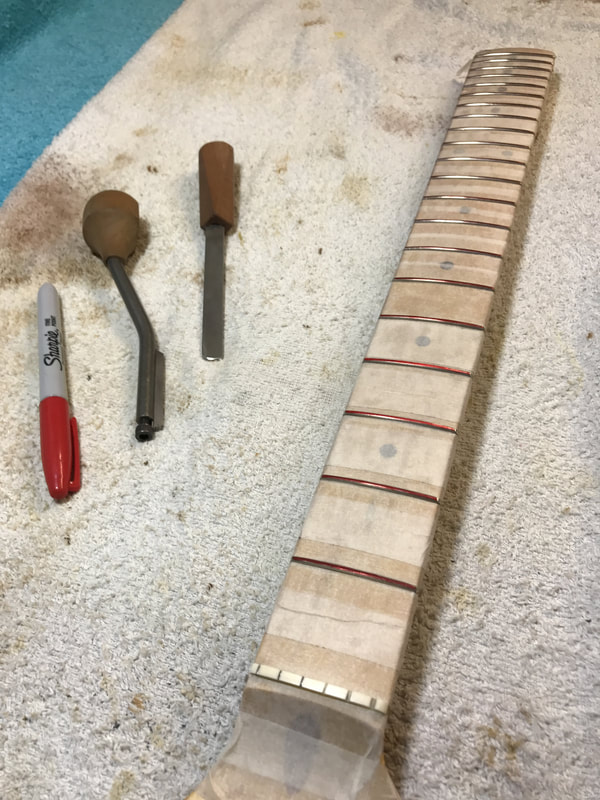
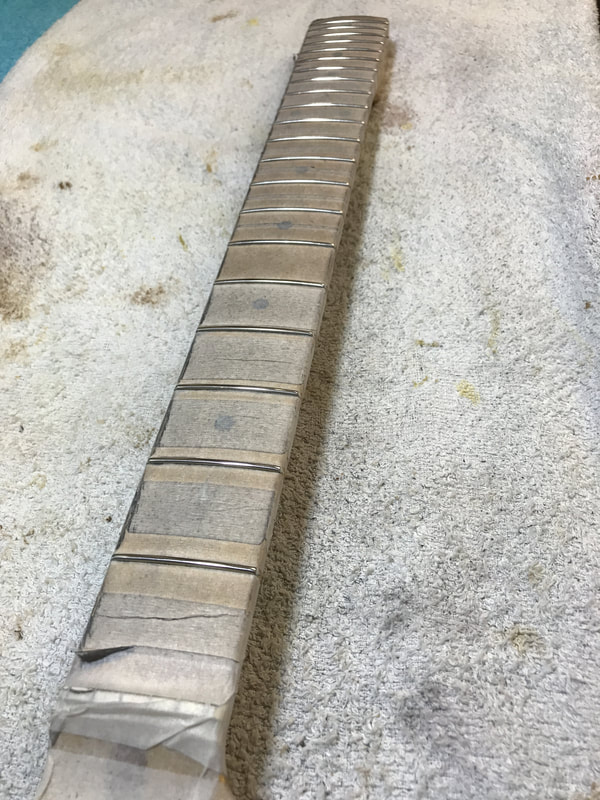
The first step was carefully removing the frets after scalping the excess lacquer off the frets, so there would be no lacquer chips when the frets were removed. The new frets were then cut and accurately hammered in one at a time The new frets in the board, the overhang tang has been removed, the next step is a rough level of the frets, only a few passes of the file is needed if the frets have been installed correctly. The next step, the neck is refitted and re masked up, then the guitar is restrung to string tension before the second accurate levelling can be done. This too doesn't remove a lot of the fret, just the high spots, to allow completely level frets for a lower action. After the levelling, you can see the fret dust from the high areas of the board, with the strings on, the guitar is regularly play tested at this point to ensure the frets are even. The next step is fret recrowning and polishing, the tops of the frets are marked to make sure the level of the frets are untouched by the recrowning files, as this would throw the level of the frets. Once the curve profile is filed into each fret, they are then hand polished to a shine, removing any file marks. The completed neck is cleaned and refitted to the guitar, so it can receive its setup with a fresh set of strings, then it's ready for the customer to collect!
0 Comments
Your comment will be posted after it is approved.
Leave a Reply. |
Lewis DurtnallHi, I'm Lewis, Ive been repairing guitars since 2004, I learnt my craft at Totnes School of Guitar Making! Archives
December 2022
Categories |





 RSS Feed