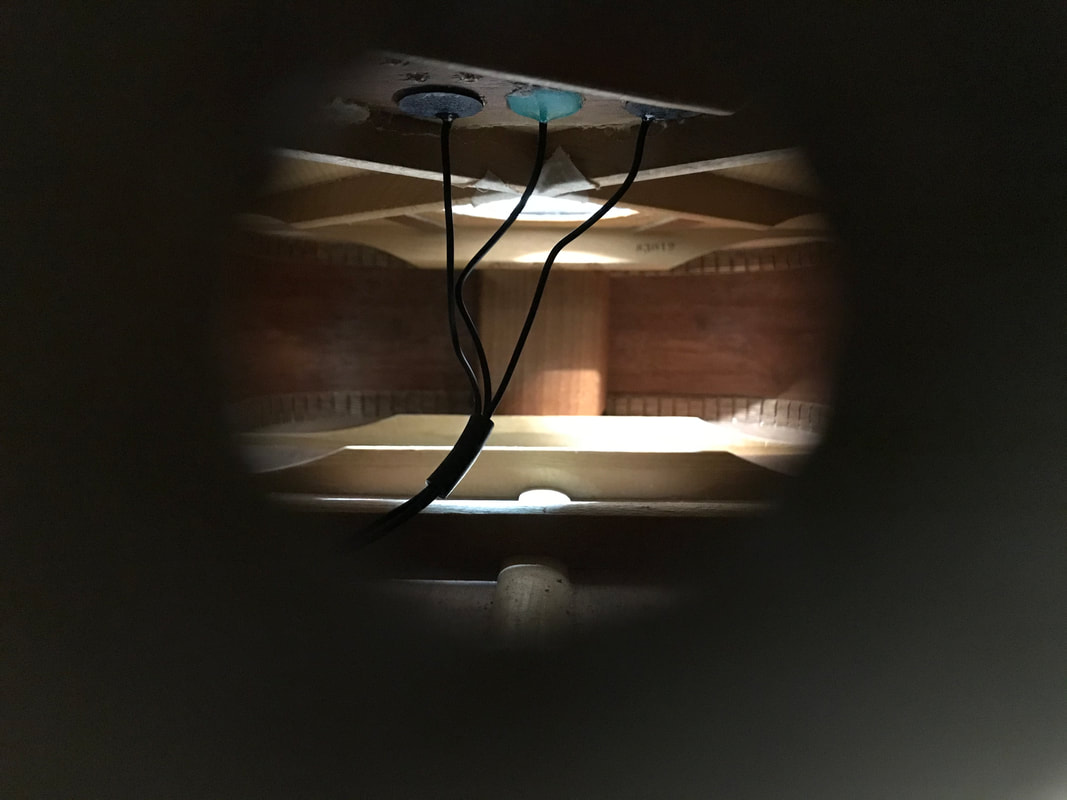
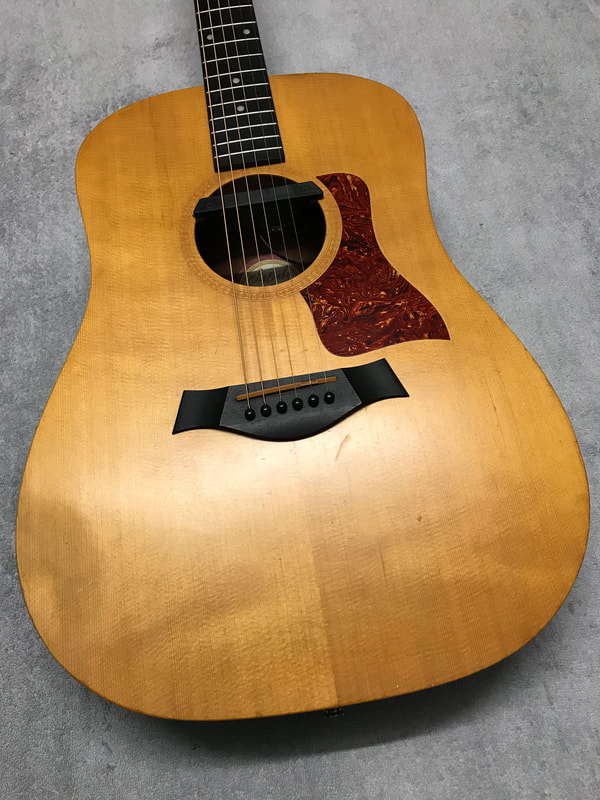
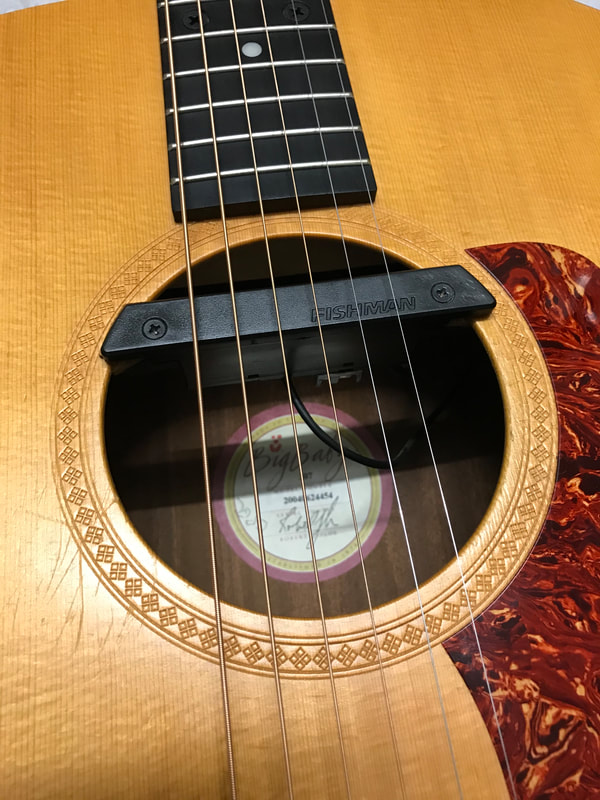
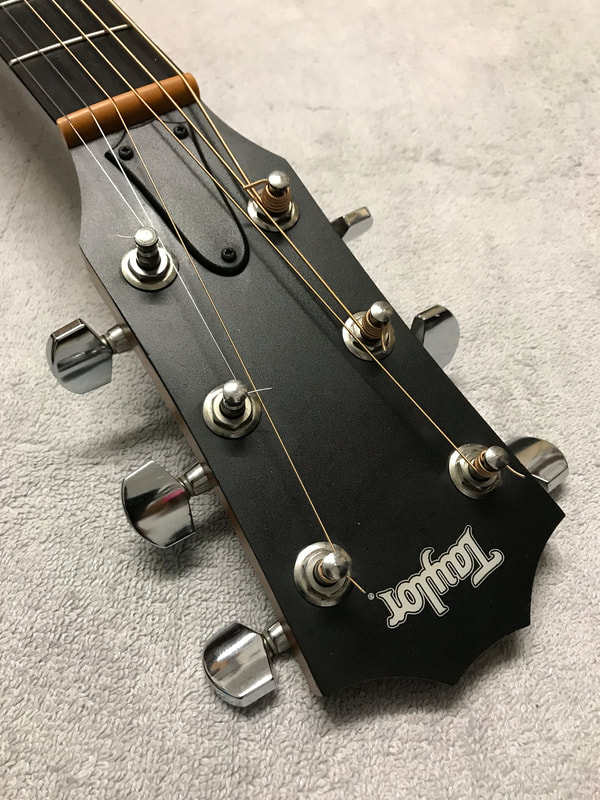
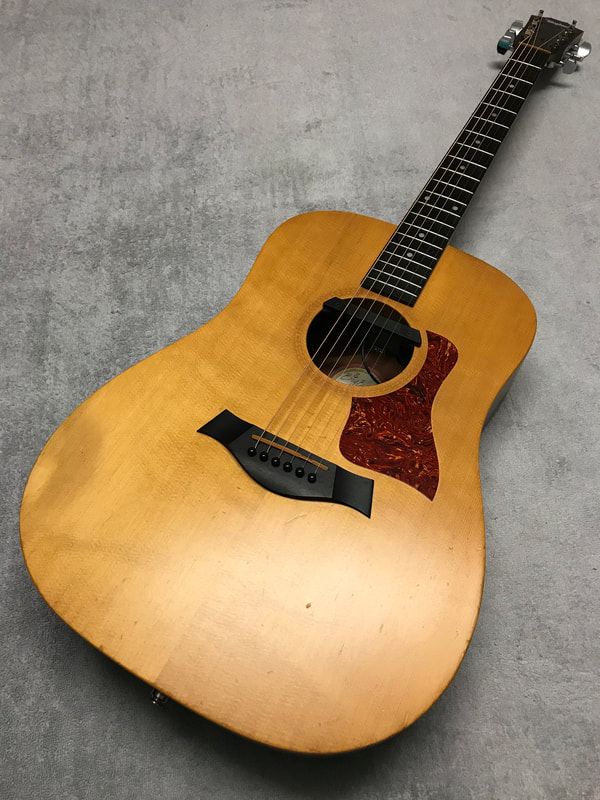
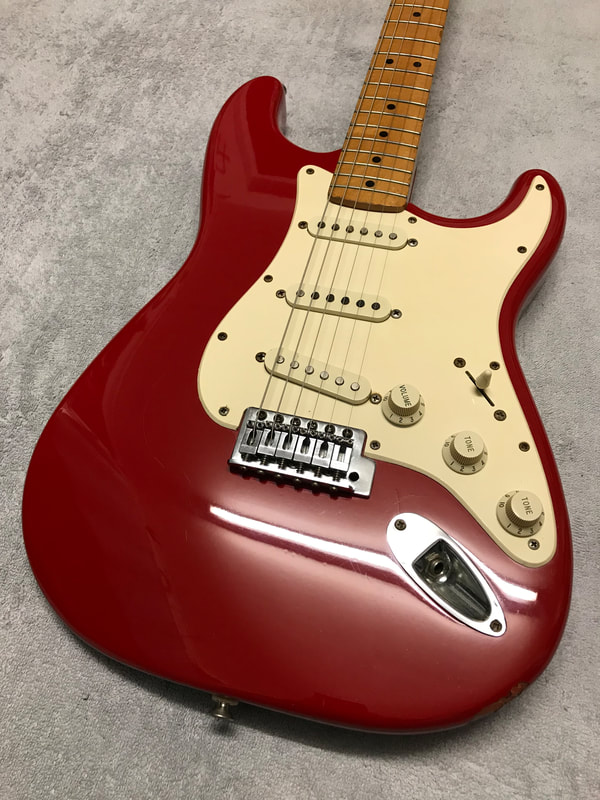
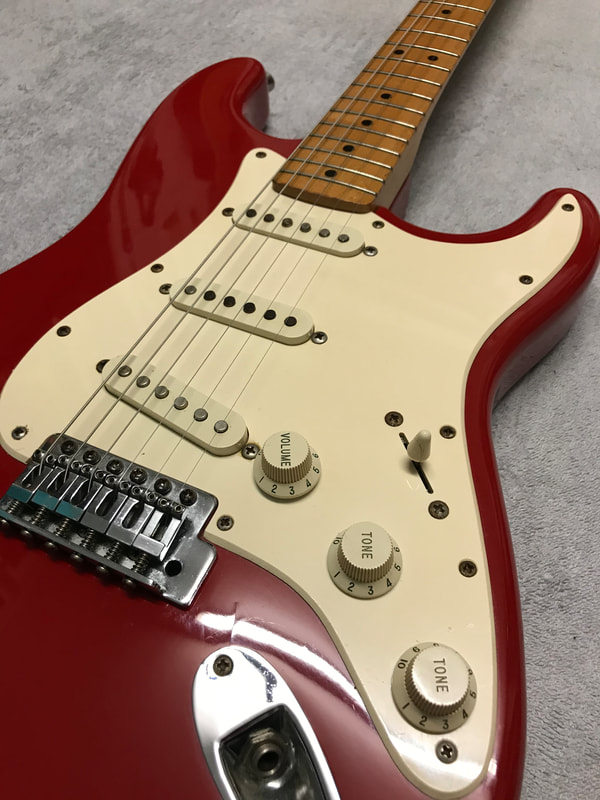
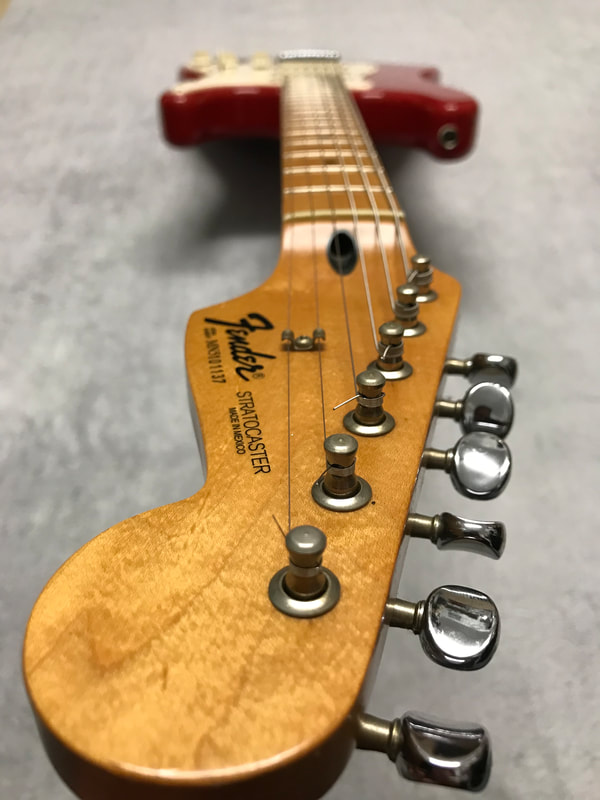
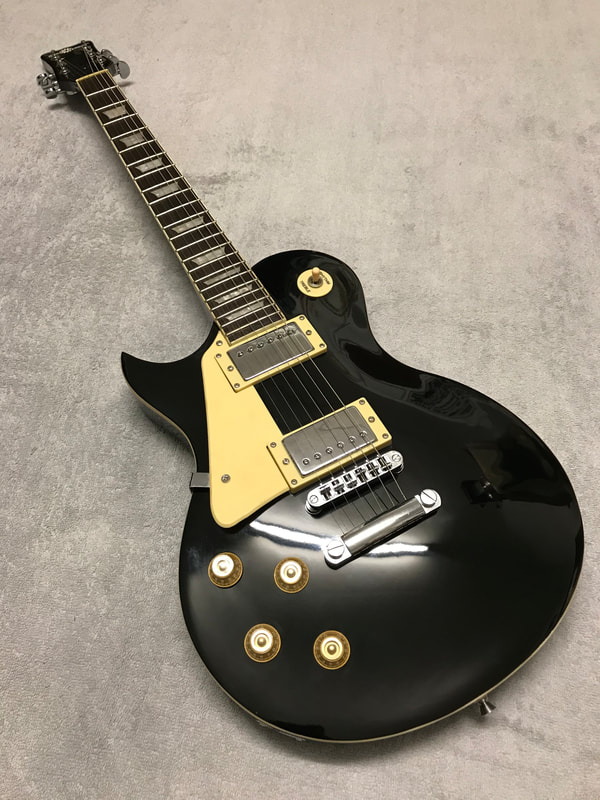
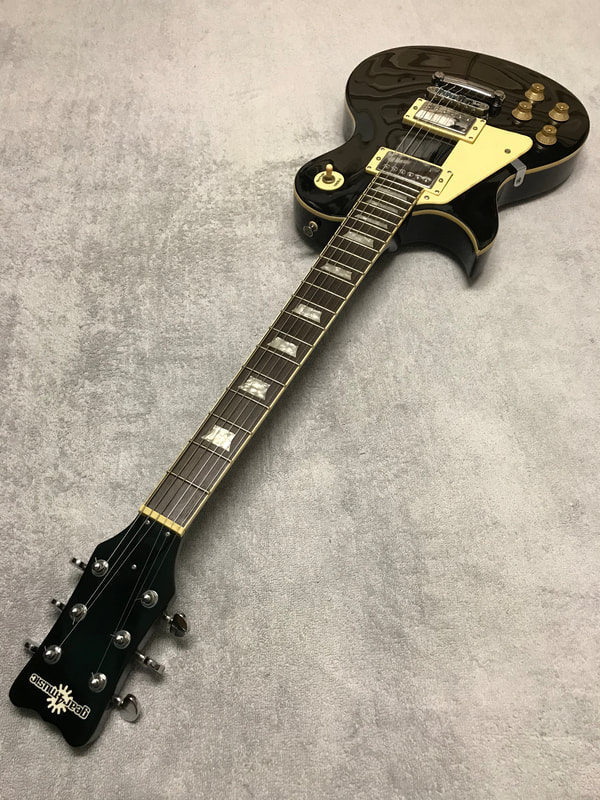
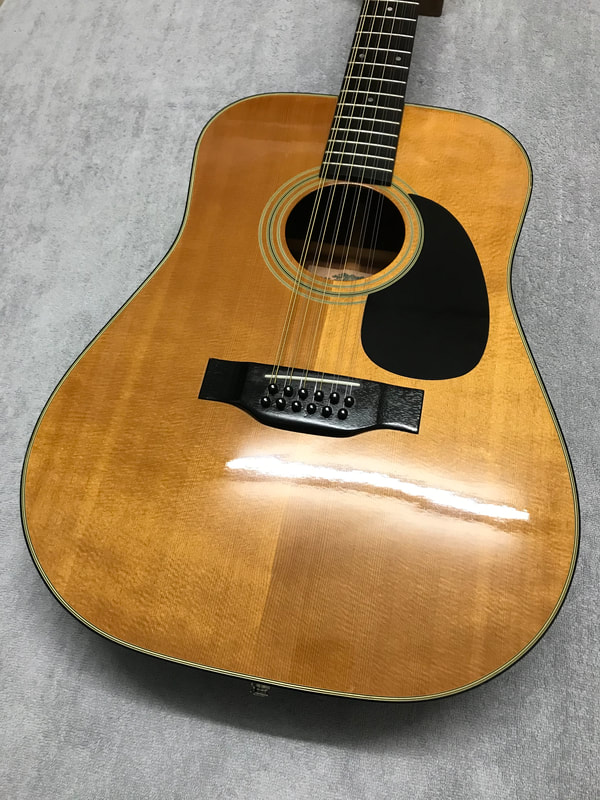
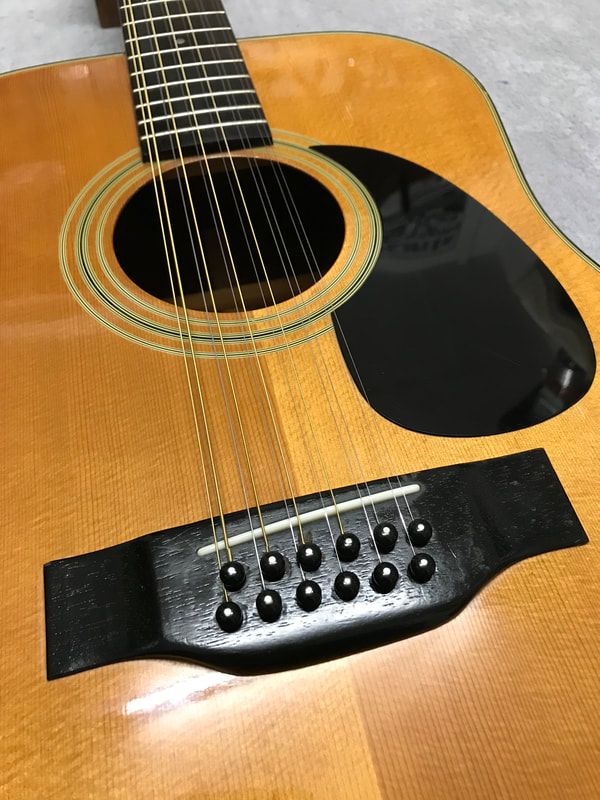
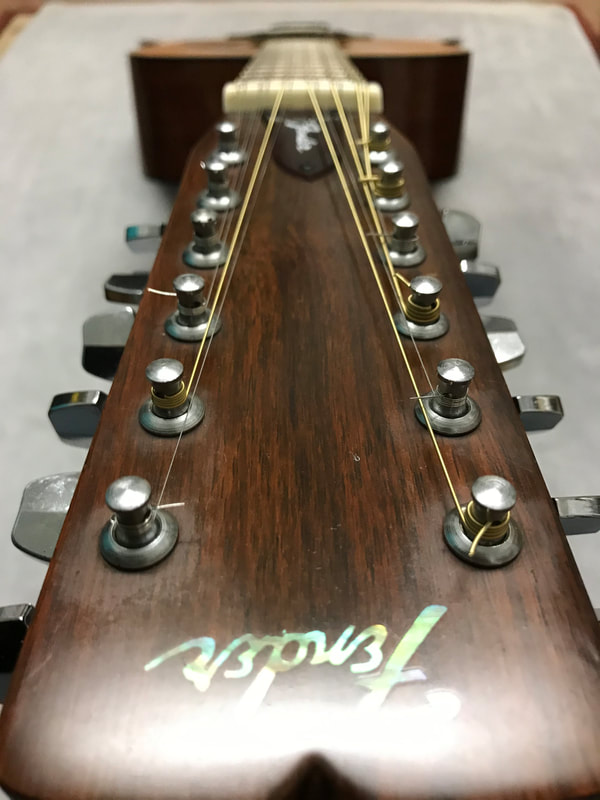
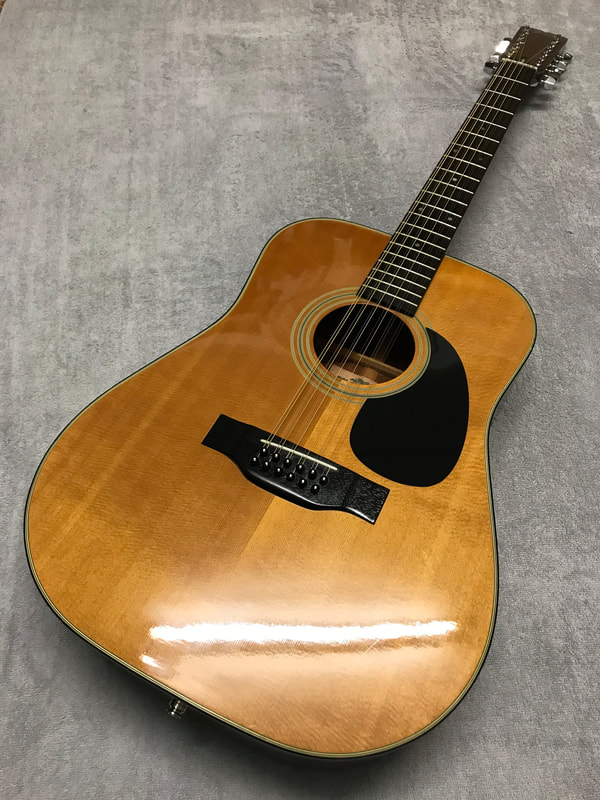
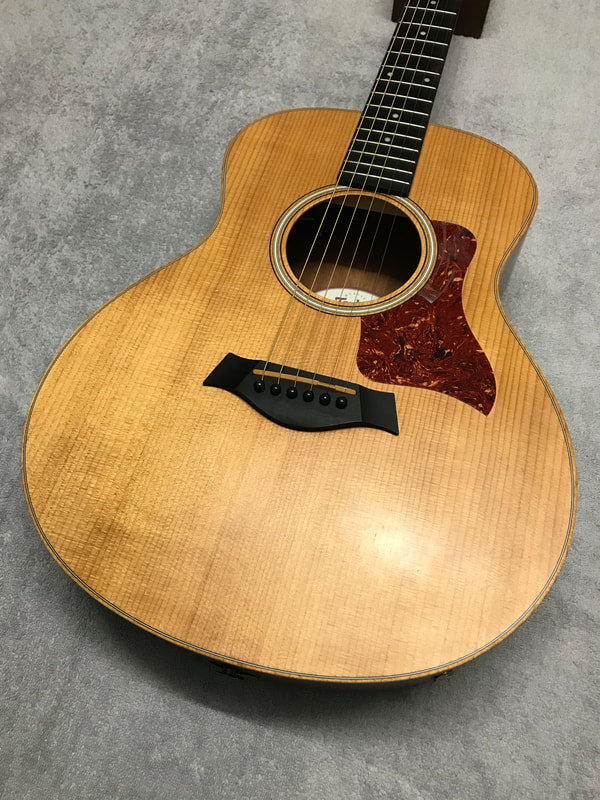
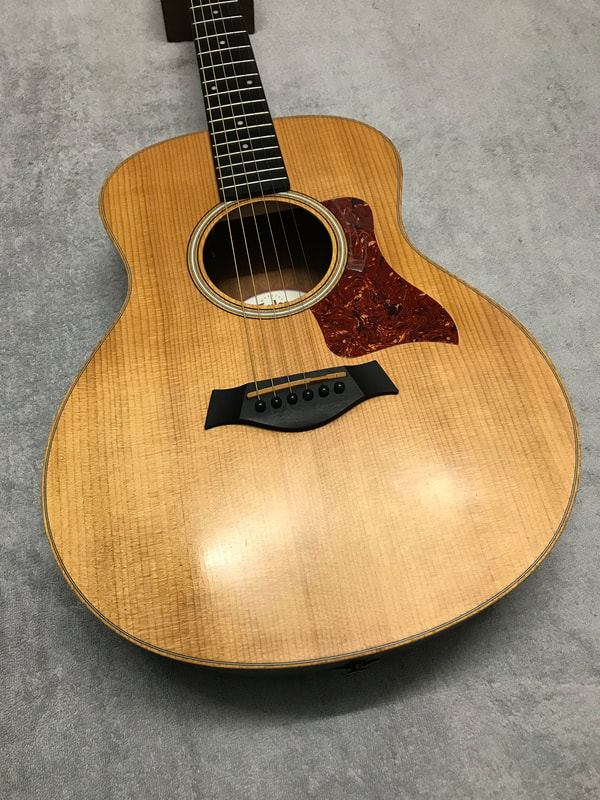
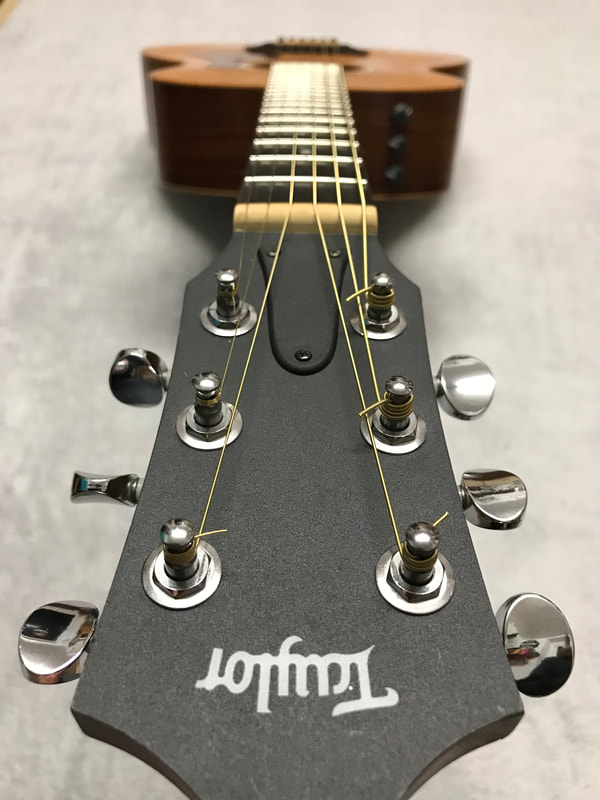
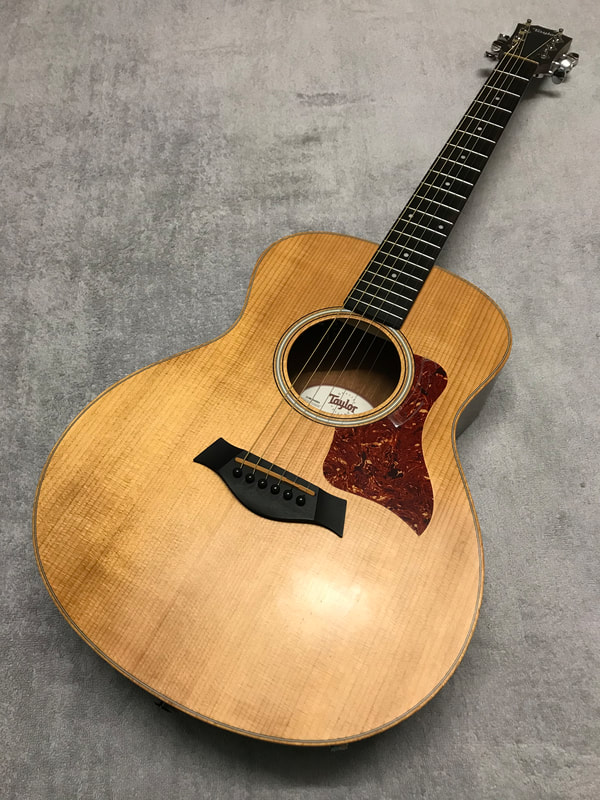
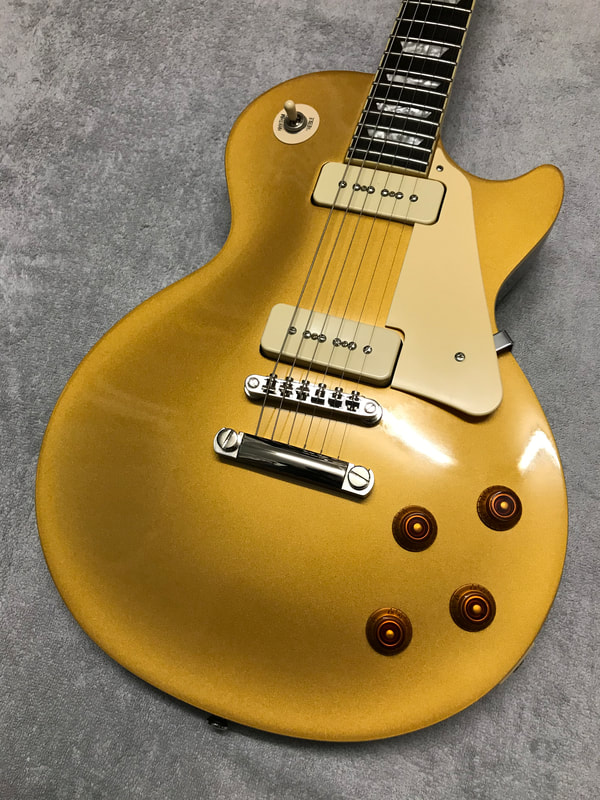
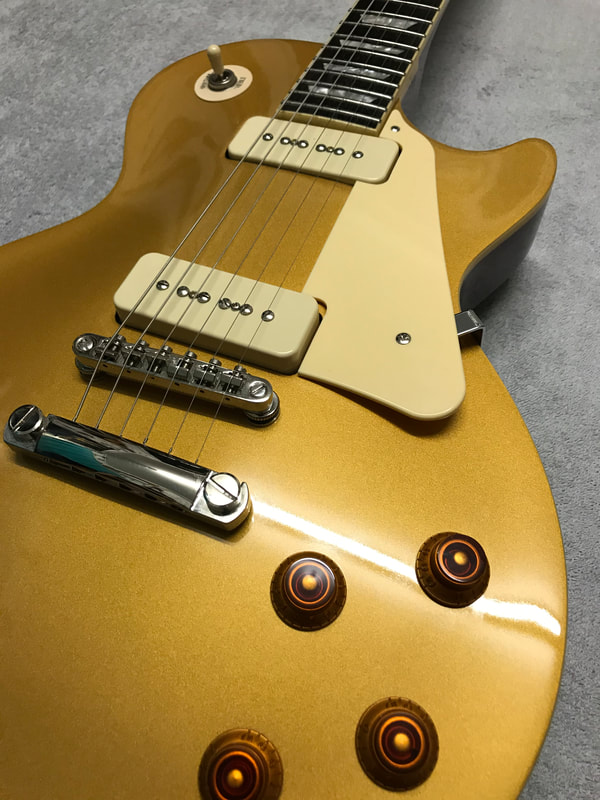
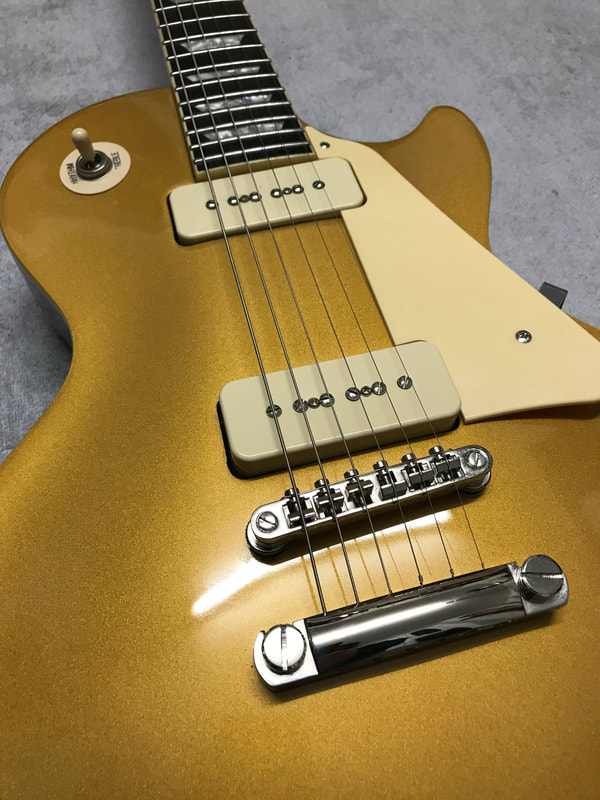
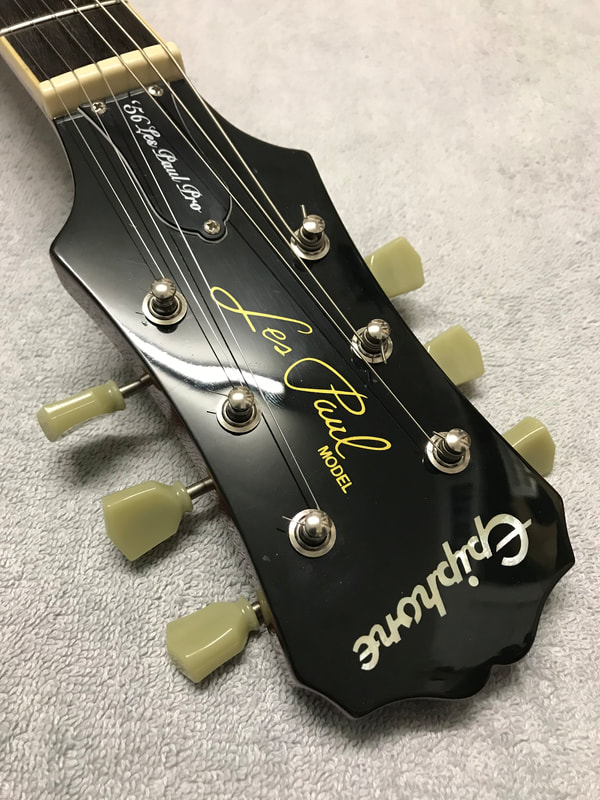
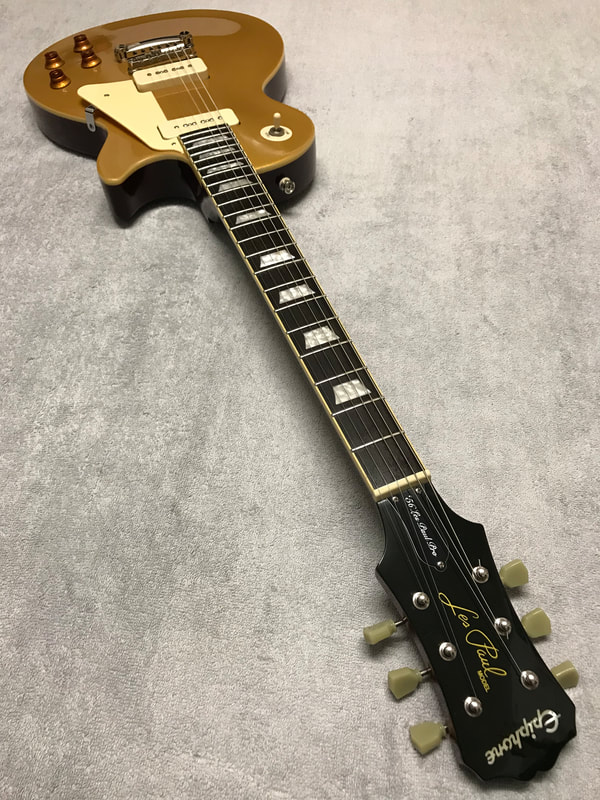
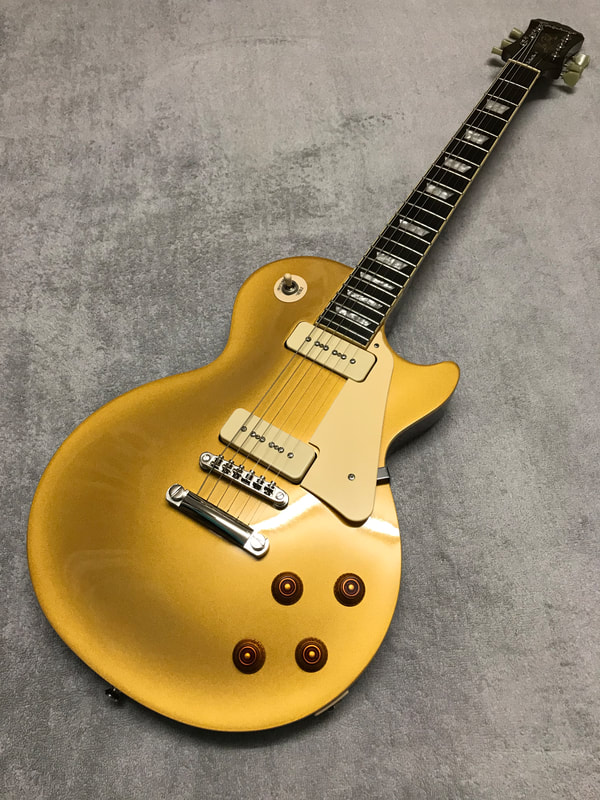
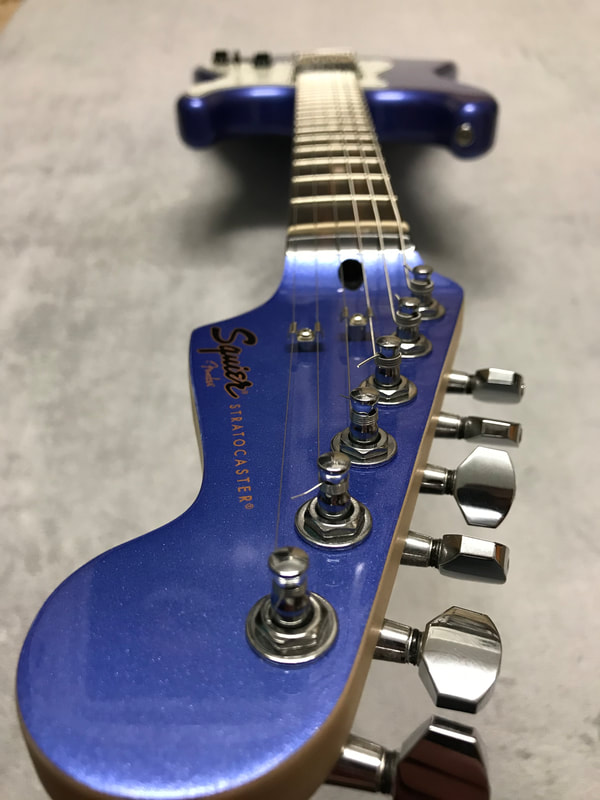
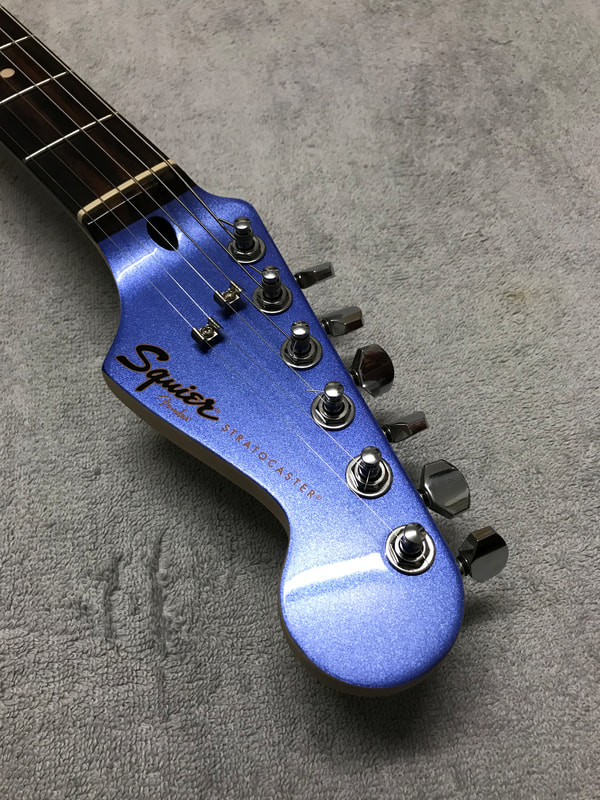
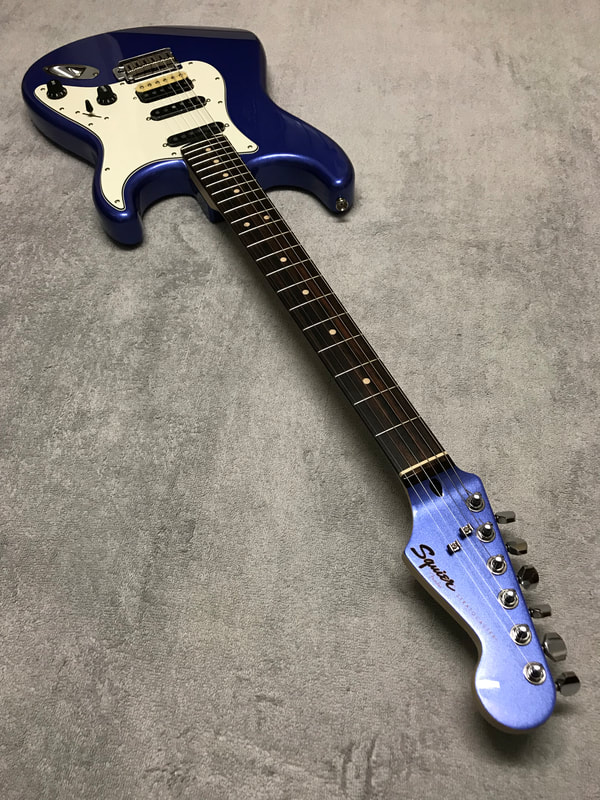
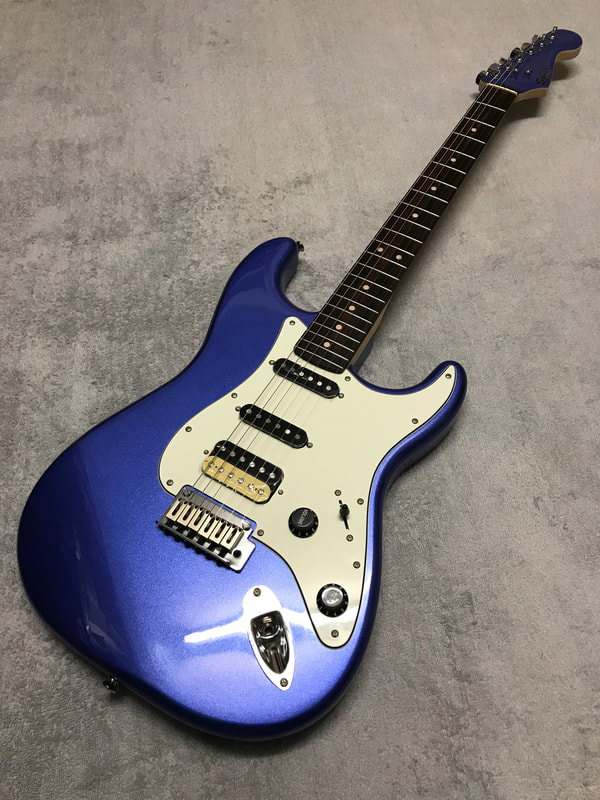
| We've had some great guitars through this month, including a vintage Fender 12 string in for a K&K fitting, a Taylor GS mini in for a K&K fitting, an Epiphone '56 Les Paul Pro in for a fret recrown and polish. We're never too busy to repair/customise/restore your guitar so get in touch if you need any work done! |
|
0 Comments
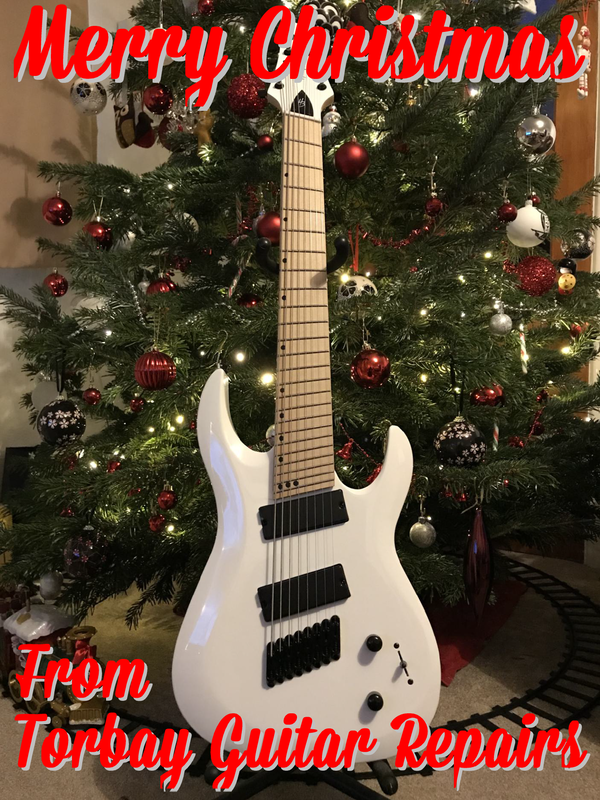
A Huge thank you to all our customers this year, we couldn't do what we do without you.
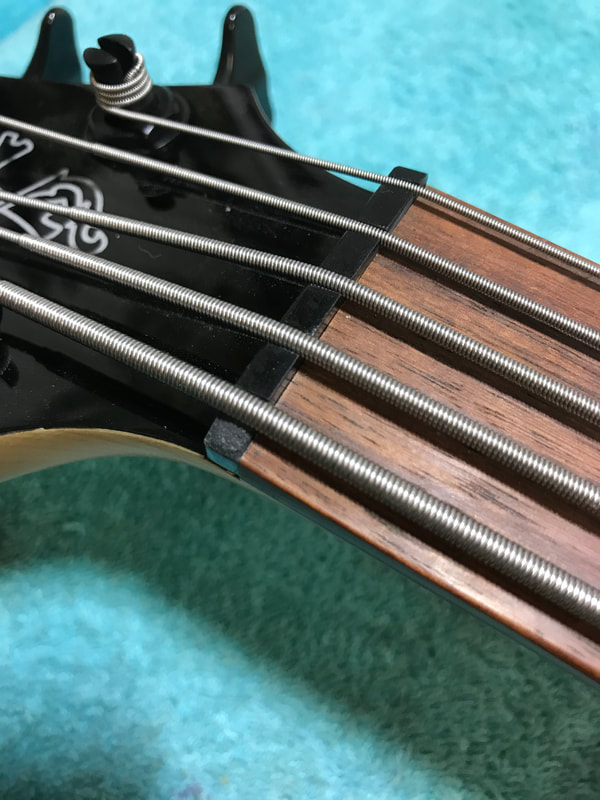
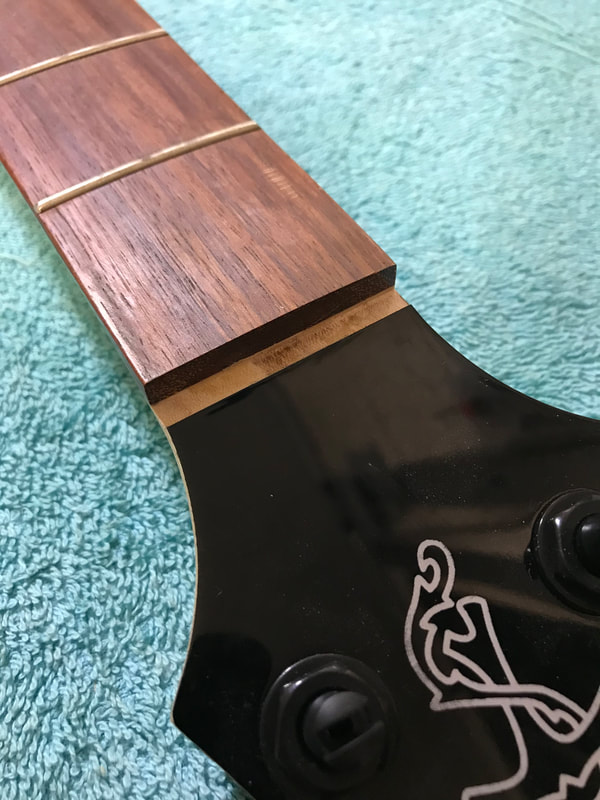
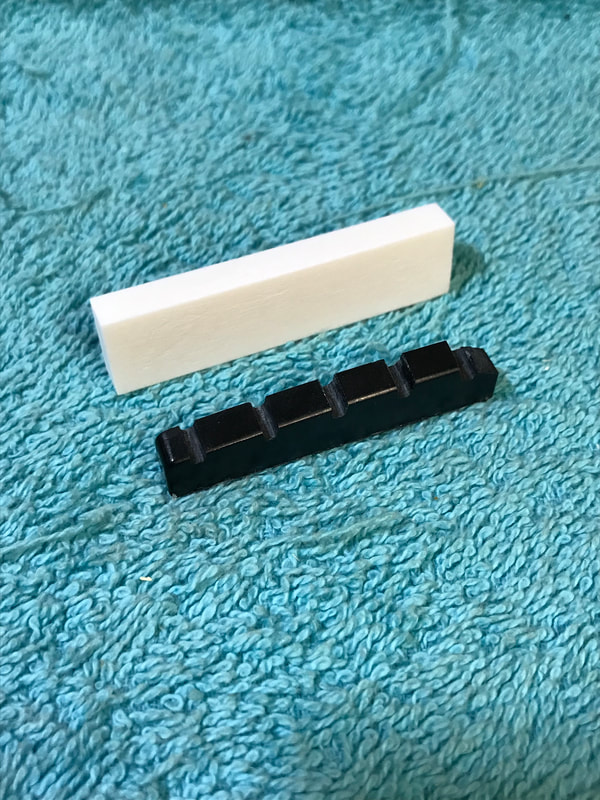
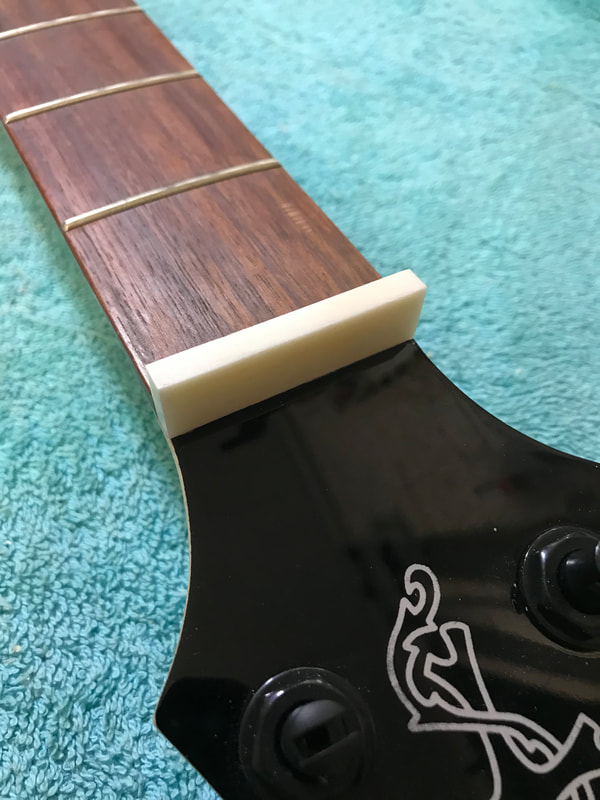
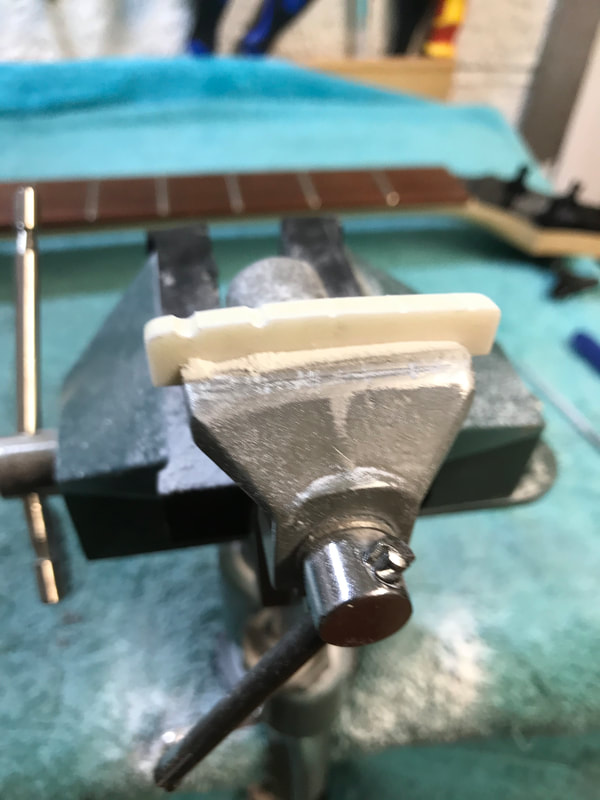
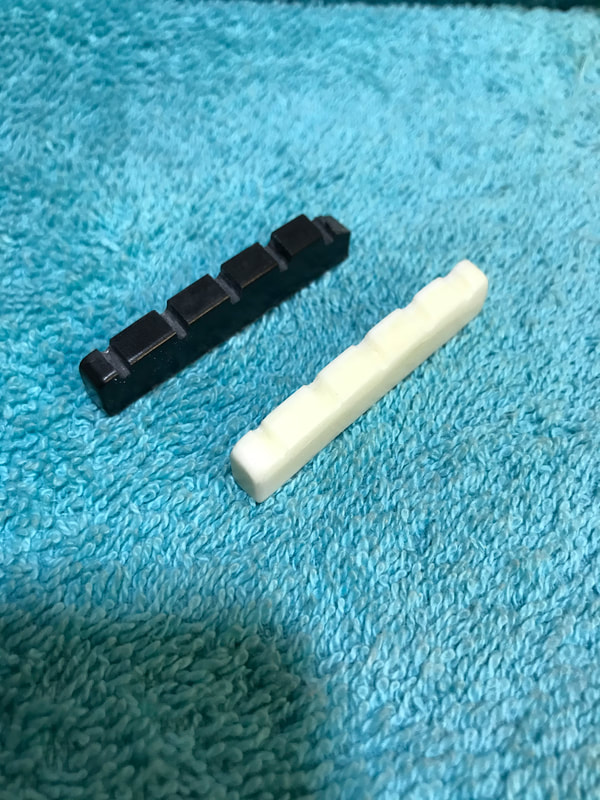
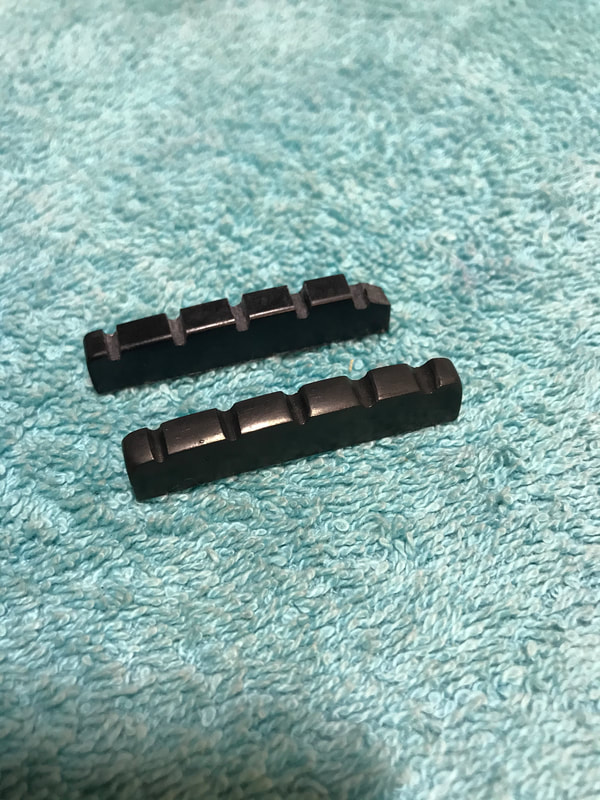
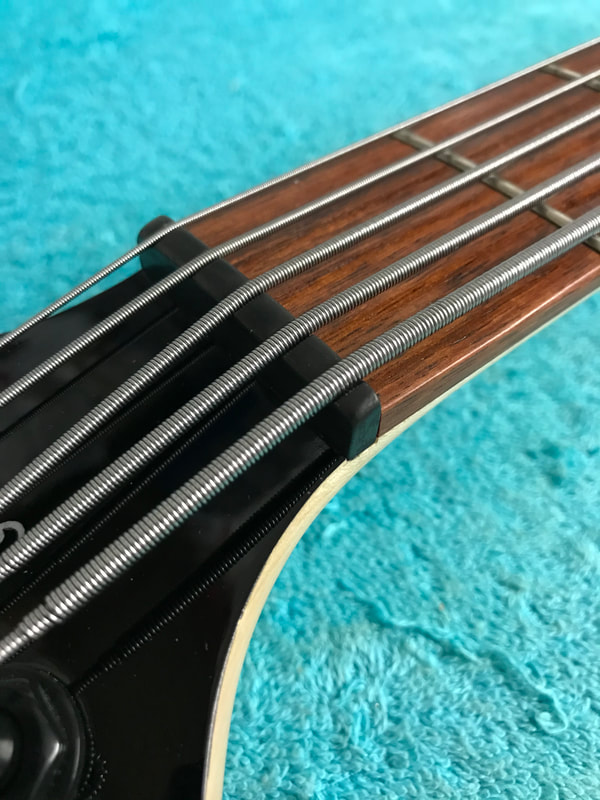
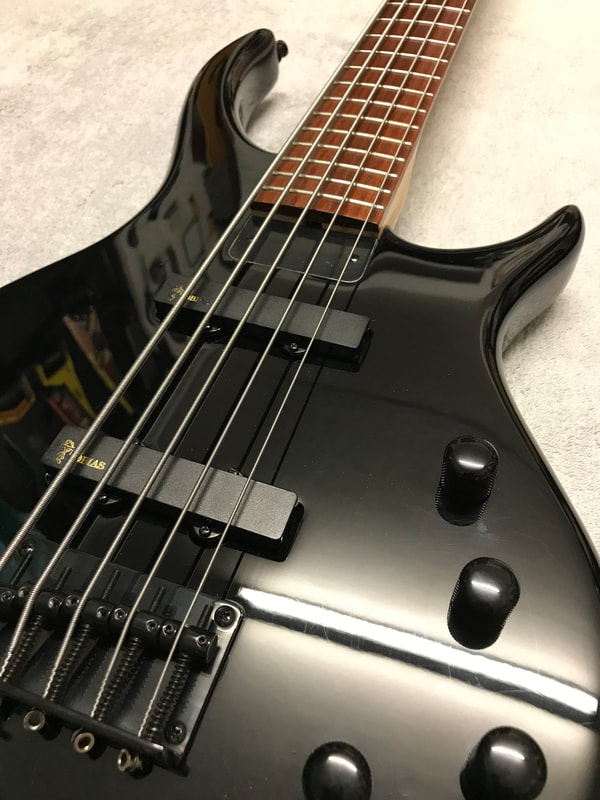
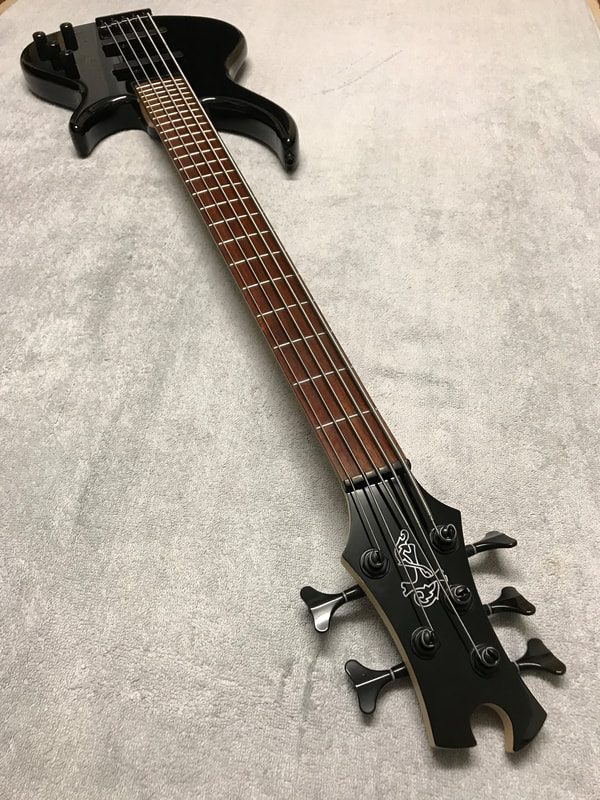
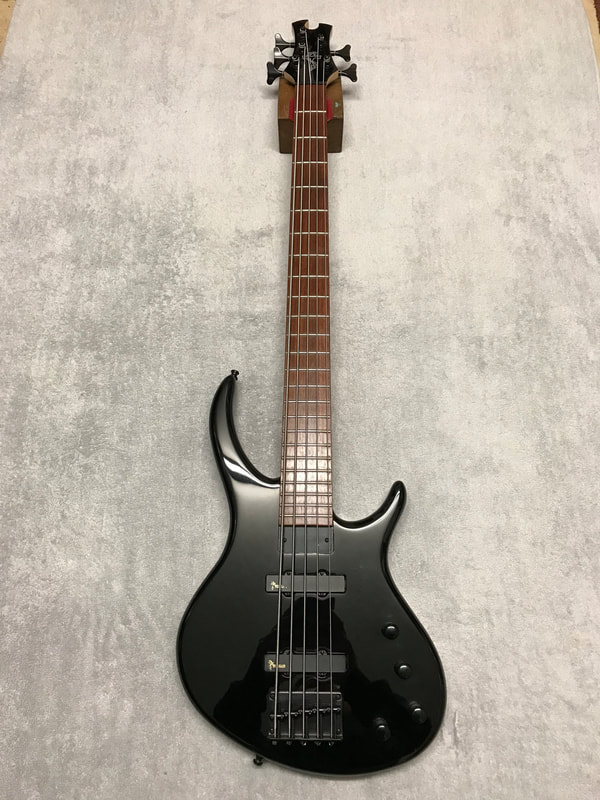
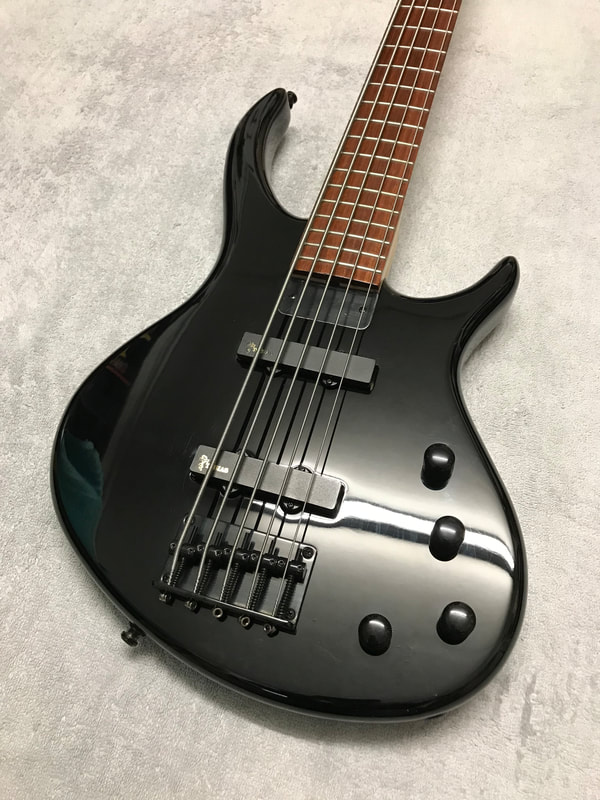
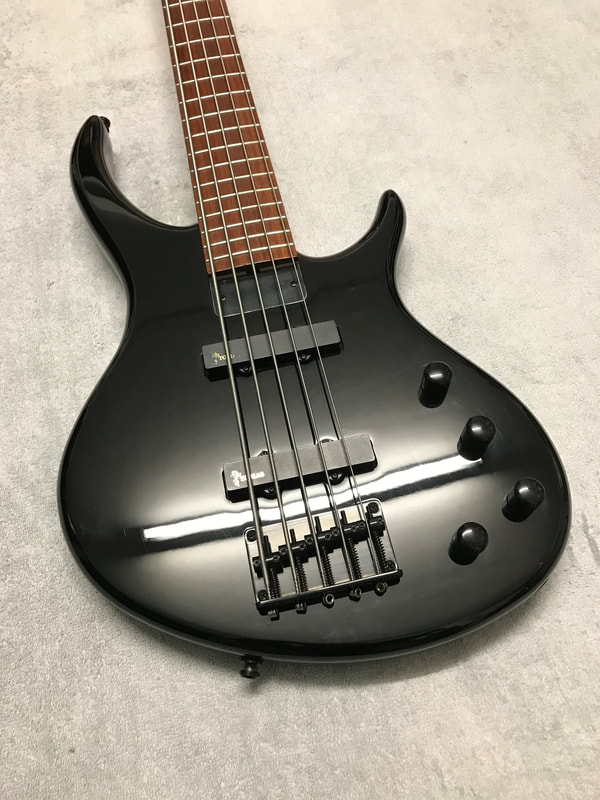
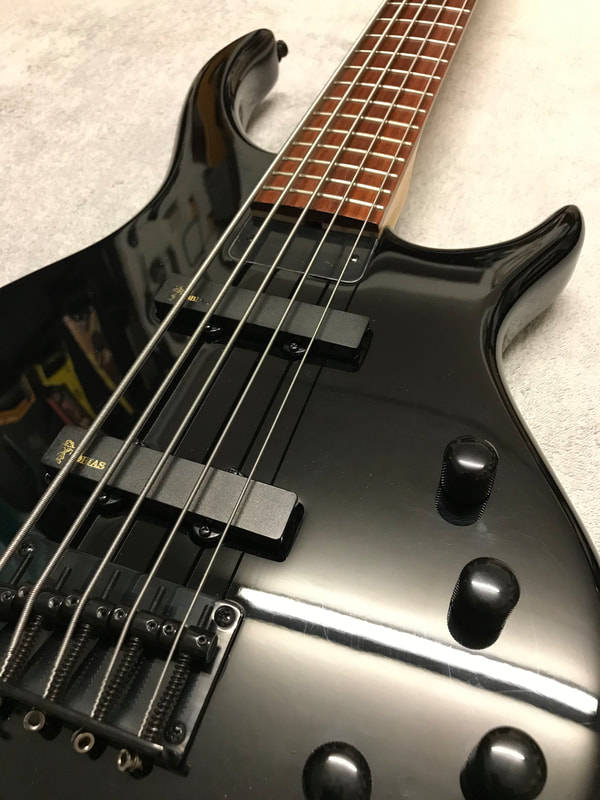
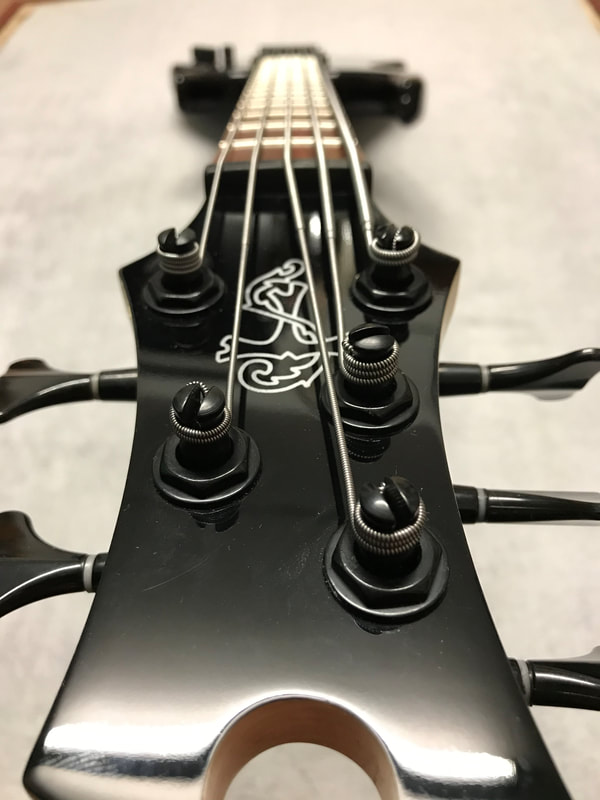
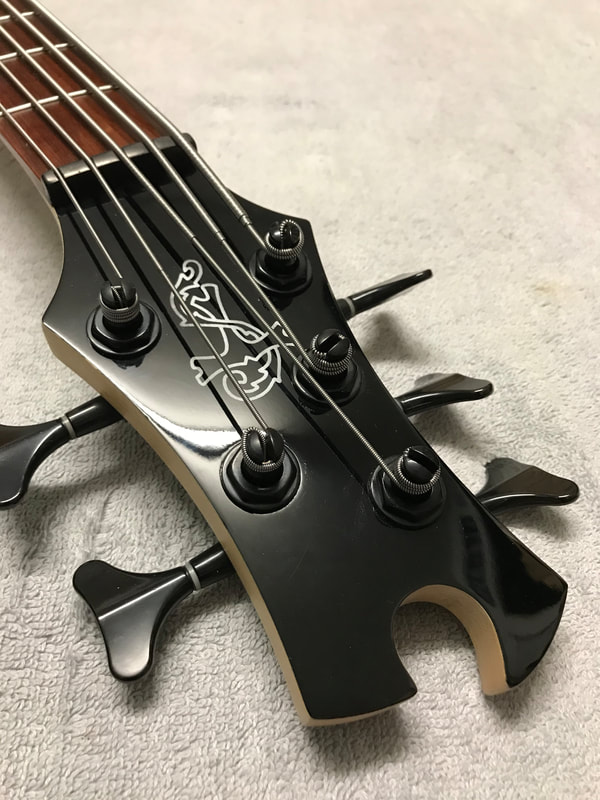
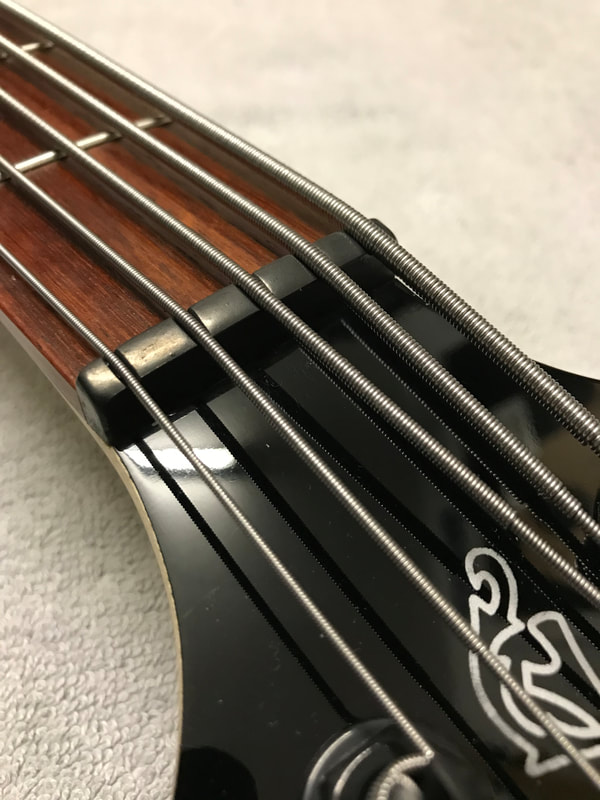
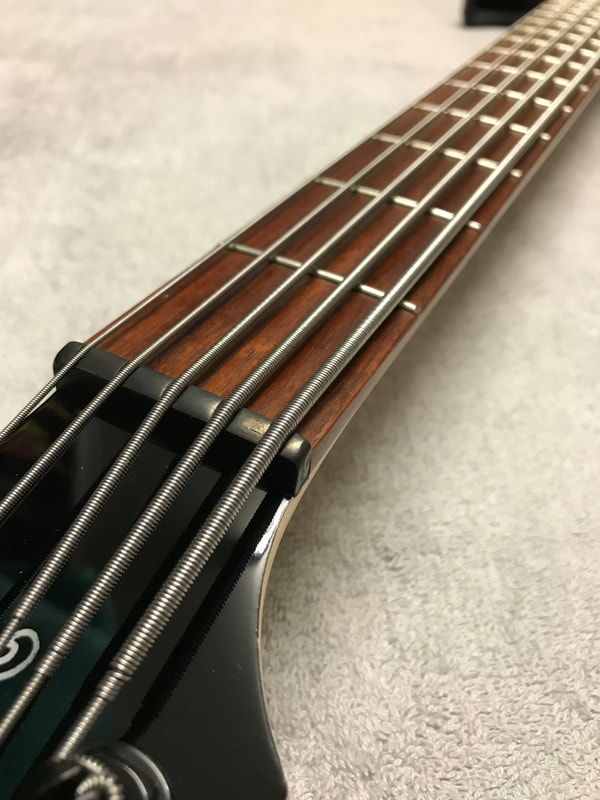
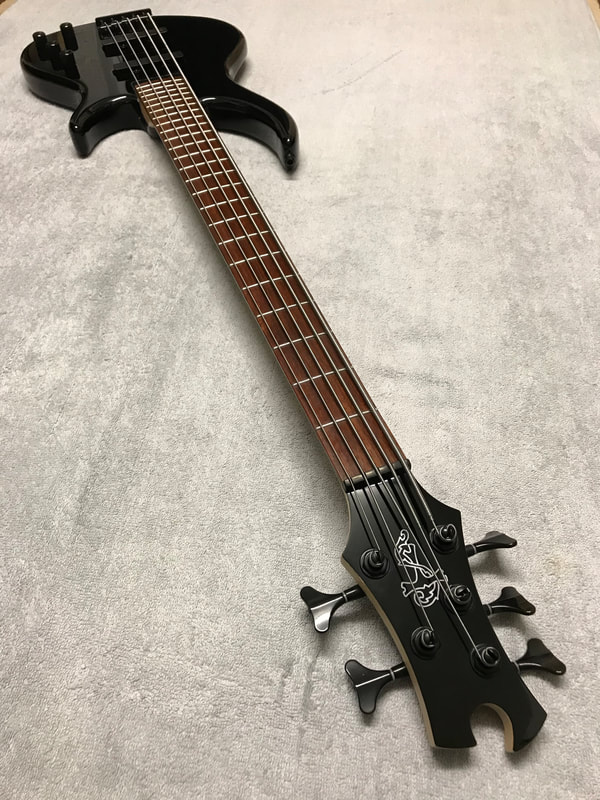
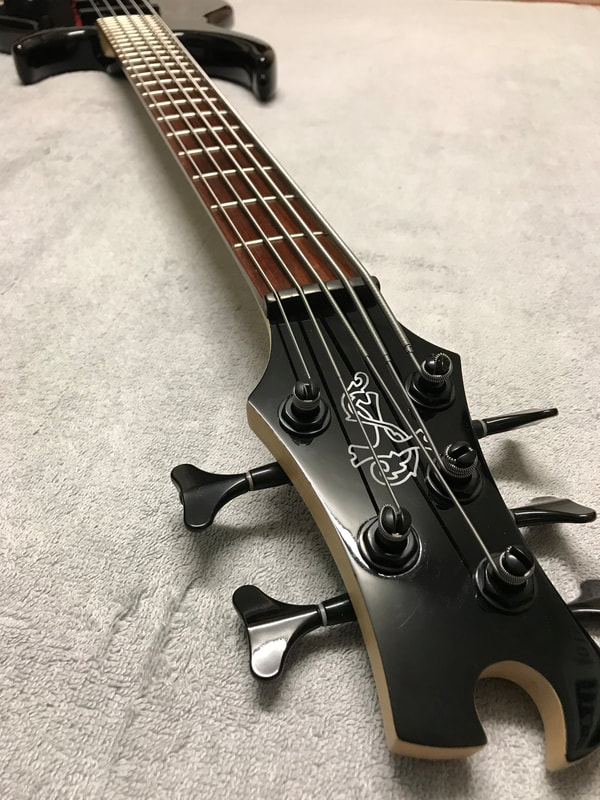
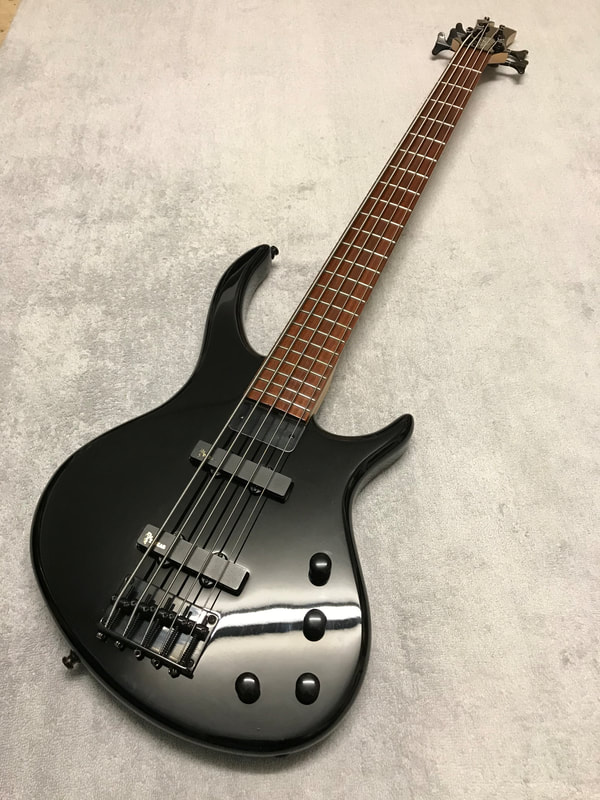
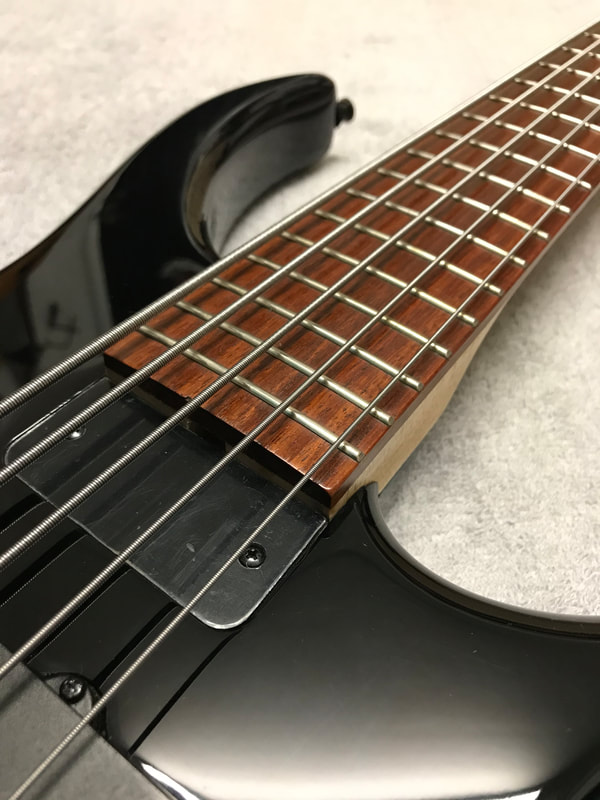
We’ve been lucky enough to work on some amazing instruments this year. We’ve loved working on all the guitars, basses and occasional other stringed instrument that’s been through the workshop! Bring it on 2020, already looking forward to catching up with familiar faces and meeting new ones too, Wishing you all a great Christmas and New Years! This cool Tobias bass, owned by Torqued, was recently in the workshop for a new hand cut bone nut and a full setup! The process of cutting a new nut plus more photos in the comments below! The original nut had broken through the use of heavy gauge strings in the standard plastic nut. Once the old nut was removed the slot was carefully cleaned. The old one next to the bone blank which would become the new nut. We make all our new nuts using the same process. The blank is first thicknessed to fit the slot then cut to width, the nut is then hand filed to the desired shape. The new nut next to the old broken one, the original is used as a template where possible to ensure the new one has the same string spacing as the old. The new nut was then stained black to match the original. The new nut fitted, with wider string slots to cater for the heavy drop tuned strings. The bass was the setup with a low action ready for gigging!
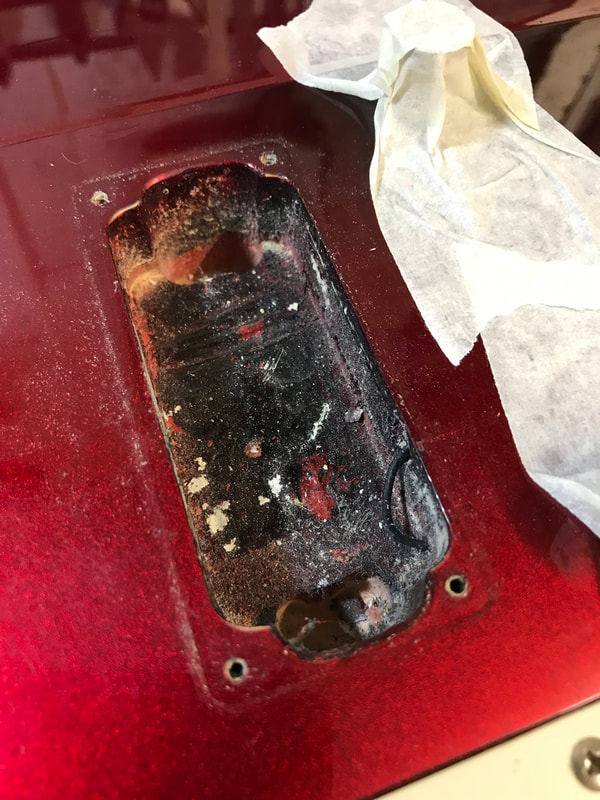
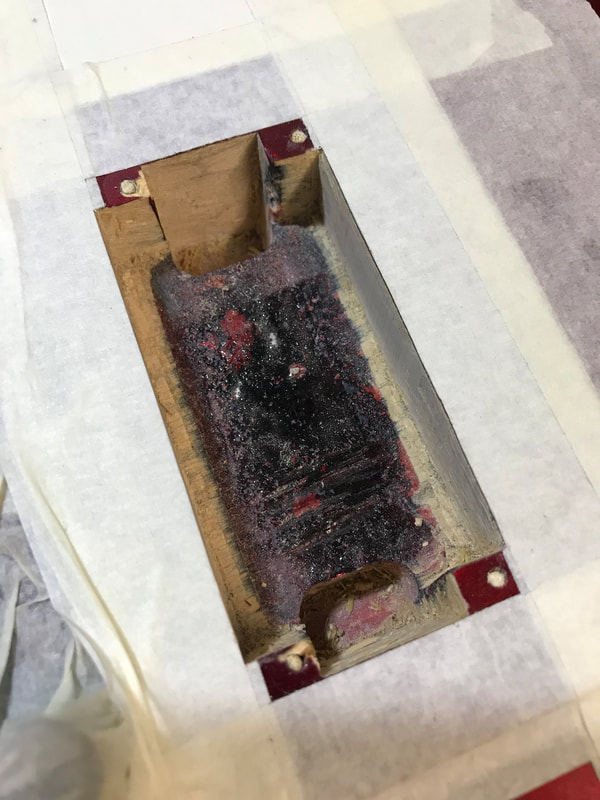
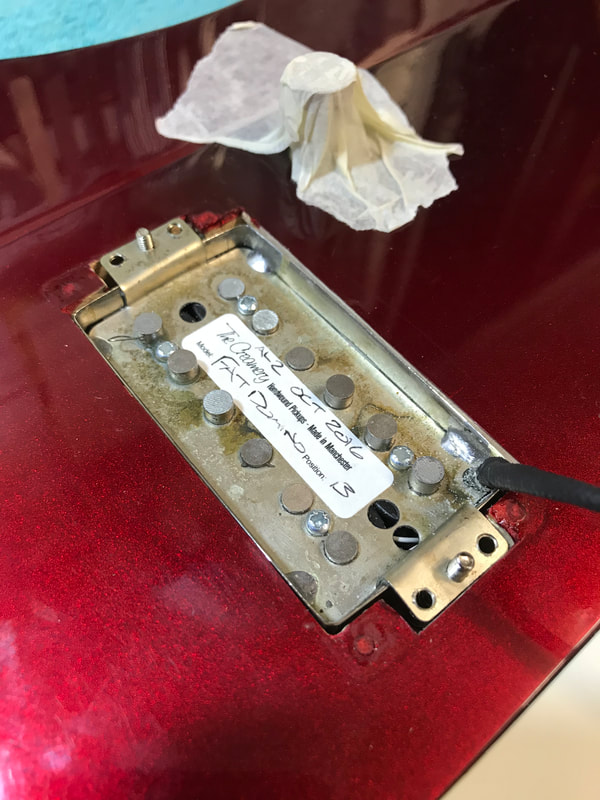
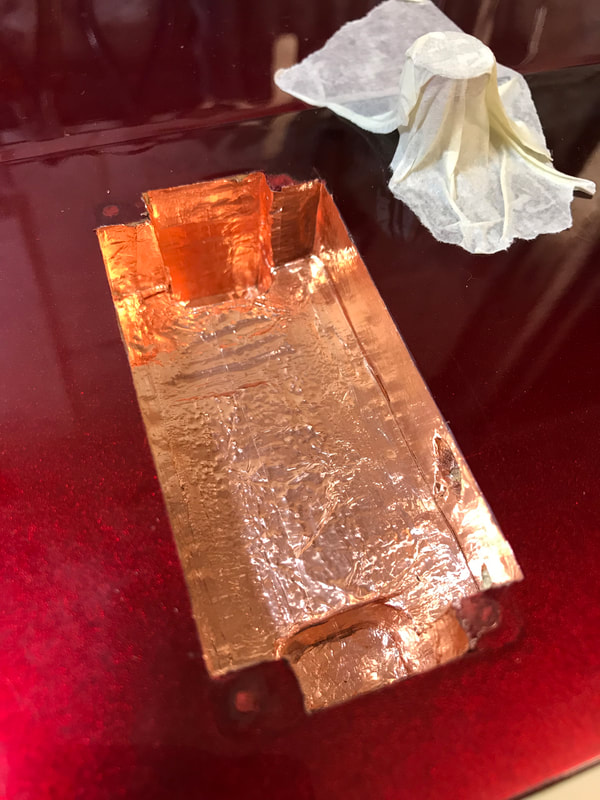
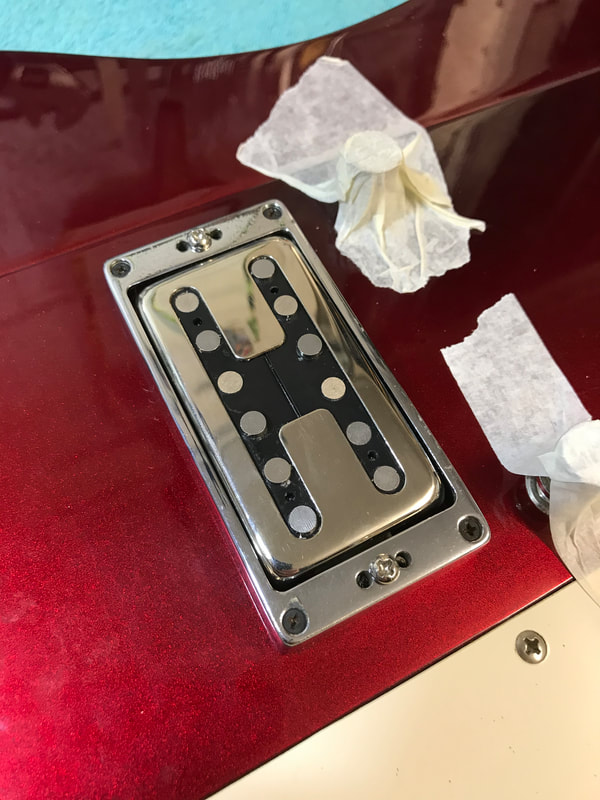
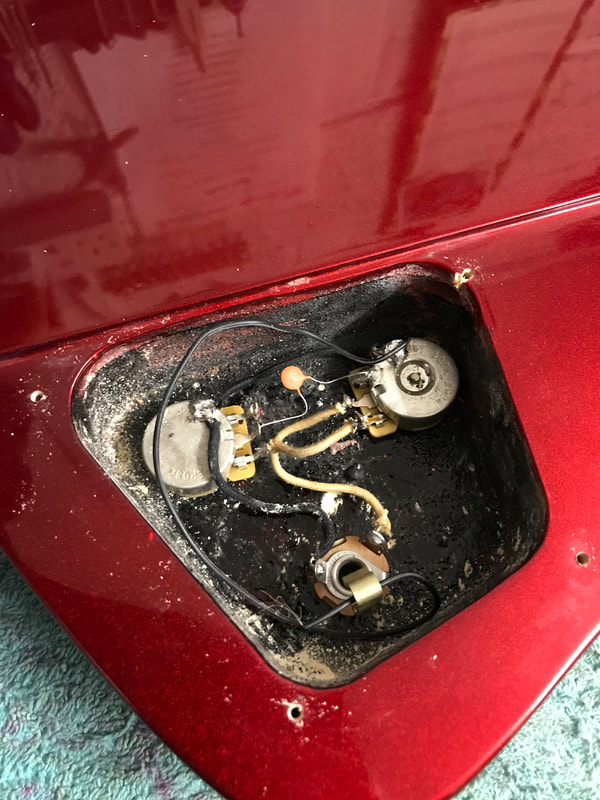
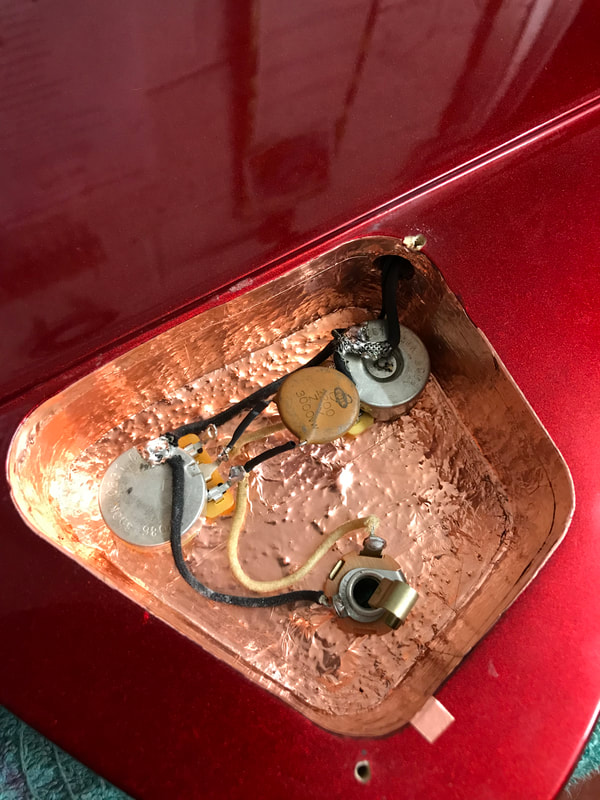
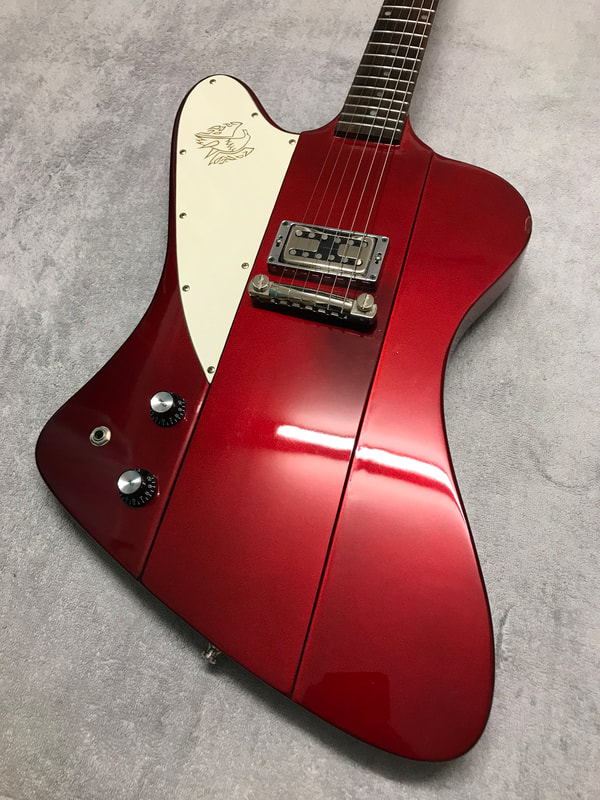
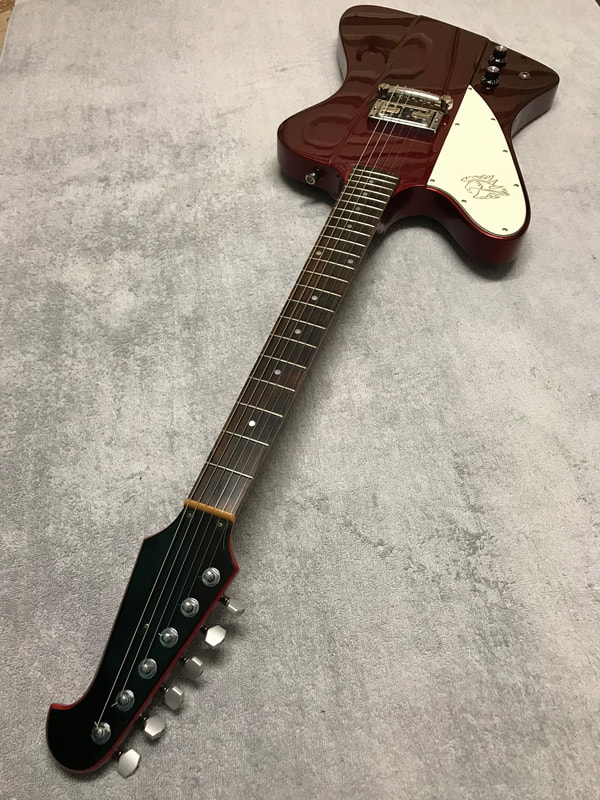
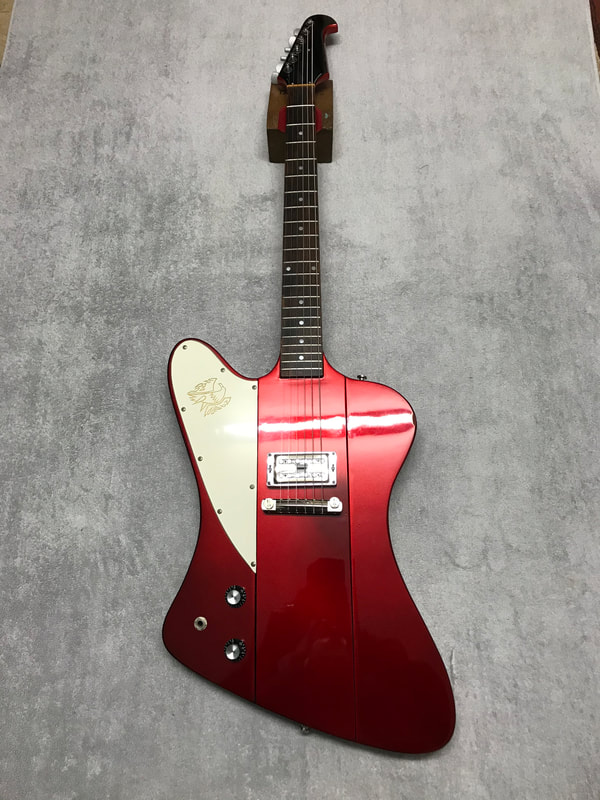
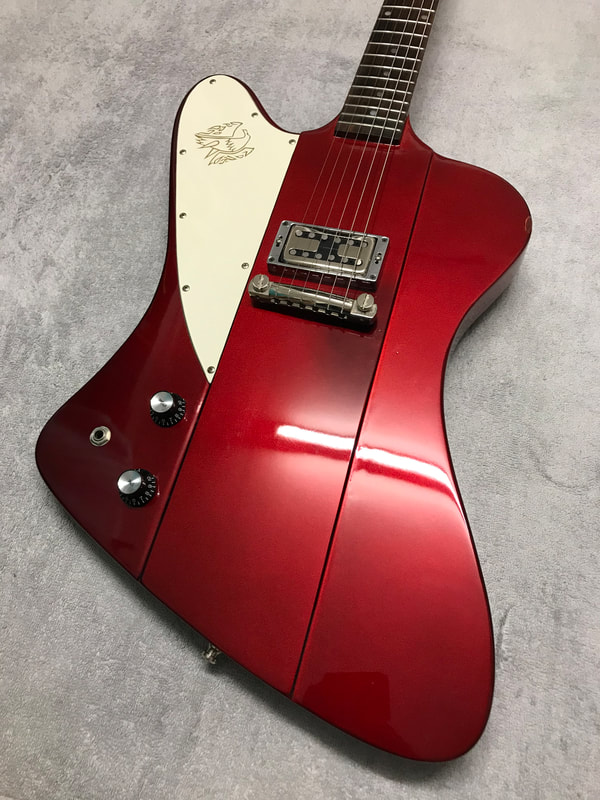
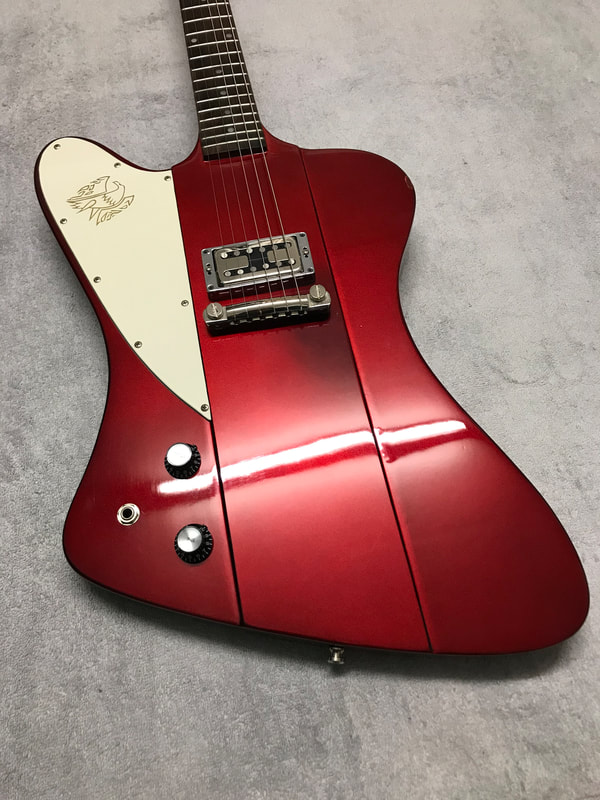
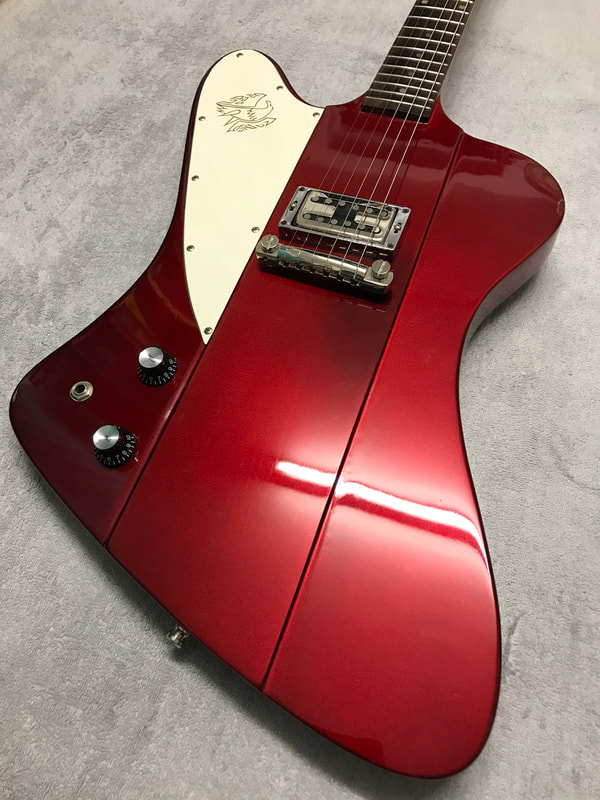
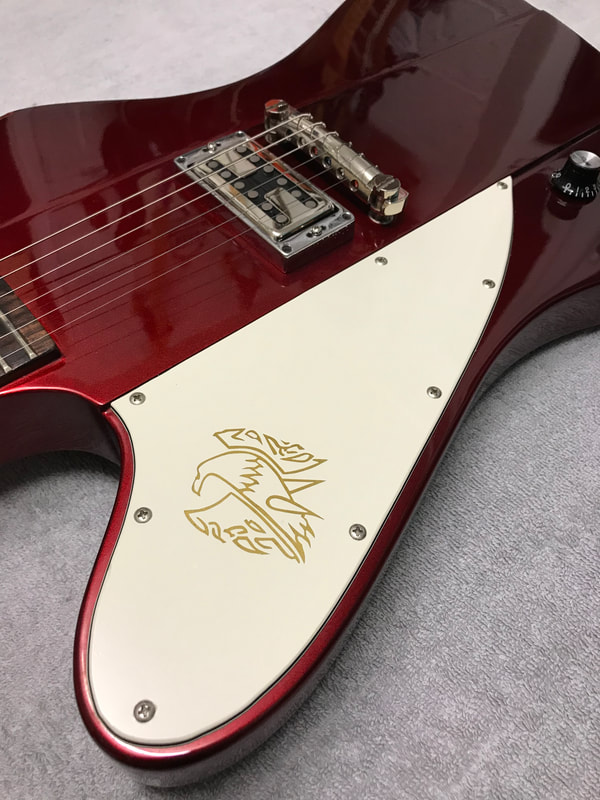
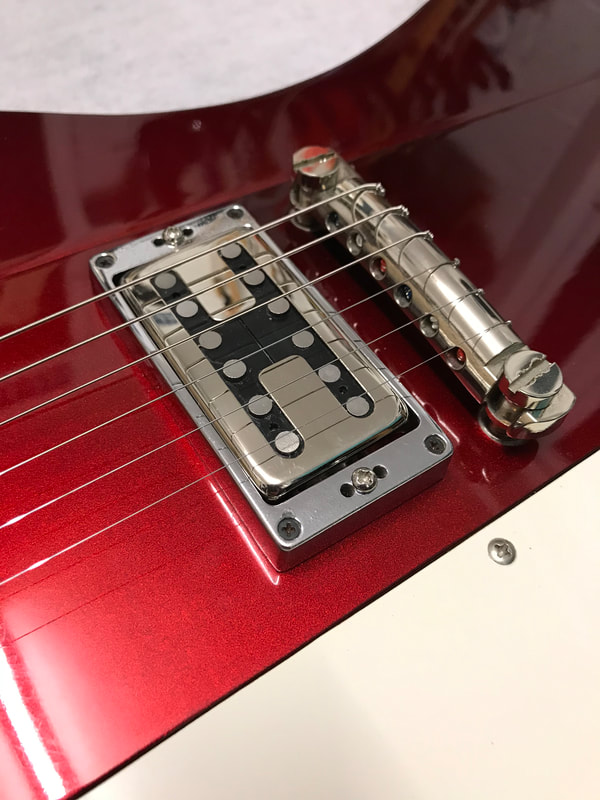
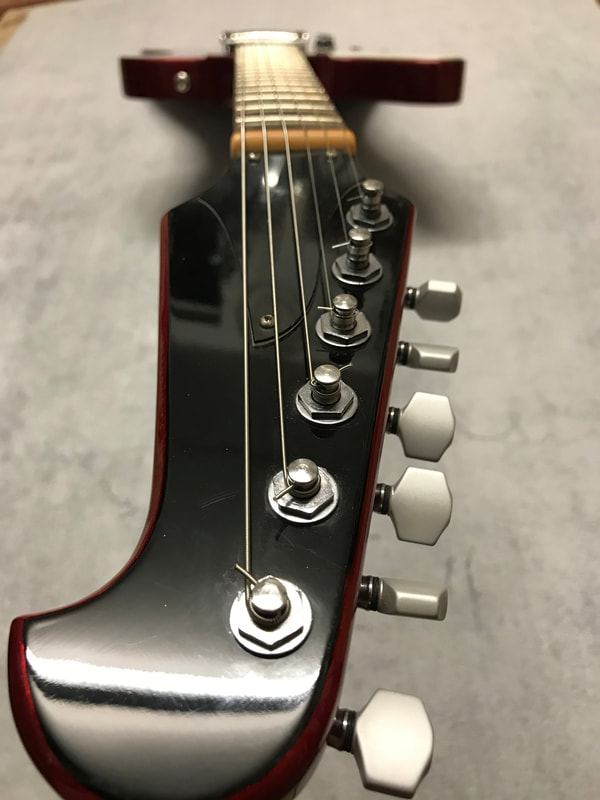
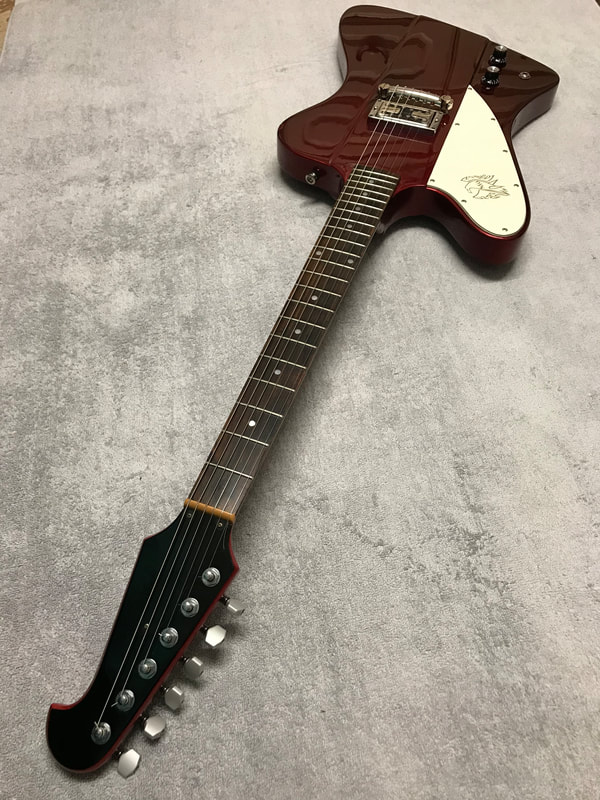
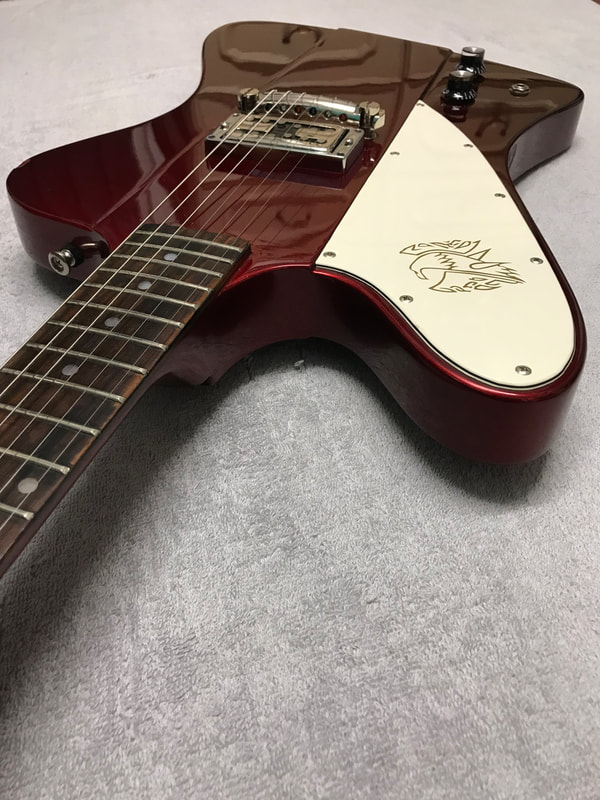
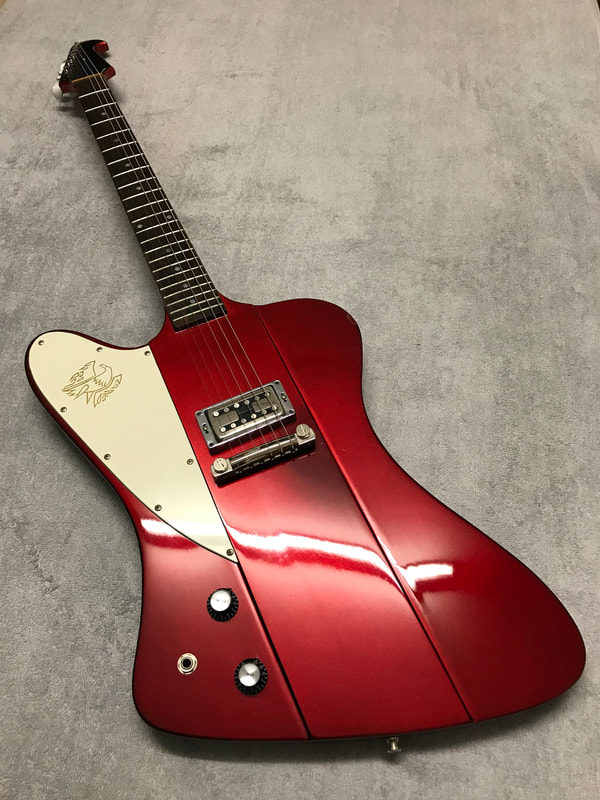
This cool and rare left handed Tokai Firebird was in the workshop for some customisation! The customer wanted a Creamery pickup fitted so the mini humbucker cavity had to be opened up to cater for the full sized humbucker! The cavities were also copper shielded at the customers request before uprated components were fitted and wired! The cavity opened up by hand precise chisel work to take the full sized humbucker
With all the work complete the guitar was restrung before being ready for the customer to collect!
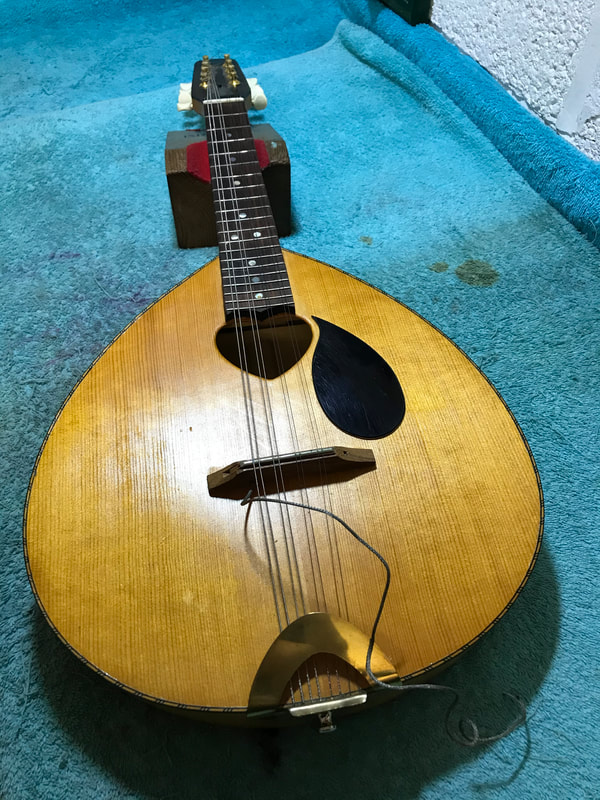
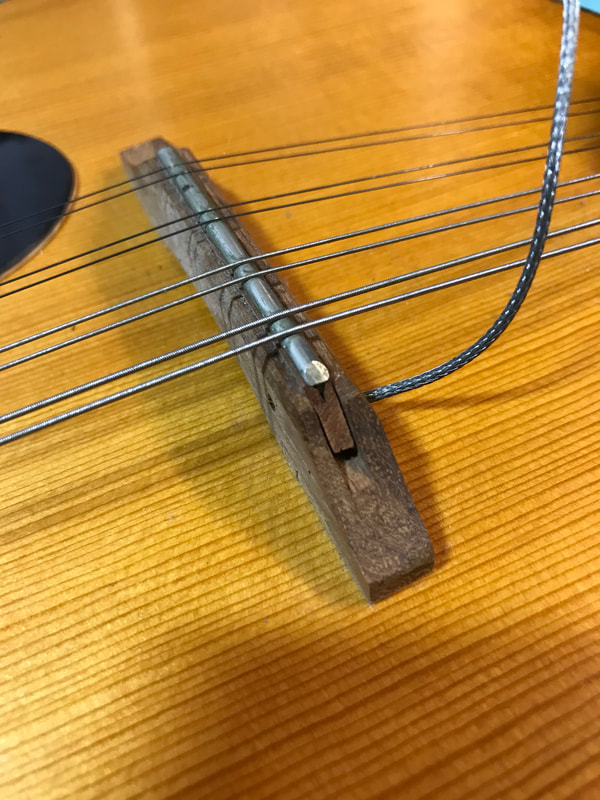
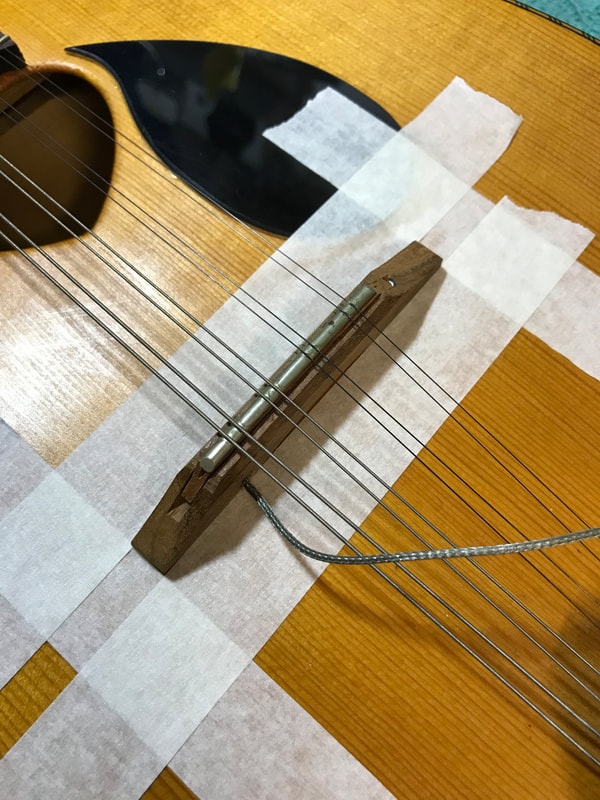
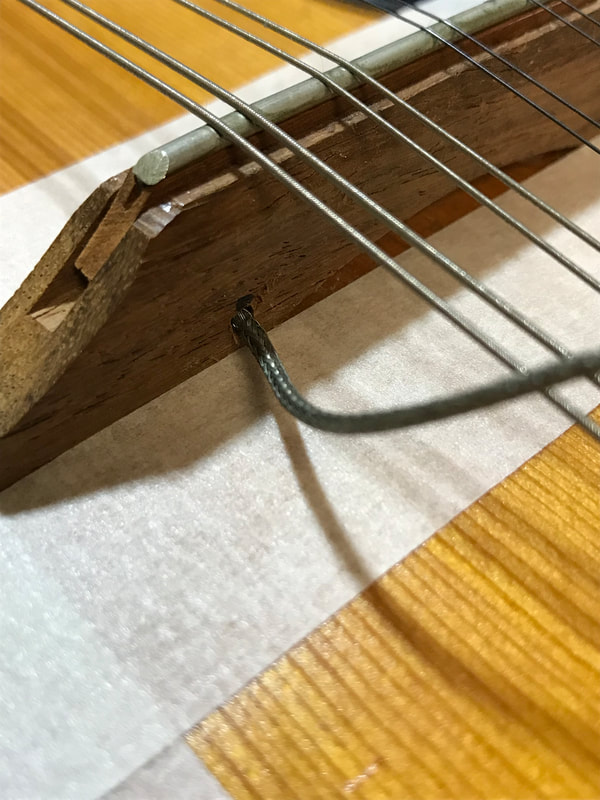
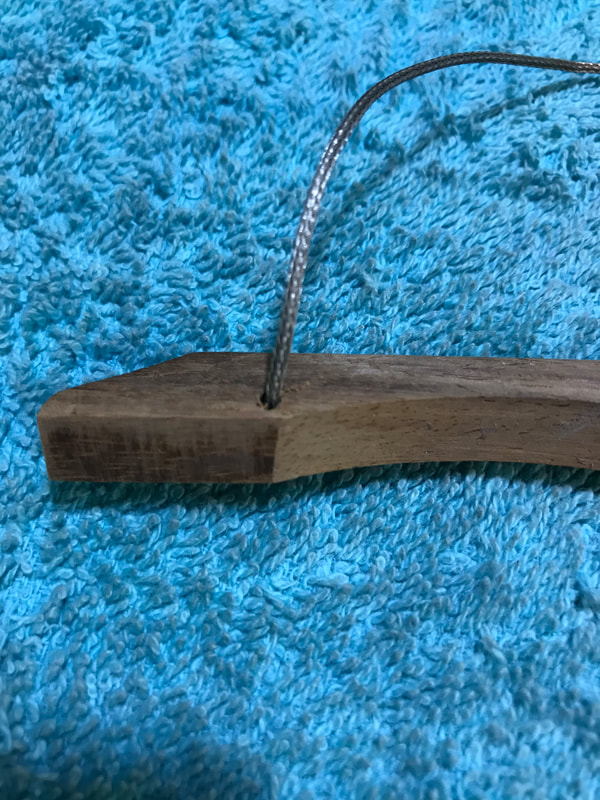
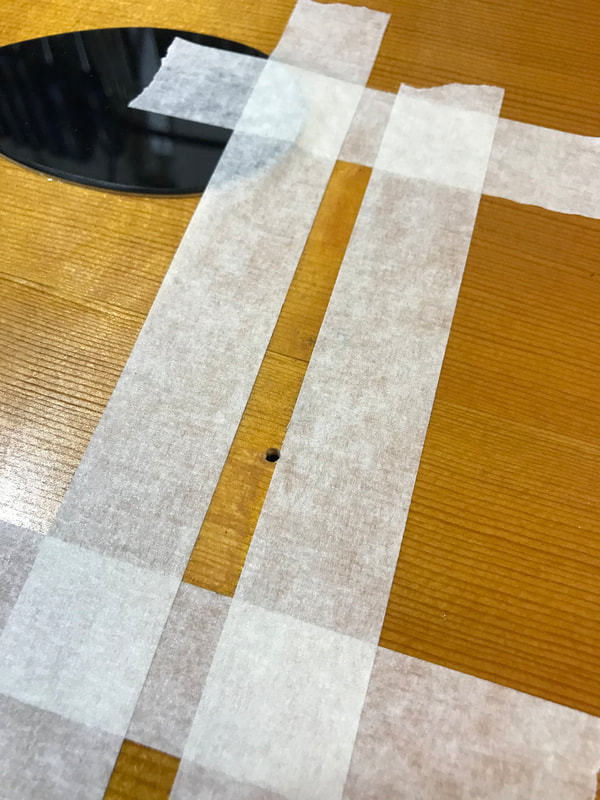
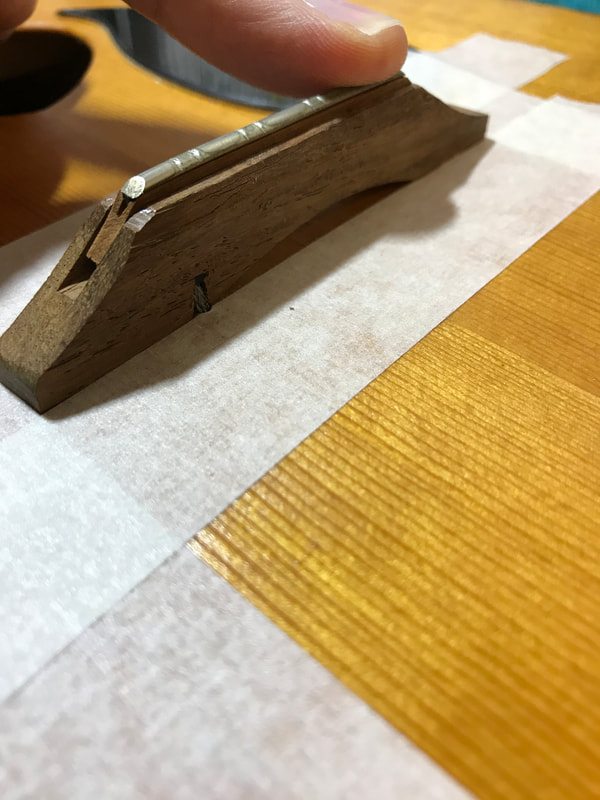
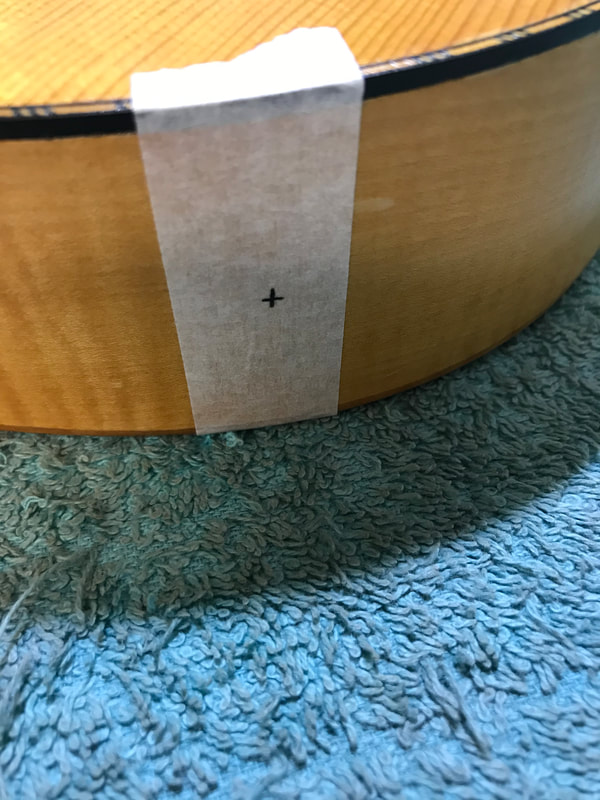
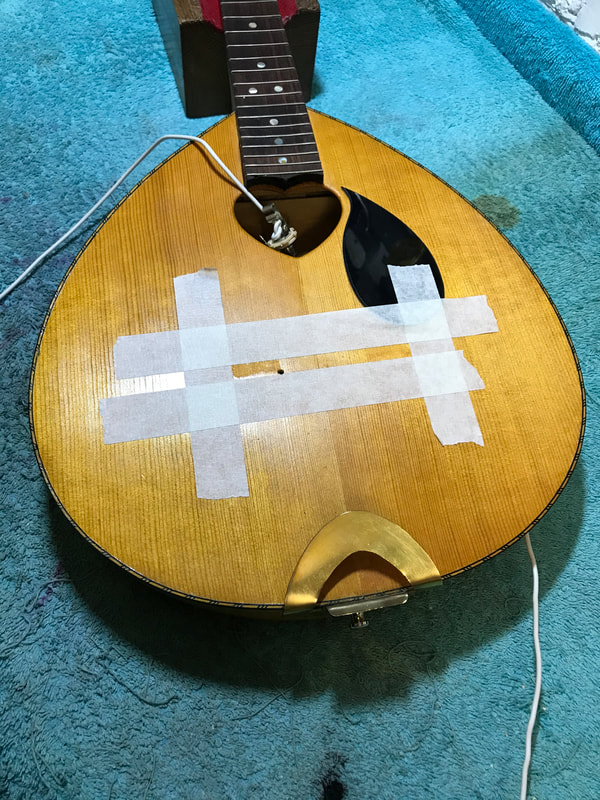
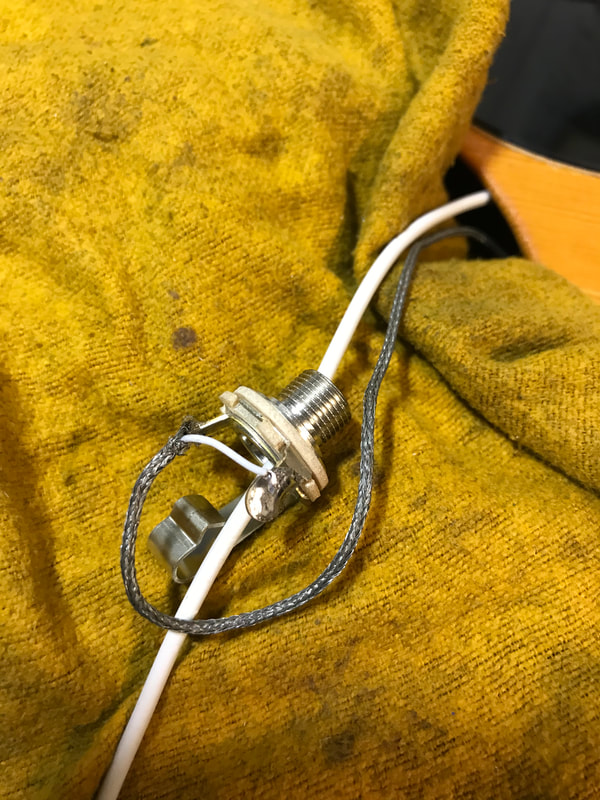
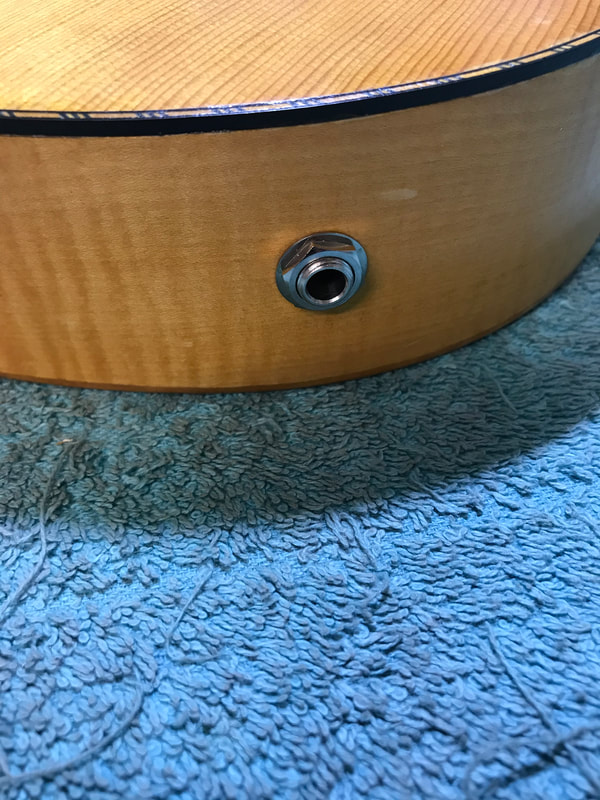
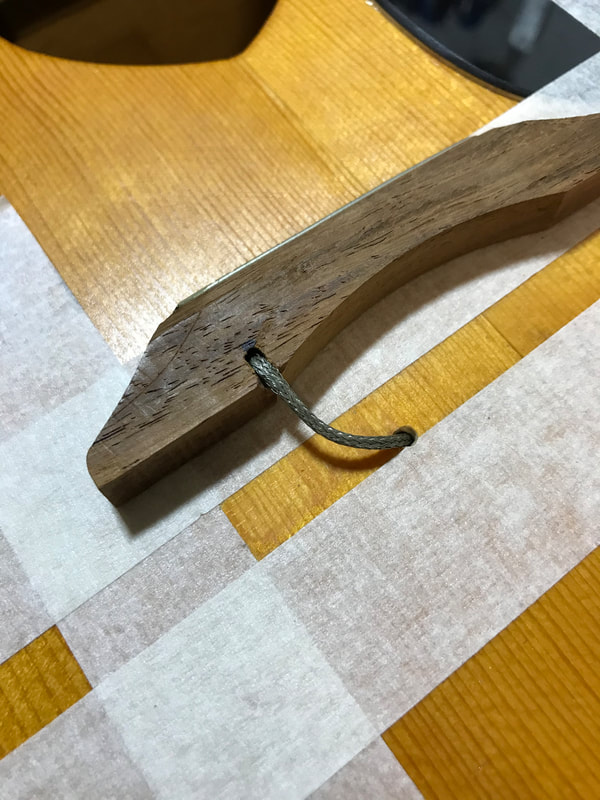
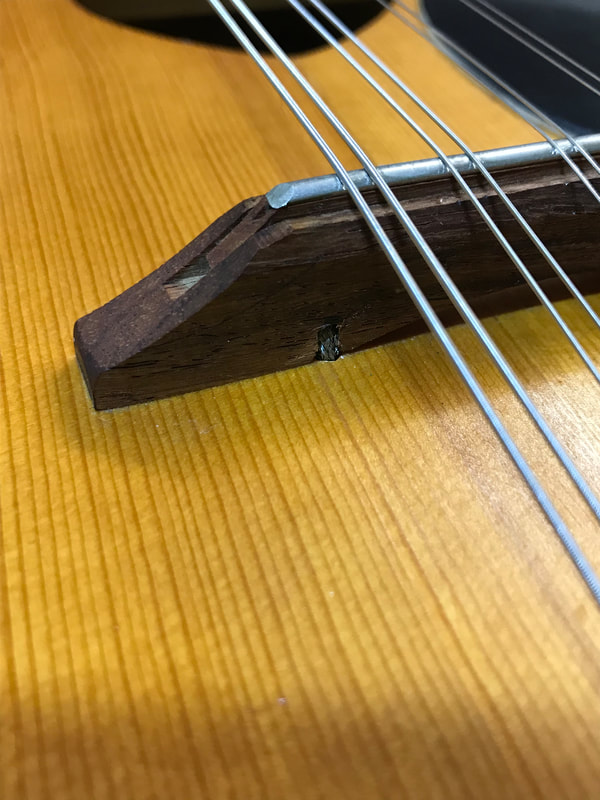
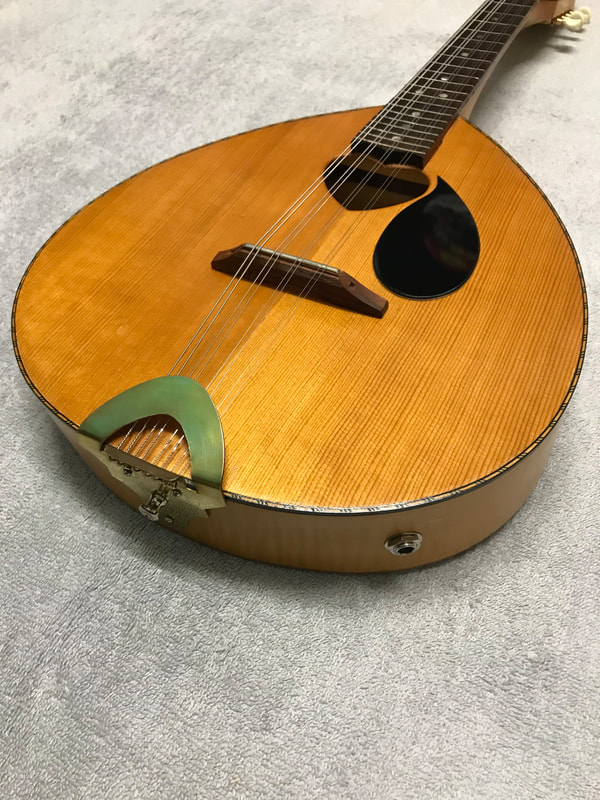
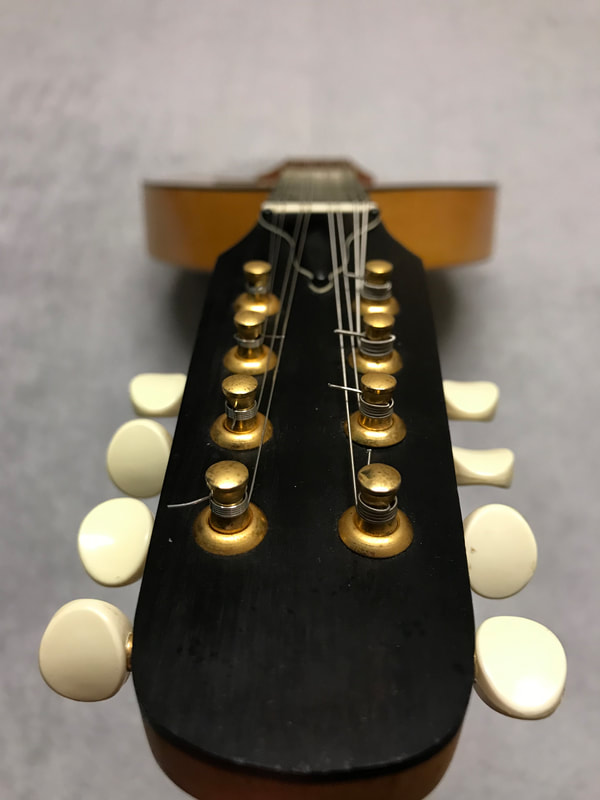
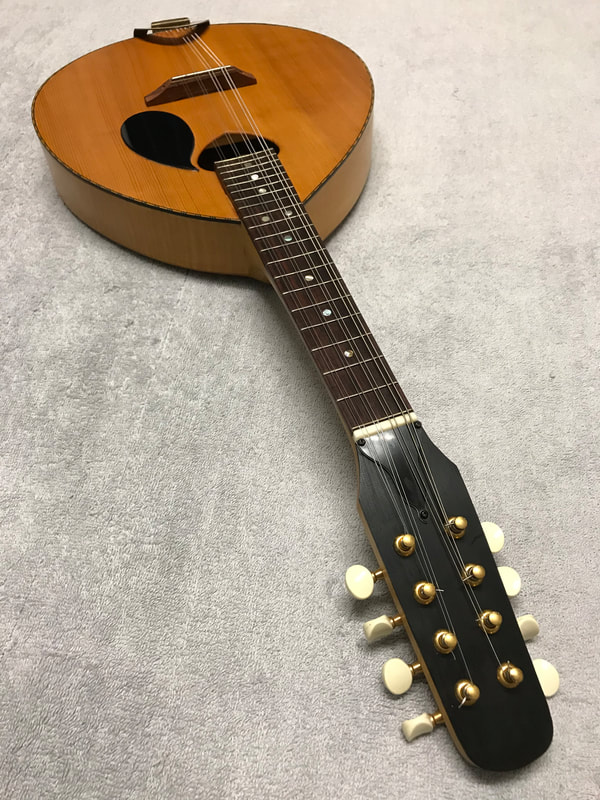
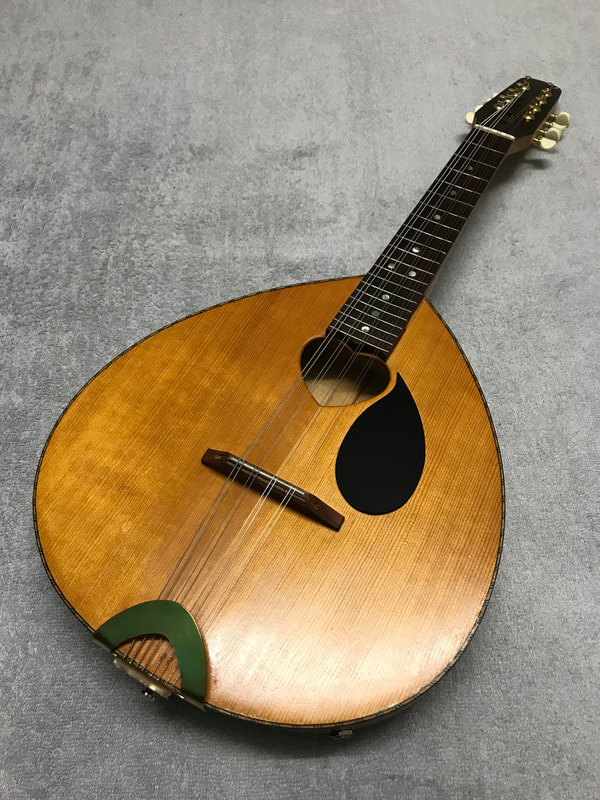
The wire came out the back of the bridge, it needed to be sunk inside the body and then wired to a jacksocket. It also needed a bit of work on the bridge, to change the angle of the wire exiting the bridge. The hole was drilled to give the wire access into the body, the bridge was carefully cut to allow the wire to sit inside the bridge! The bridge back on the body with the wire now going into the body! Marking out the jacksocket hole before drilling, fitting and wiring the Switchcraft jacksocket.
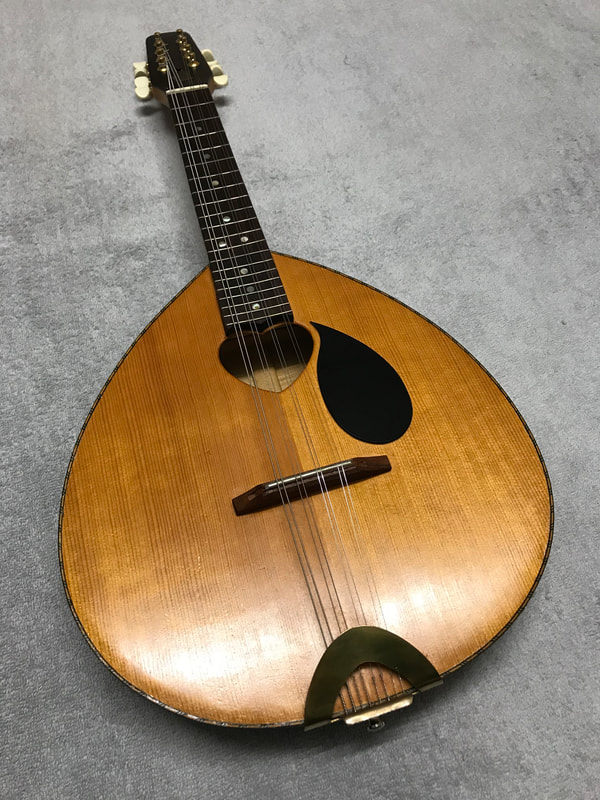
Due to the small heart shaped sound hole leading to extremely limited access, a trick method of wiring and fitting the jacksocket had to be used! With all the work done, the bridge was restrung with only a small bit of the pickup wire left showing!
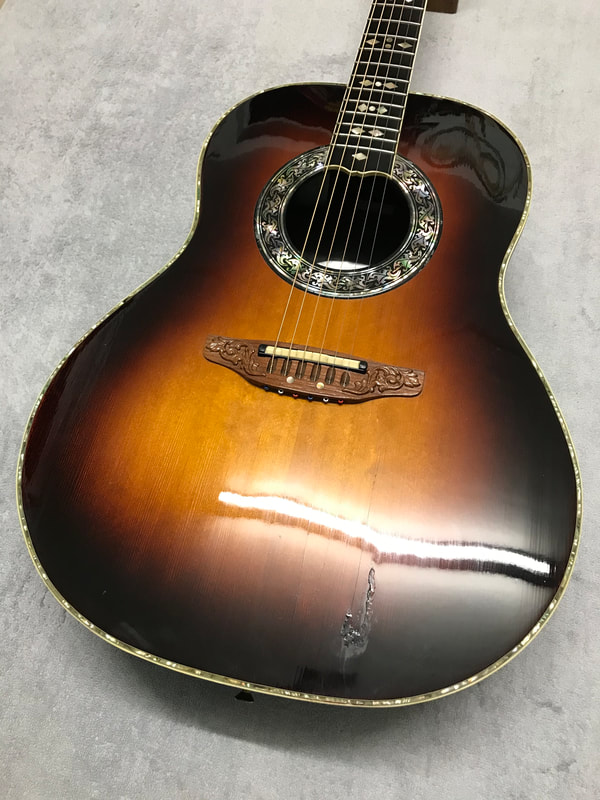
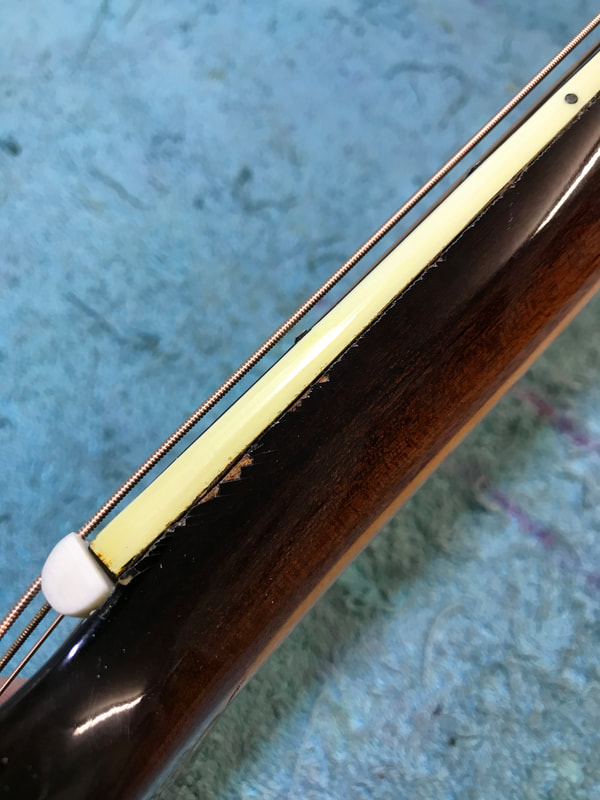
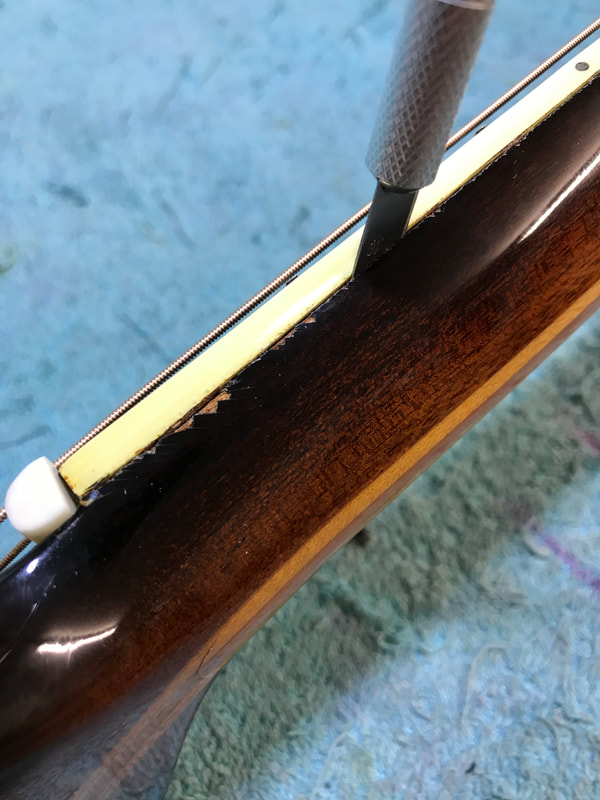
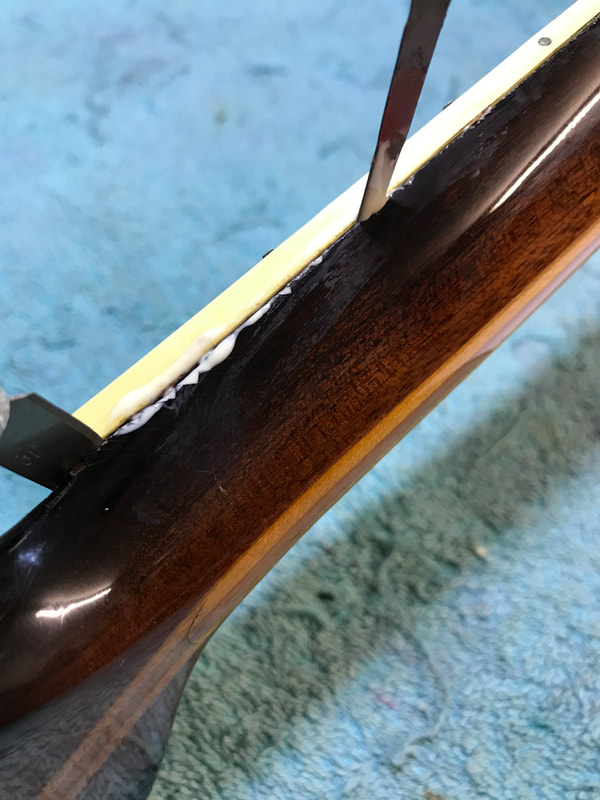
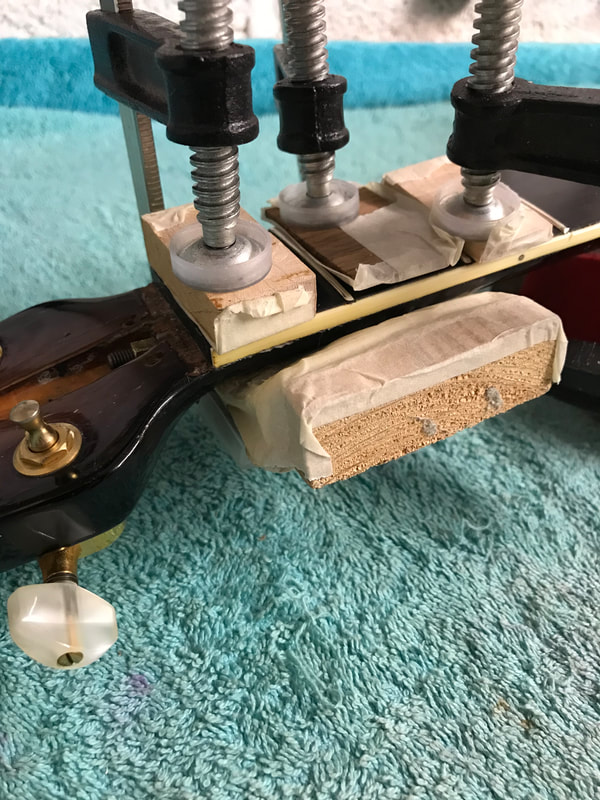
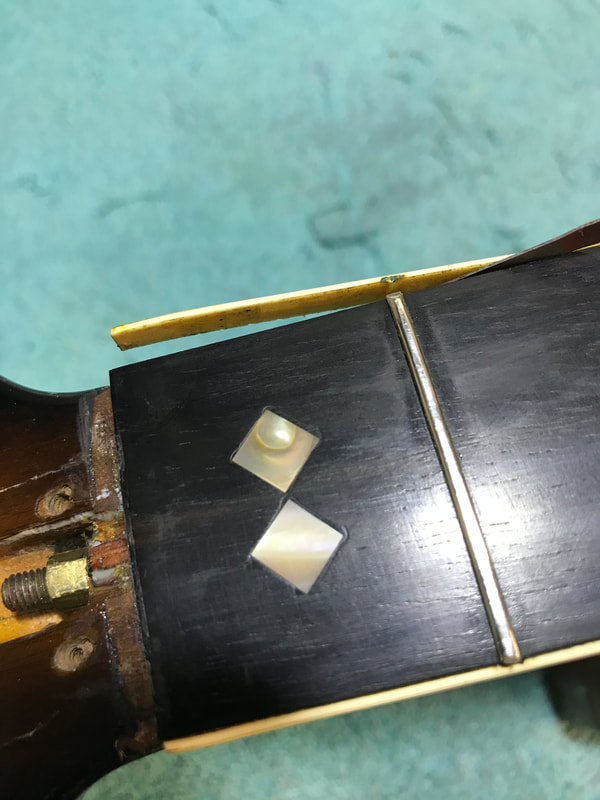
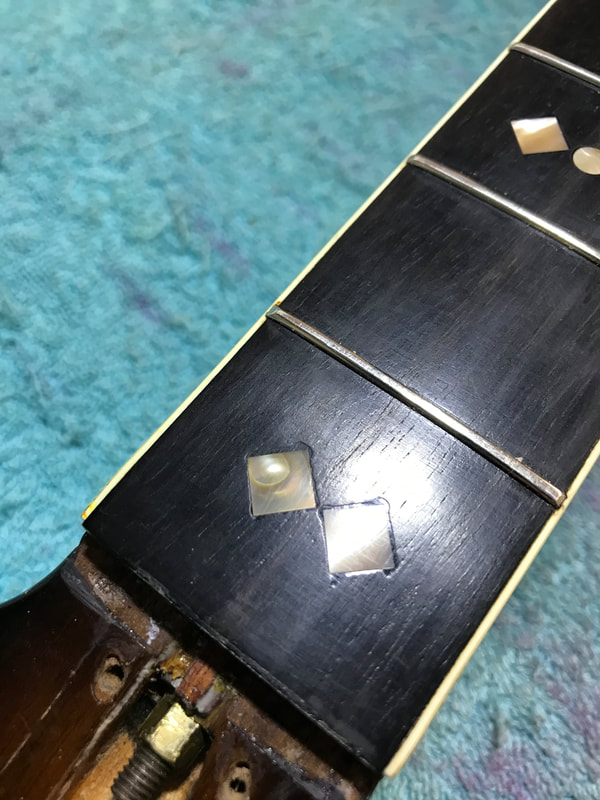
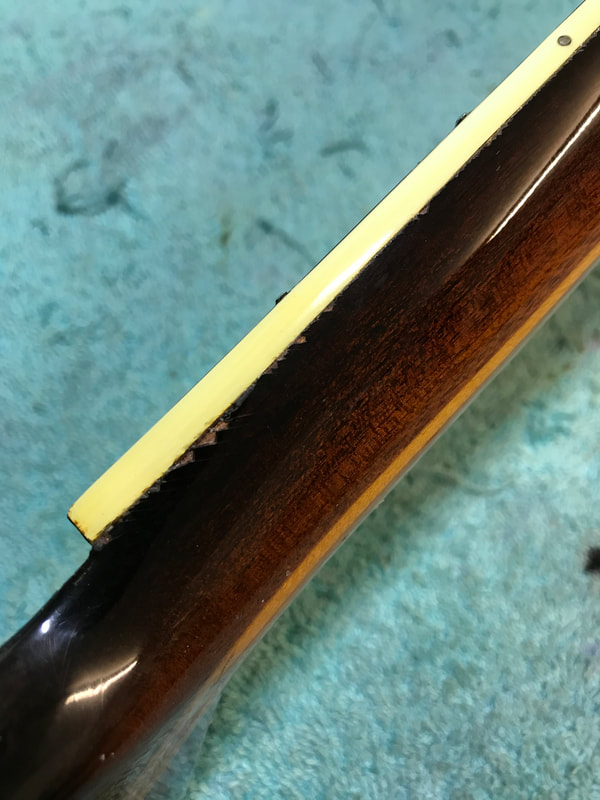
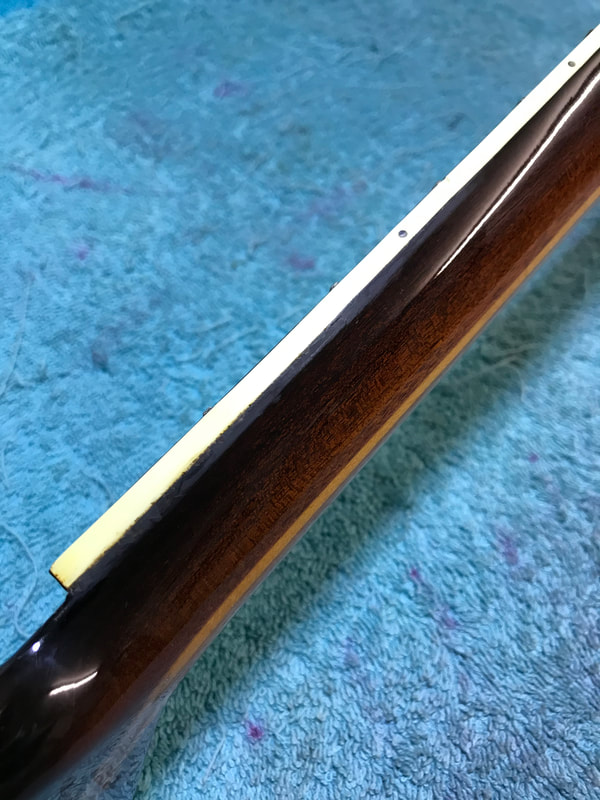
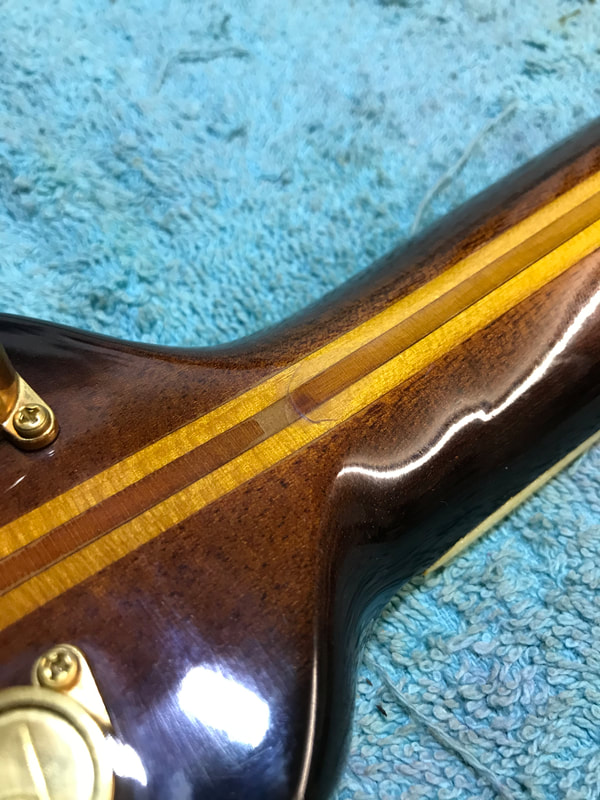
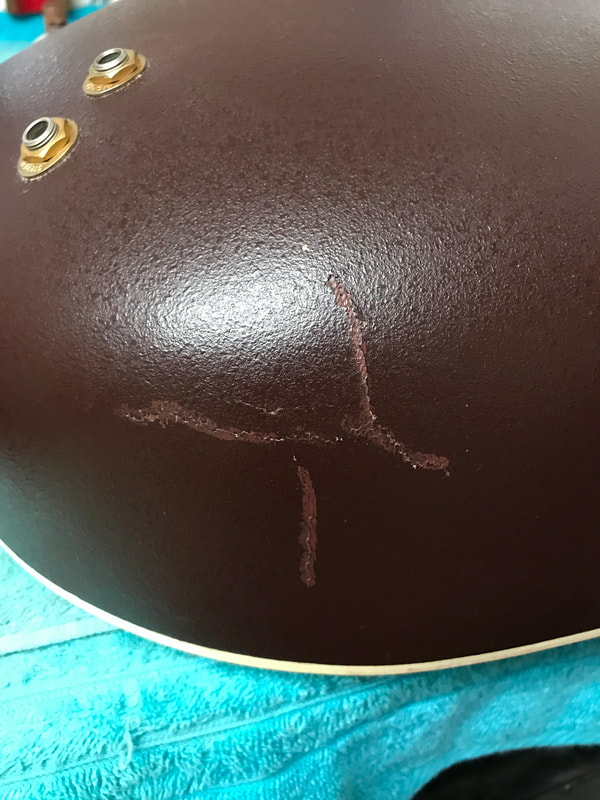
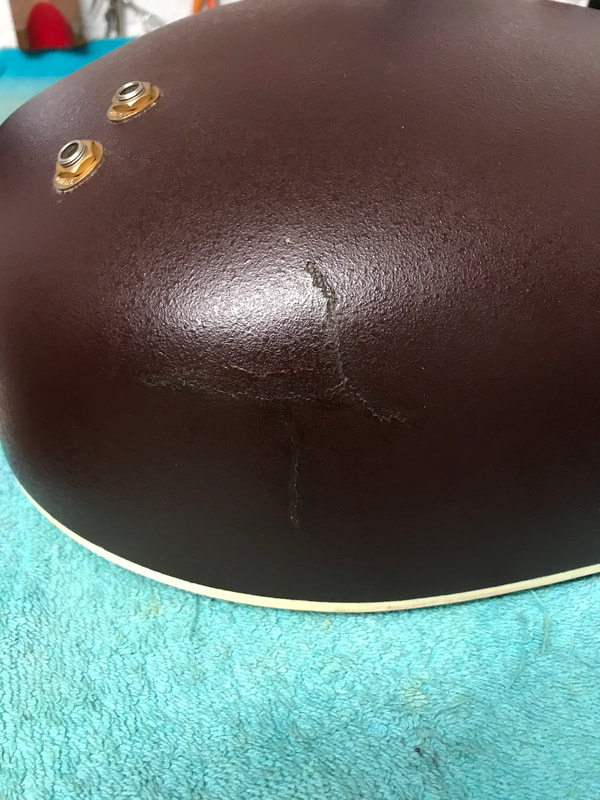
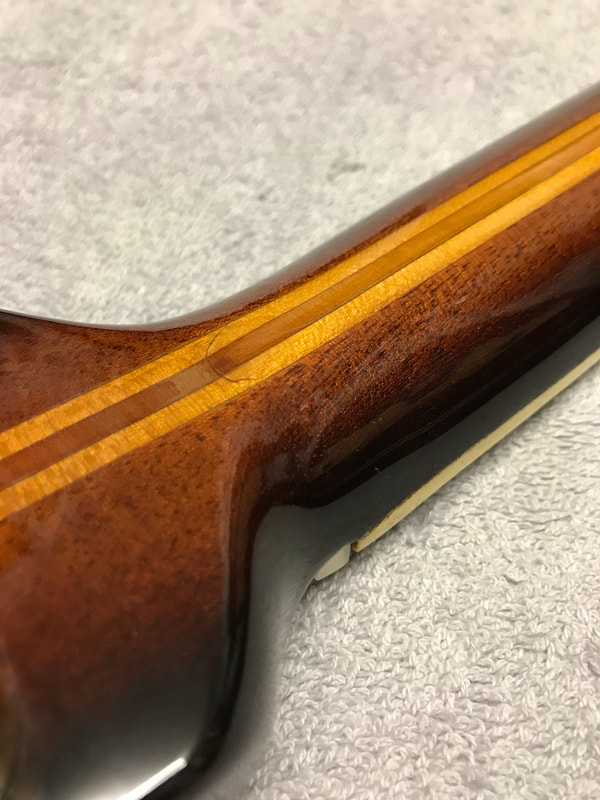
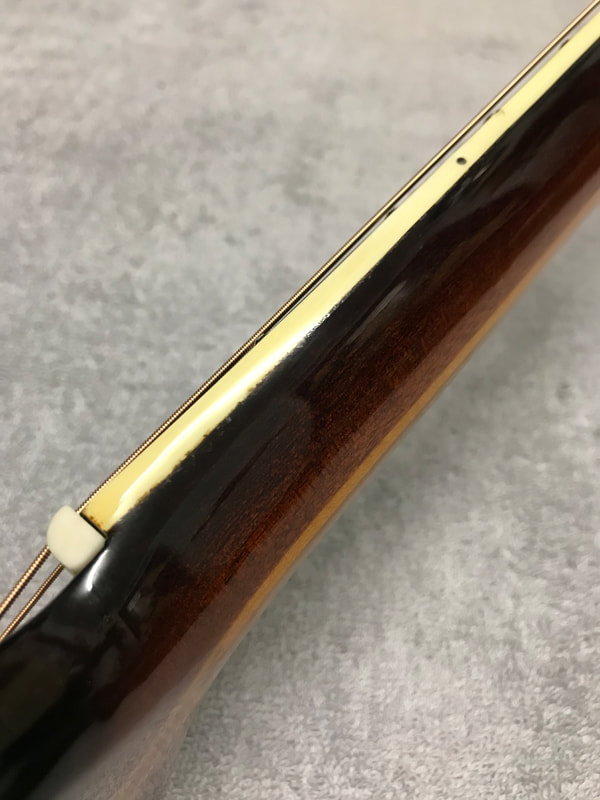
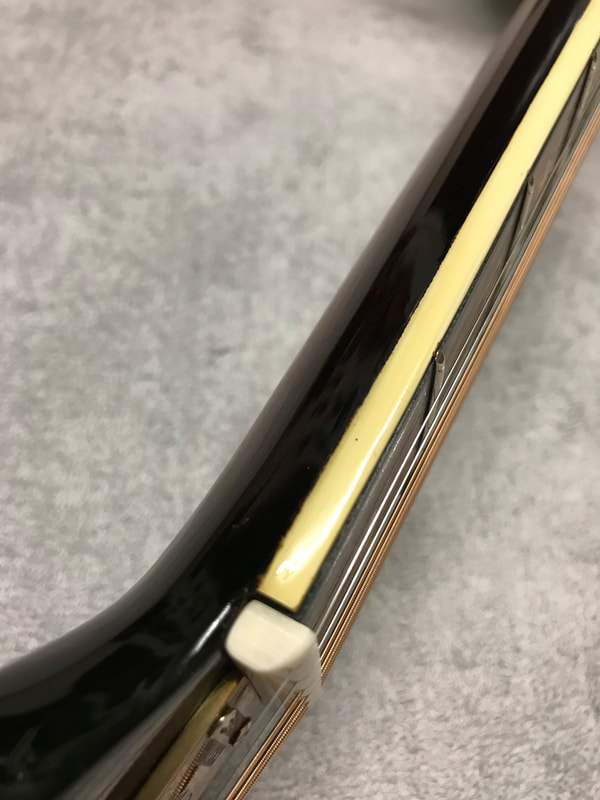
On the initial assessment, the customer was concerned about the crack that had been repaired on the top of the guitar. When we used our inspection camera inside the acoustic, we discovers that the top had been repaired and reenforced with extra bracing! This guitar certainly had an interesting life! The neck as it was brought in, the crack ran for quite a length along the fingerboard. Once the chipped lacquer was cleaned away the depth of the crack became more apparent, it was such that a surgical blade could be inserted without any effort!
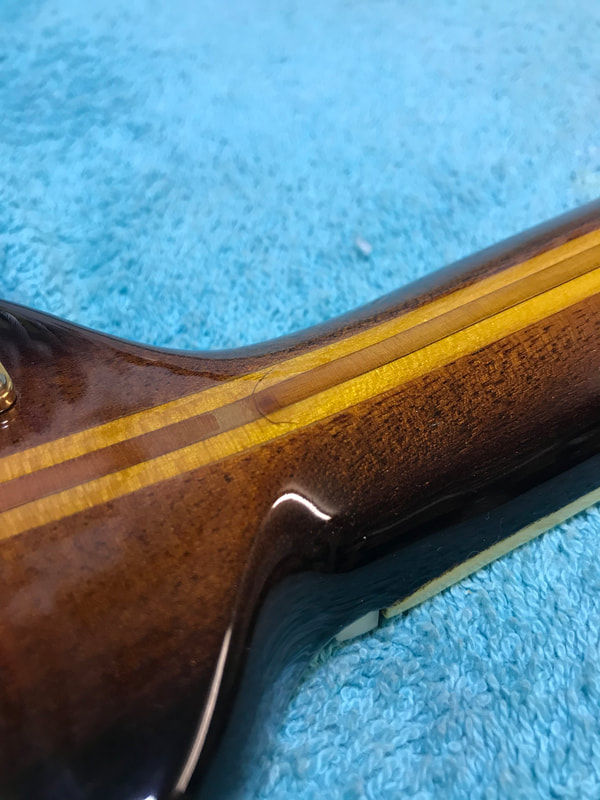
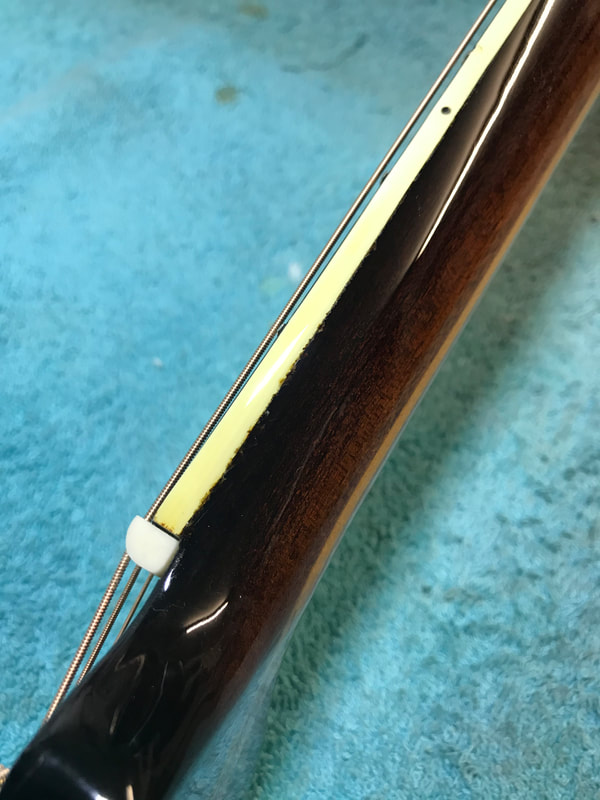
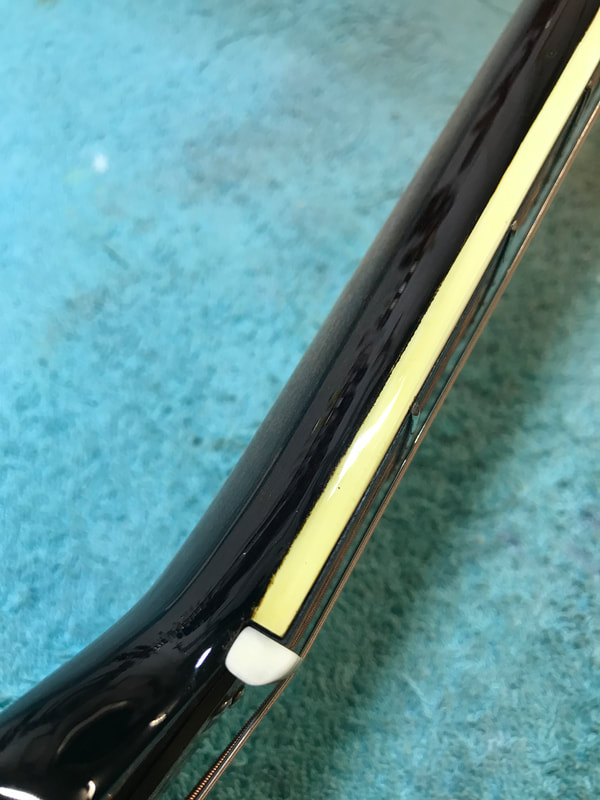
Once dry and the clamps removed, the loose binding on the treble side that had come away due to the crack could be sorted. Stain was added to blend the chips were exposed wood was showing. Once the stain was added, the damaged area was flattened back before the refinishing work could begin.
With all the repair work complete, the guitar was setup with a low action before being ready to collect!
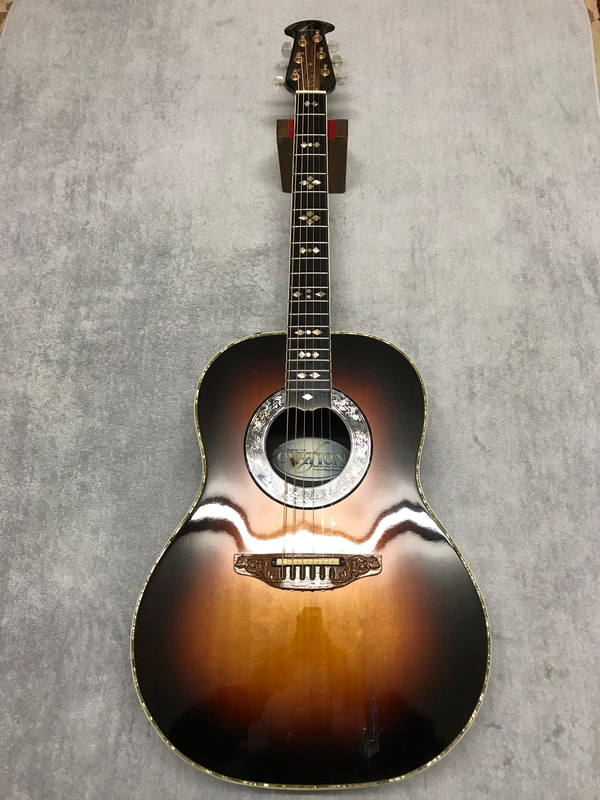
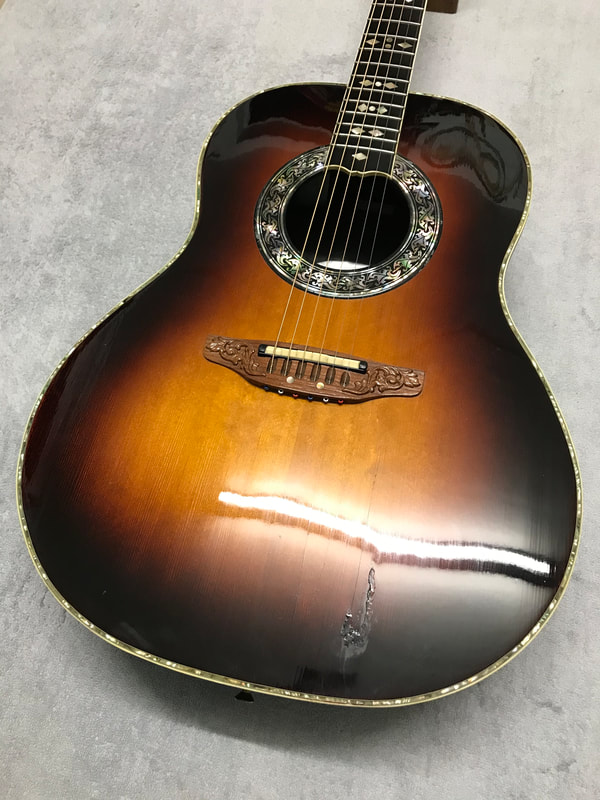
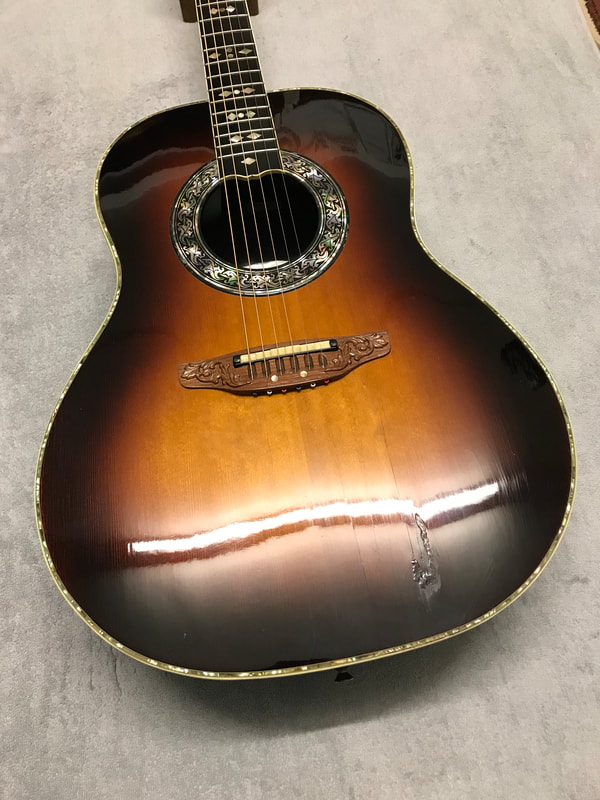
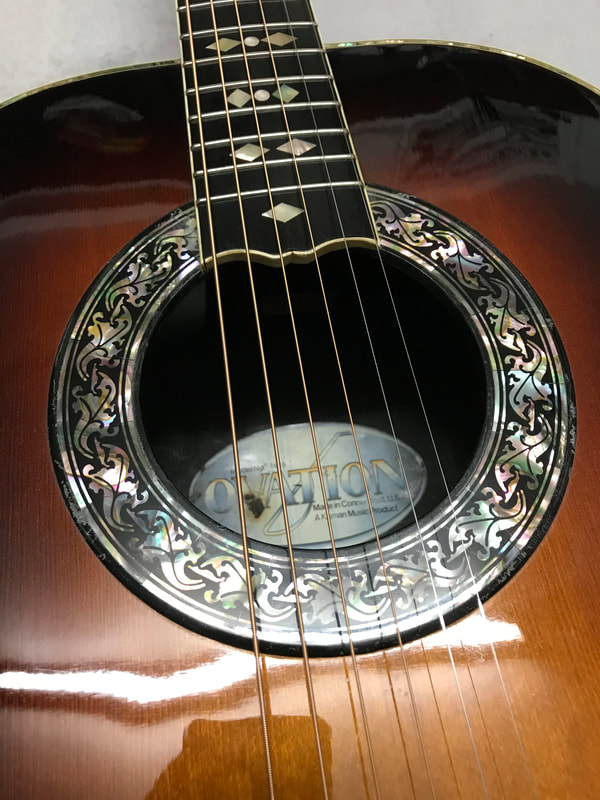
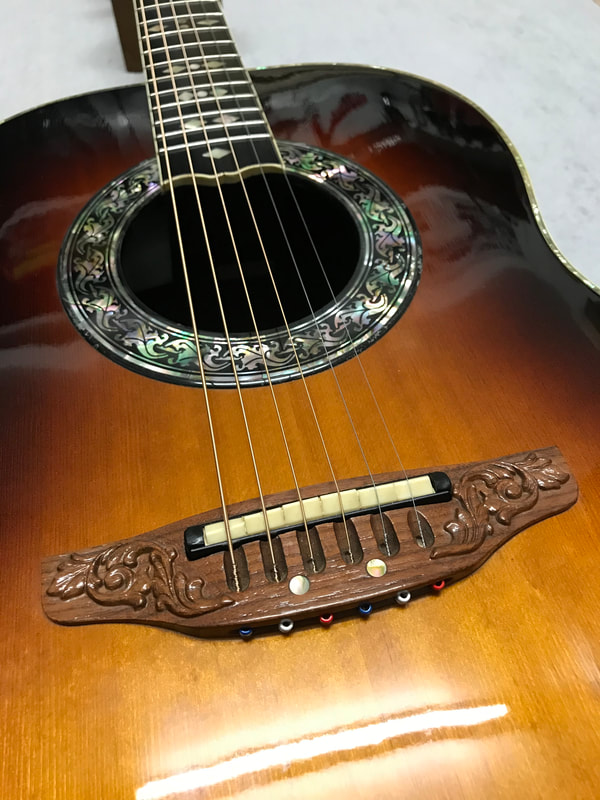
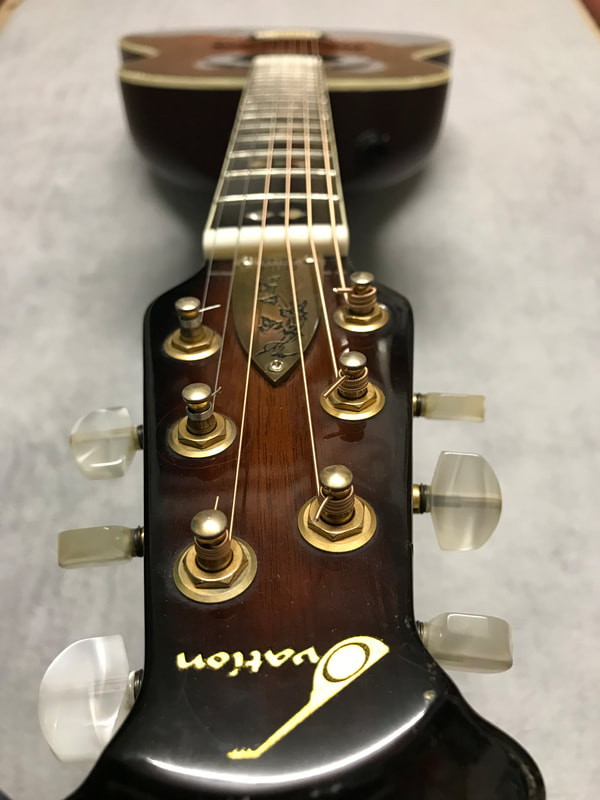
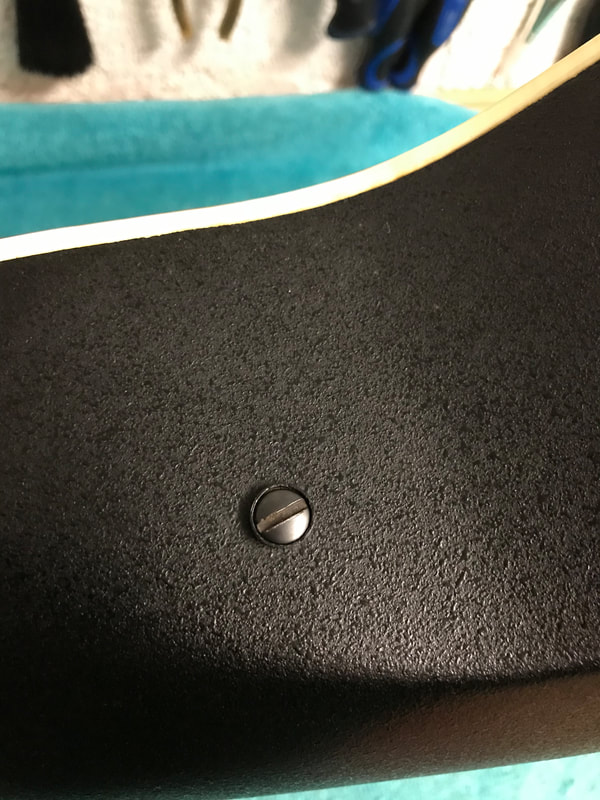
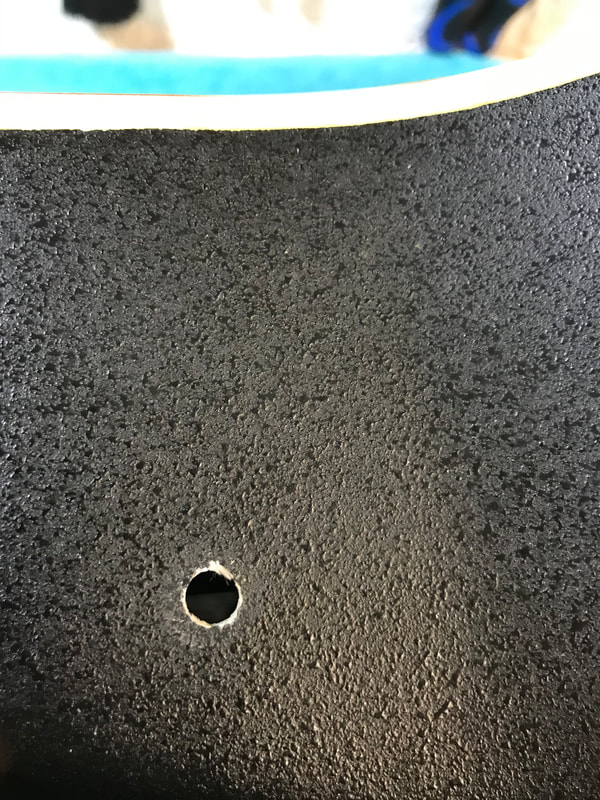
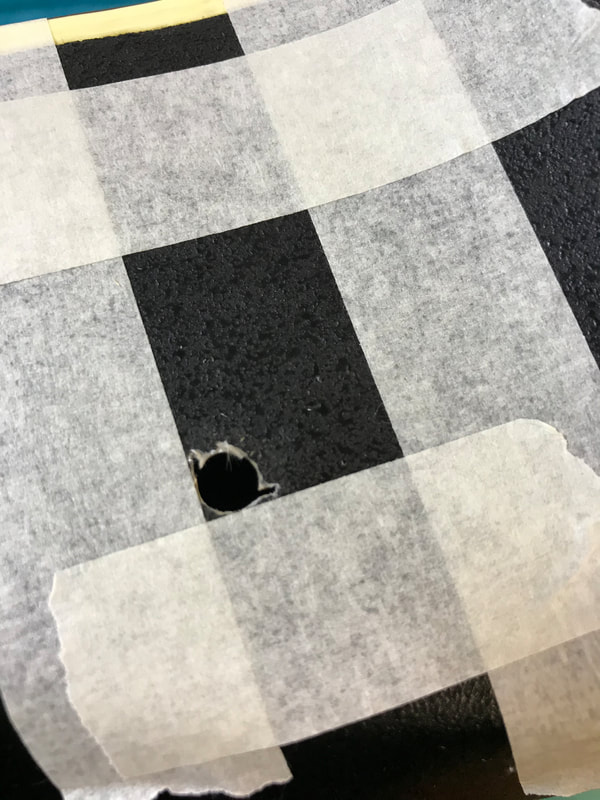
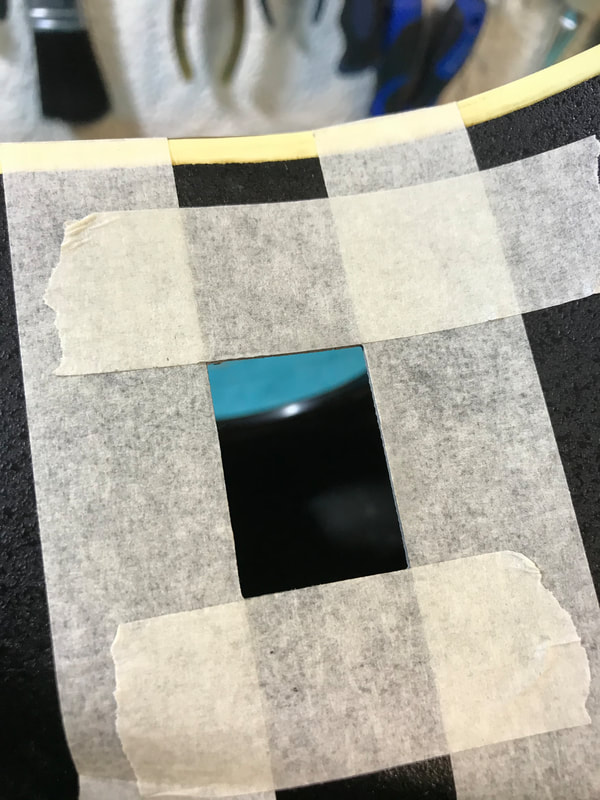
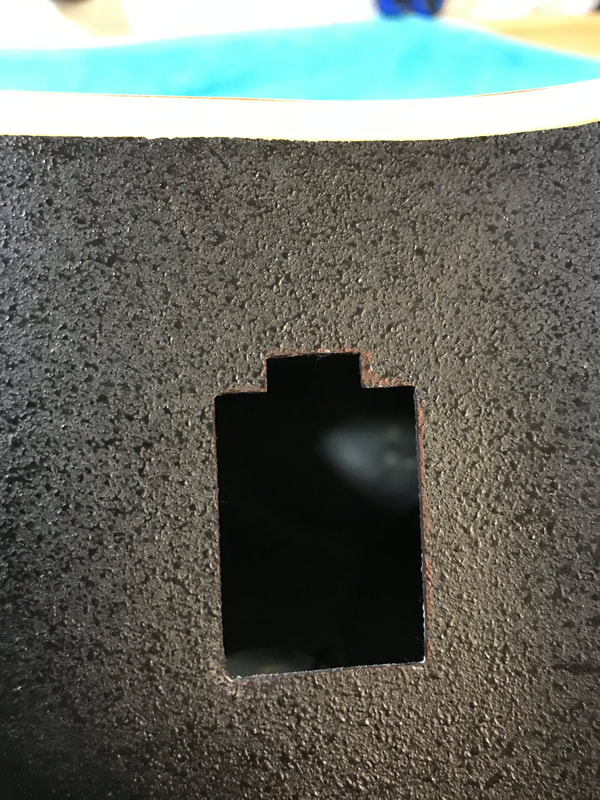
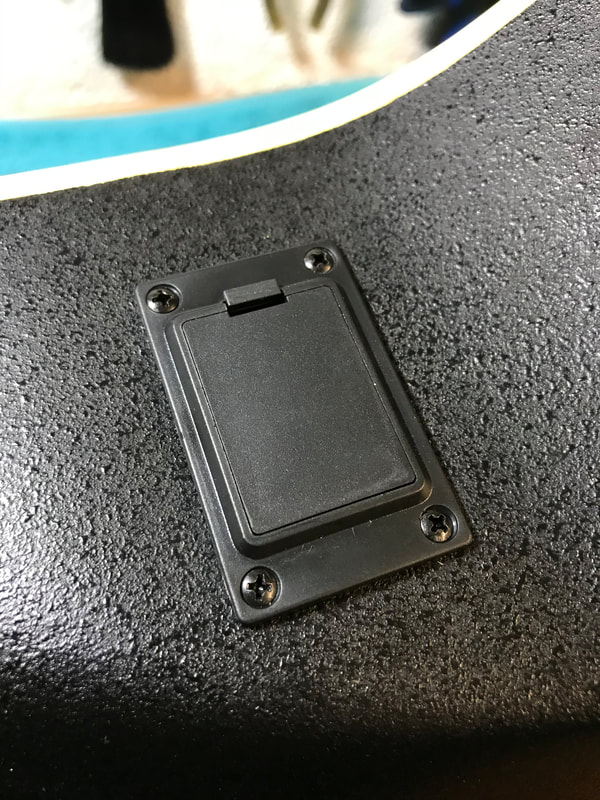
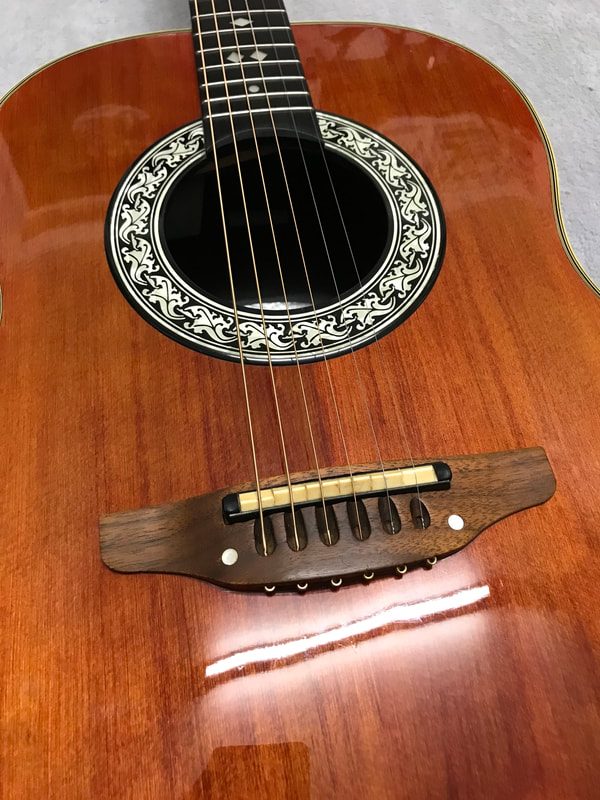
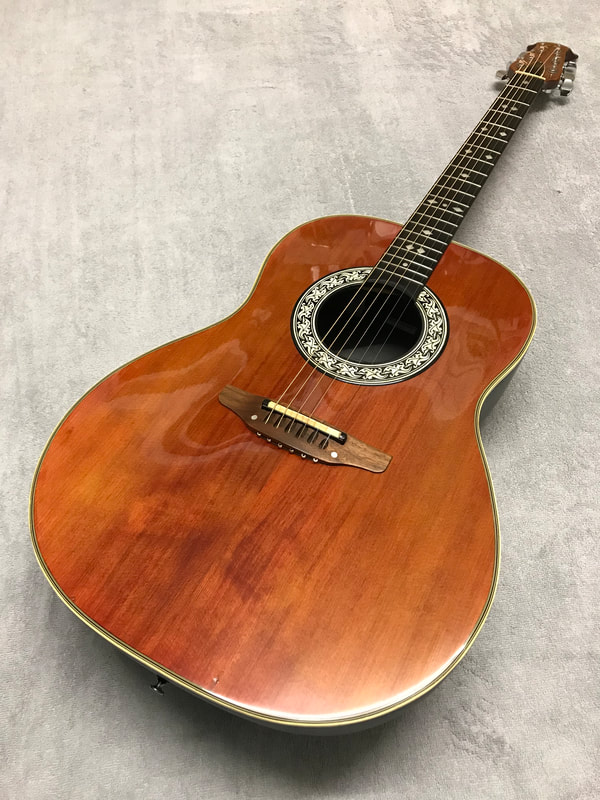
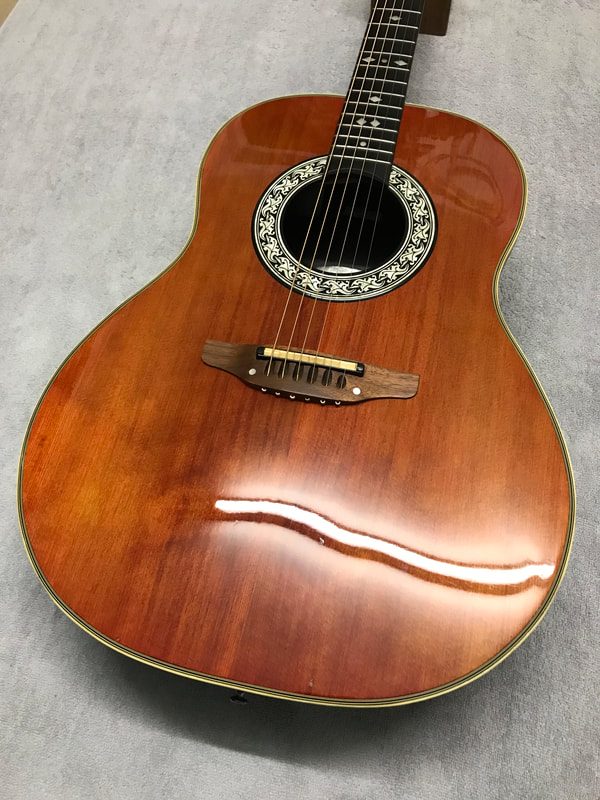
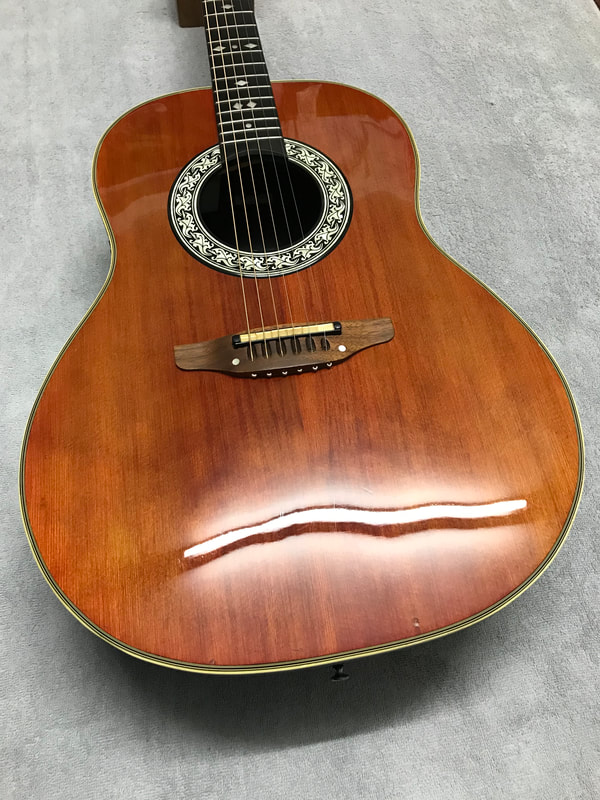
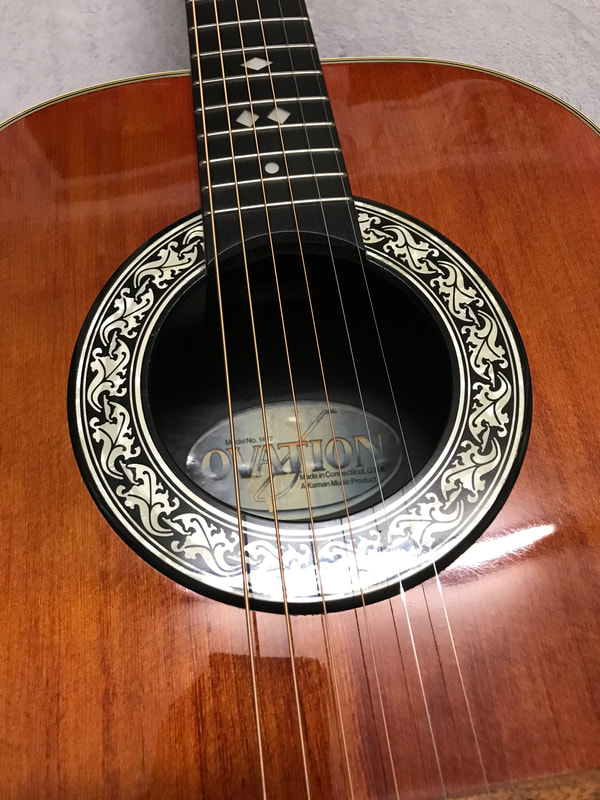
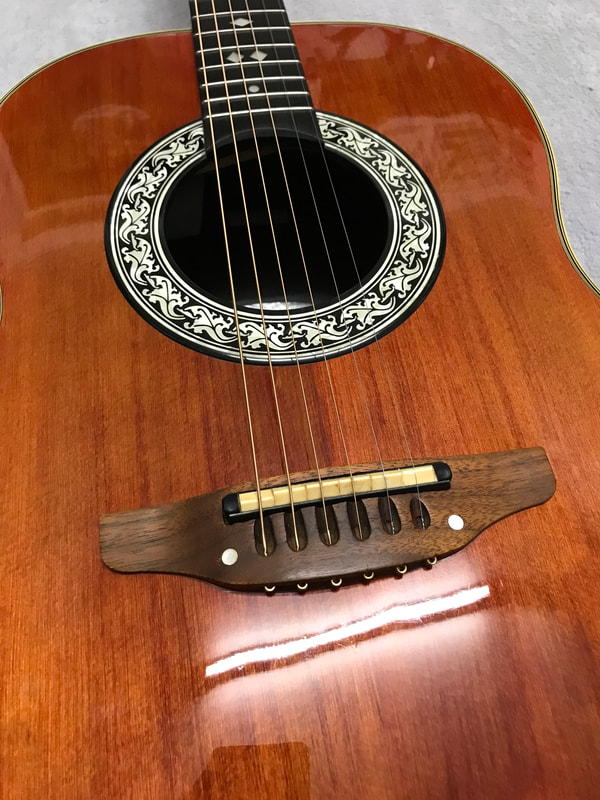
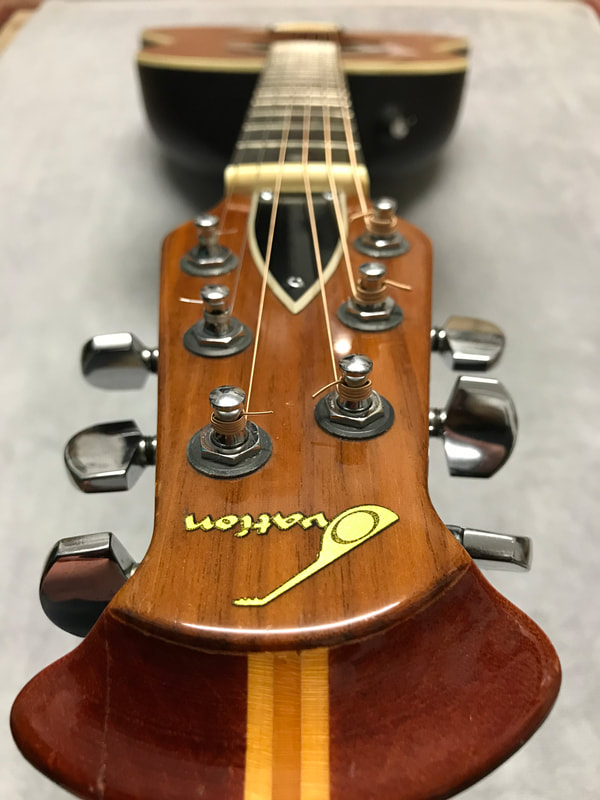
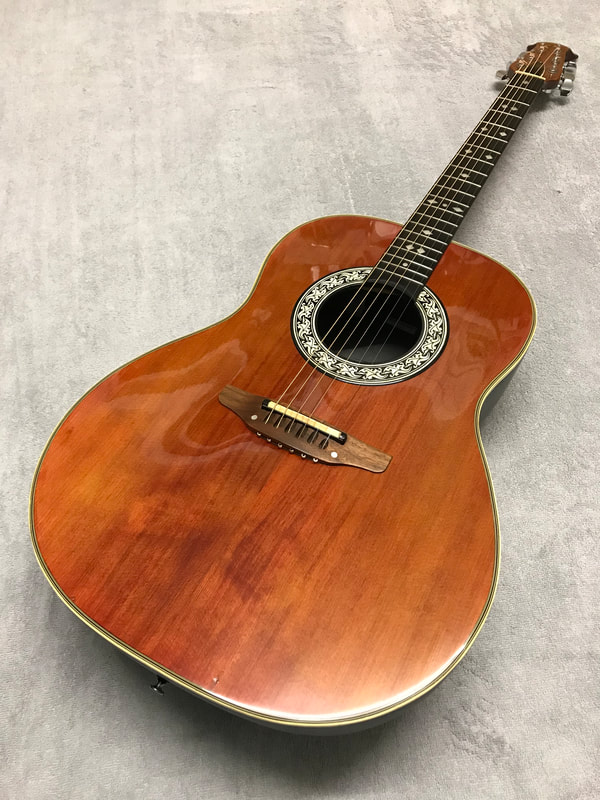
This ace Vintage 70’s Ovation was in the workshop to have it’s battery holder upgraded! The original battery holder was housed inside the guitar, which made it very awkward for the customer to change the battery. The holder was mounted with a screw which held the whole unit, with the holder removed, a mounting hole was left. This was the starting point for the new holder to be fitted. The hole cut the new holder could be test fitted before the final cutting. Once the fittment was checked, the new battery holder was fitted and wired up!
It's that time of year where we like to have a give away!!!
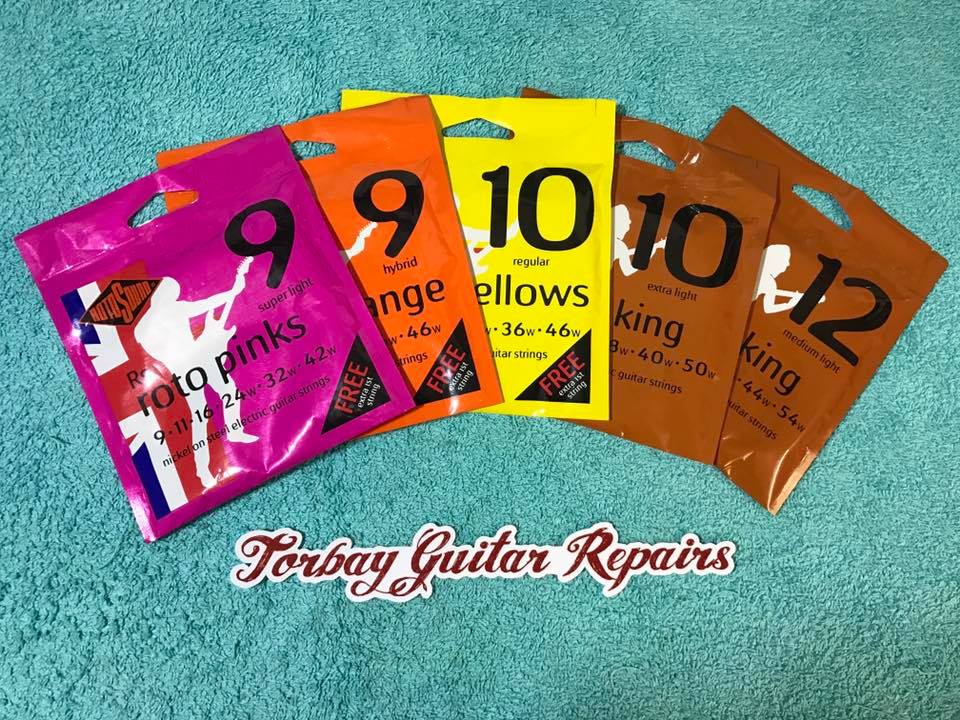
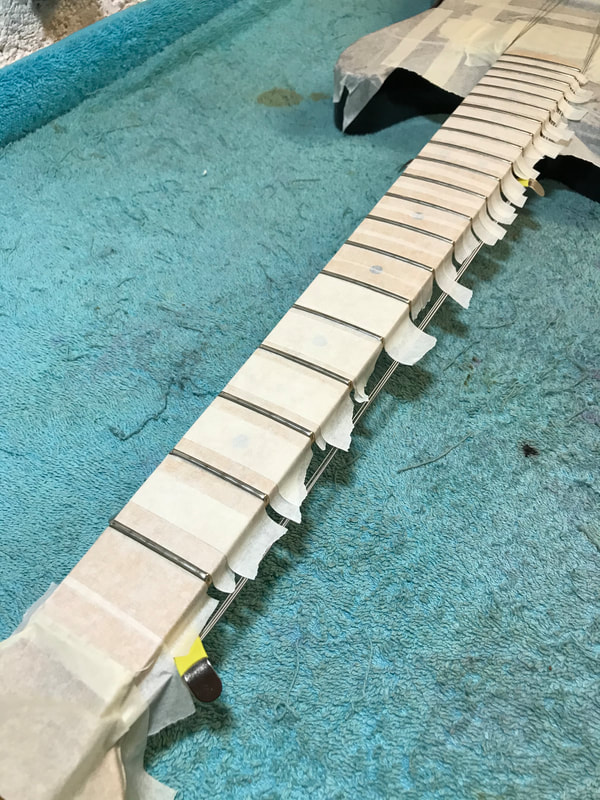
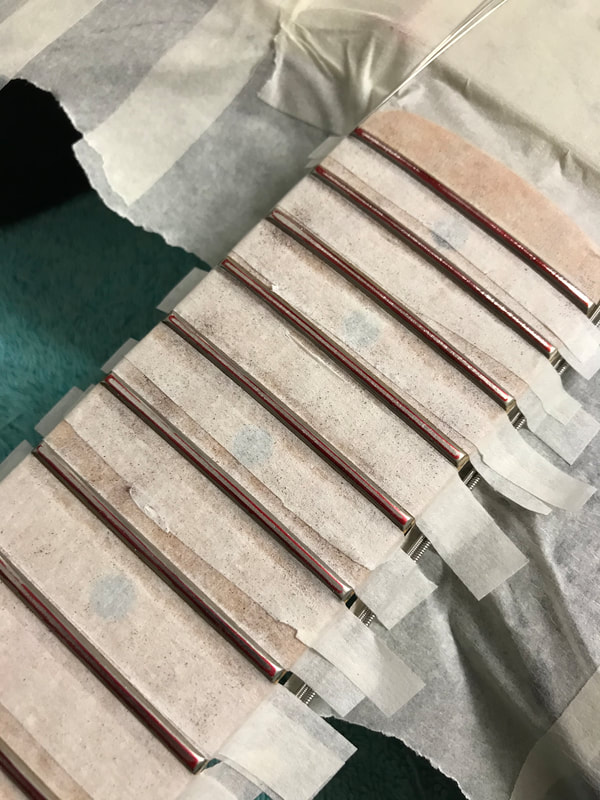
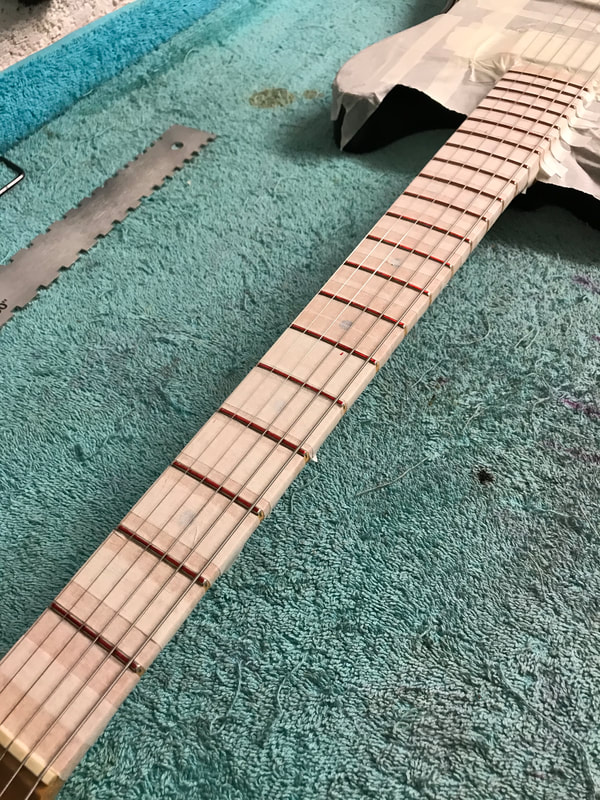
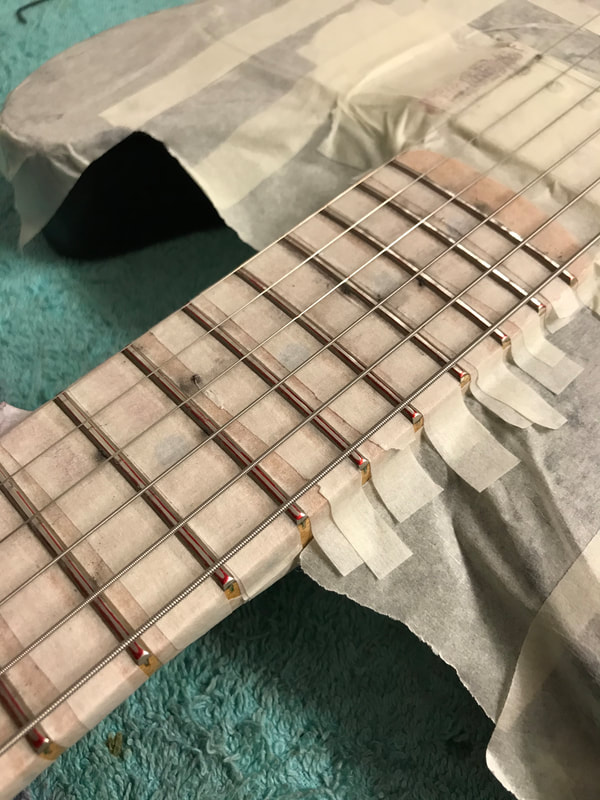
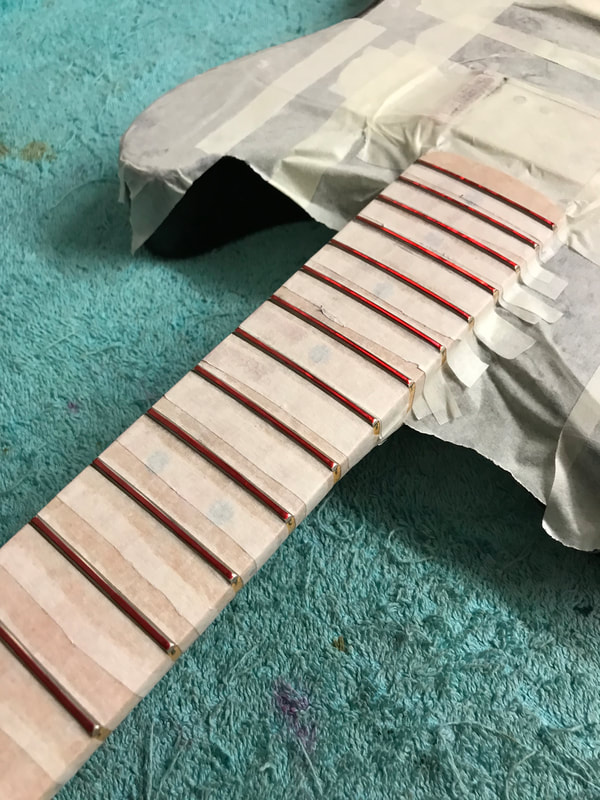
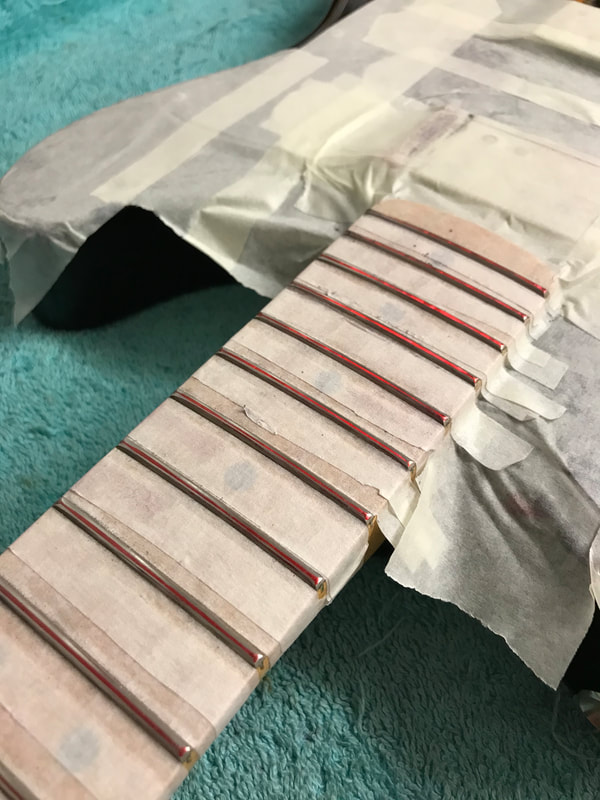
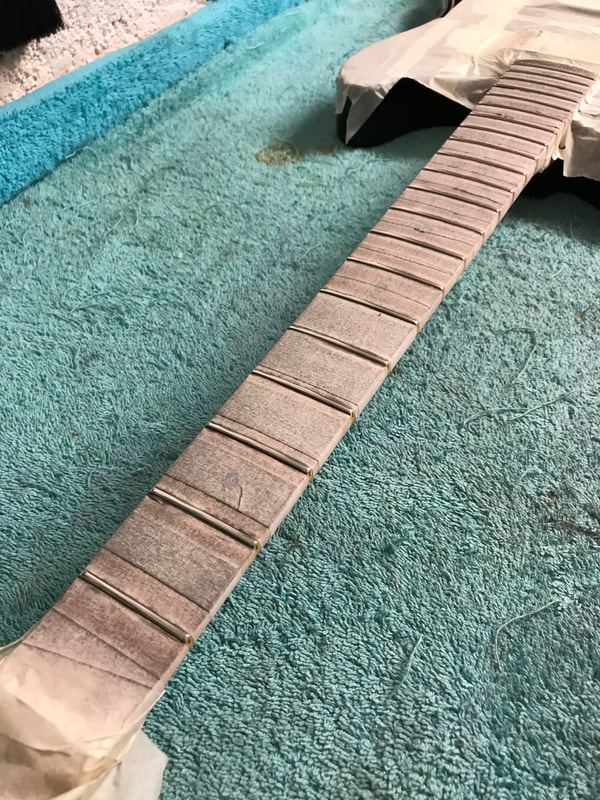
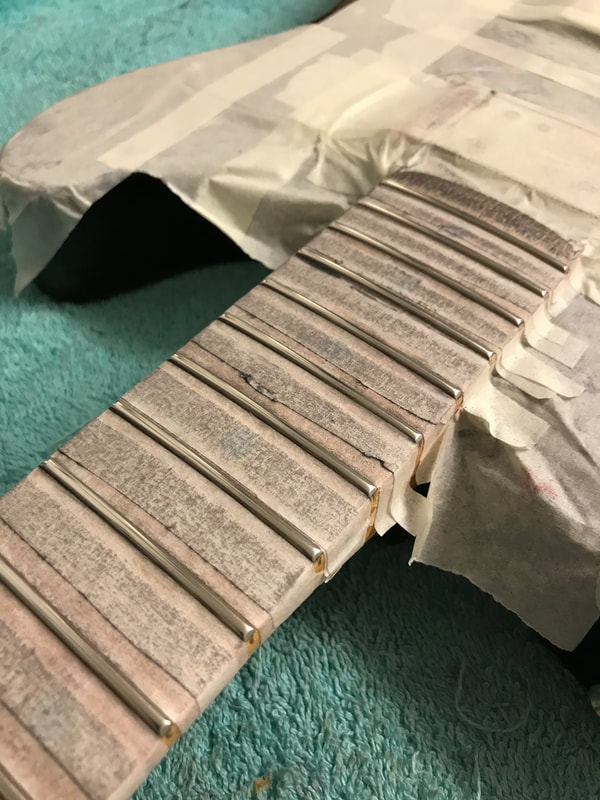
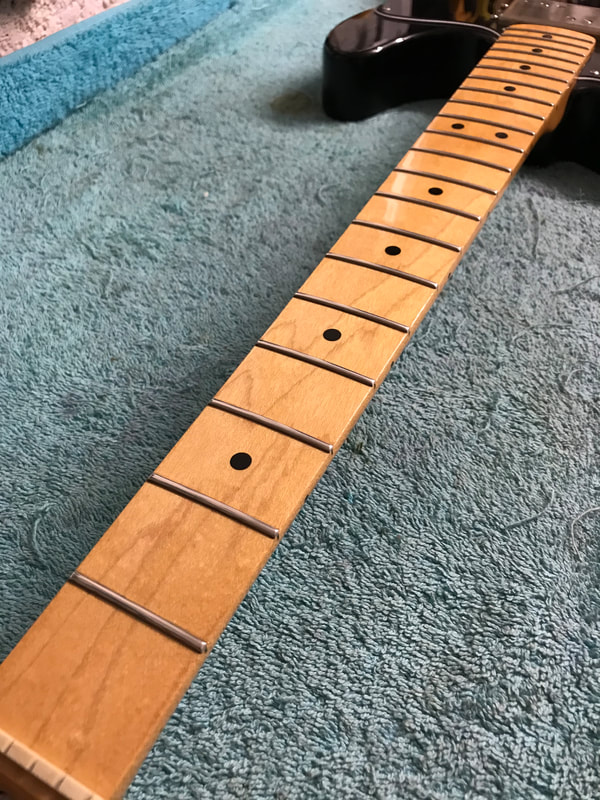
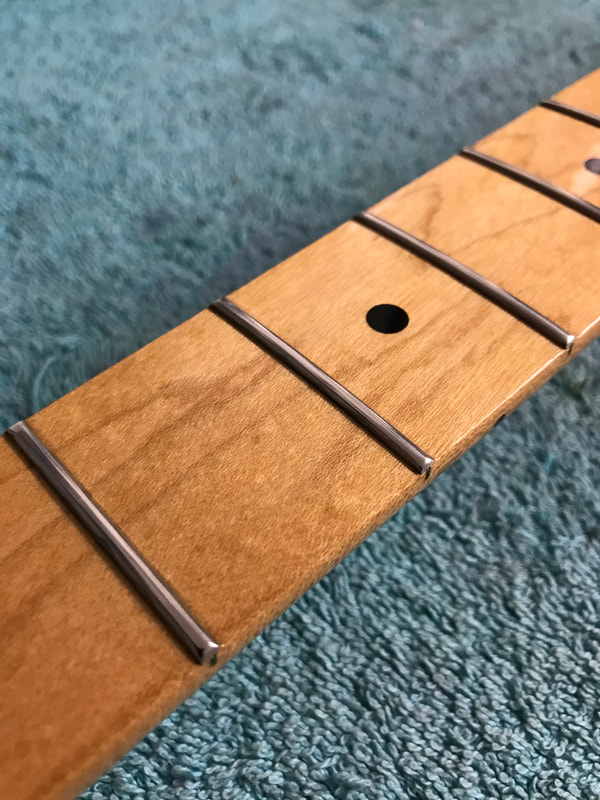
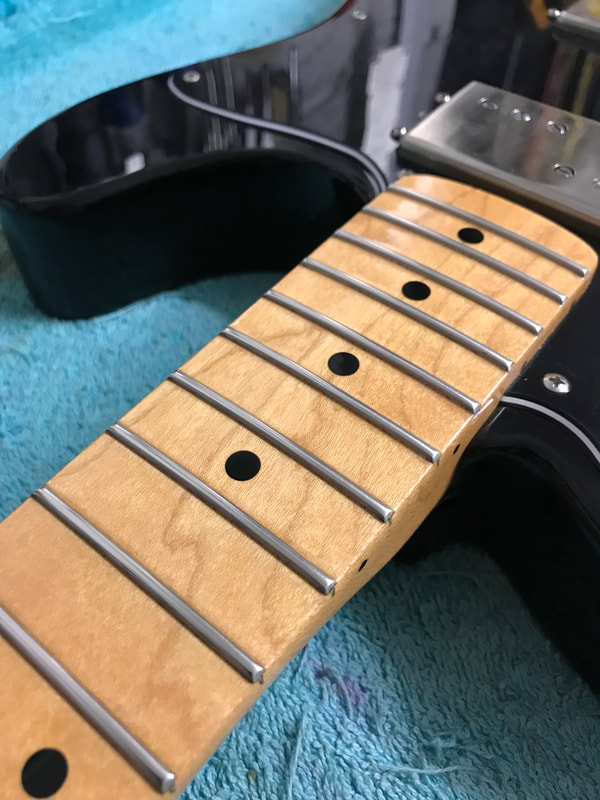
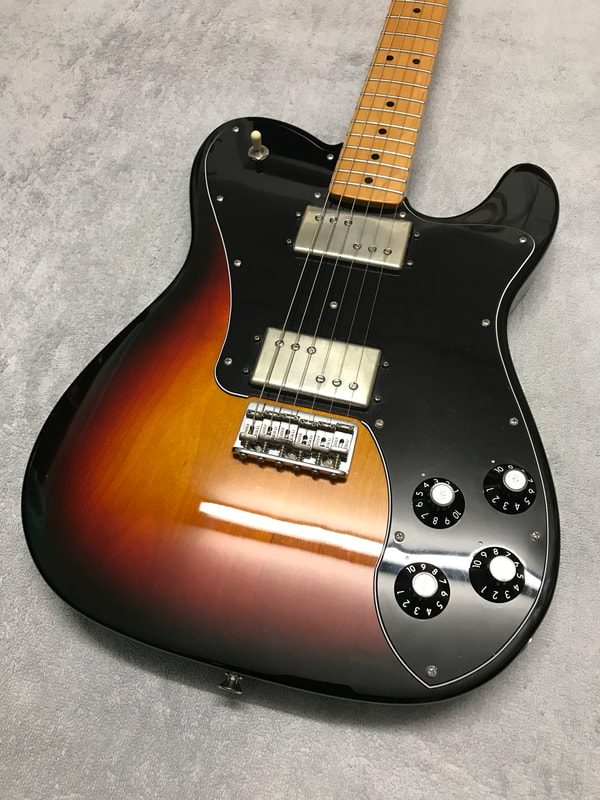
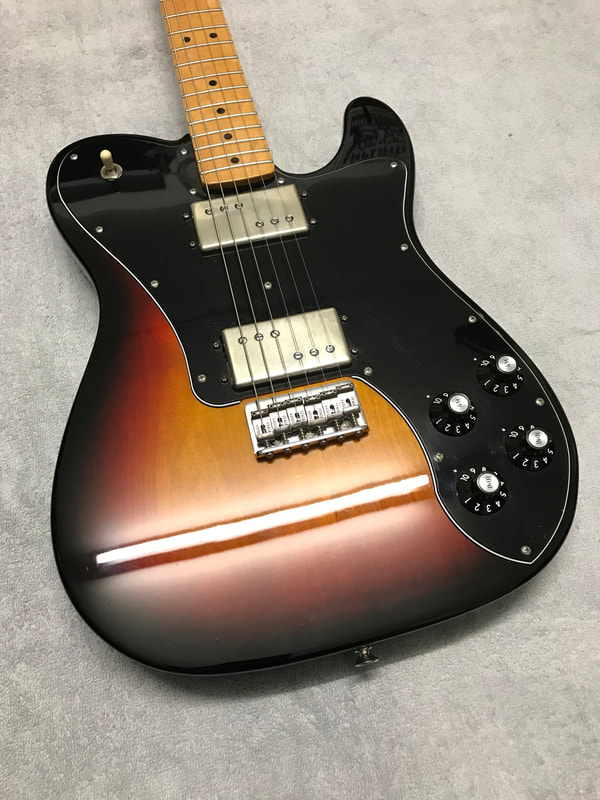
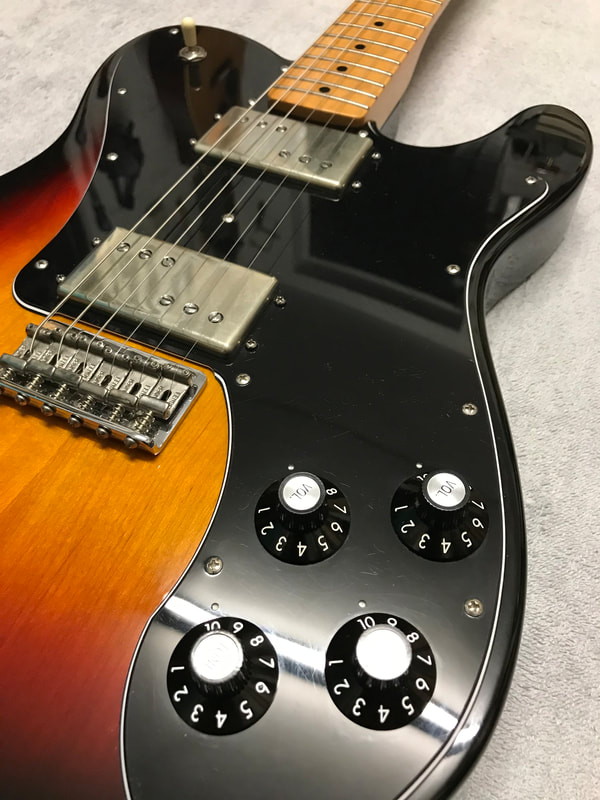
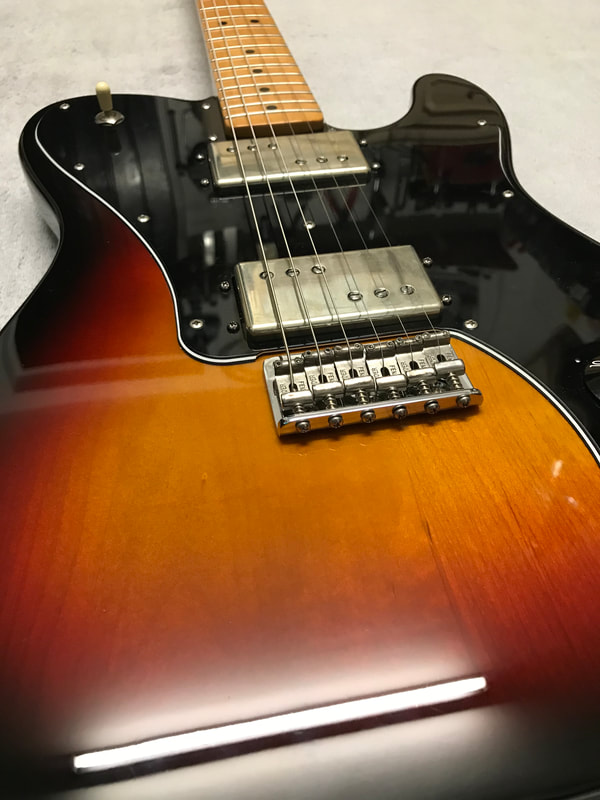
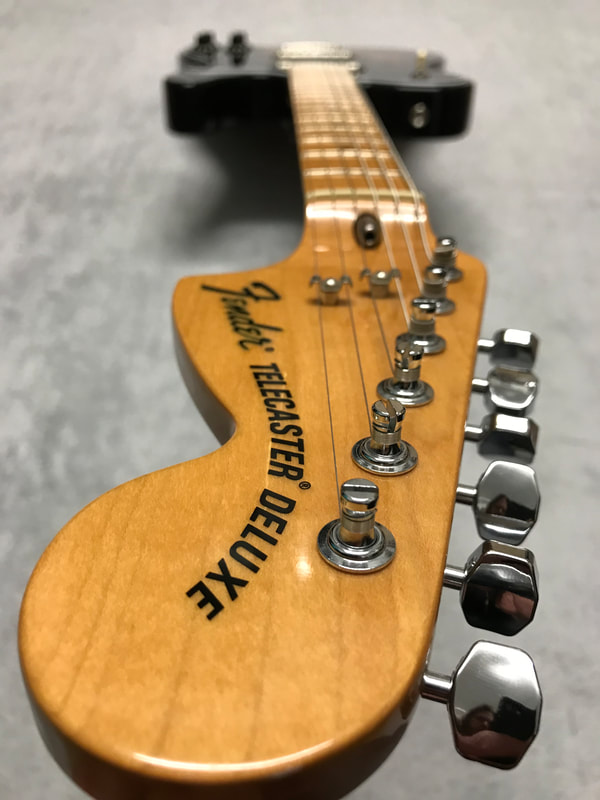
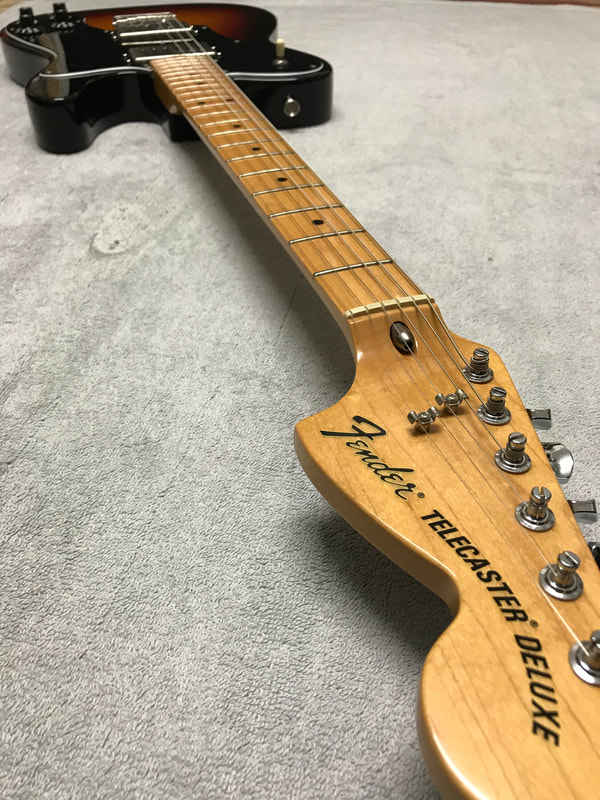
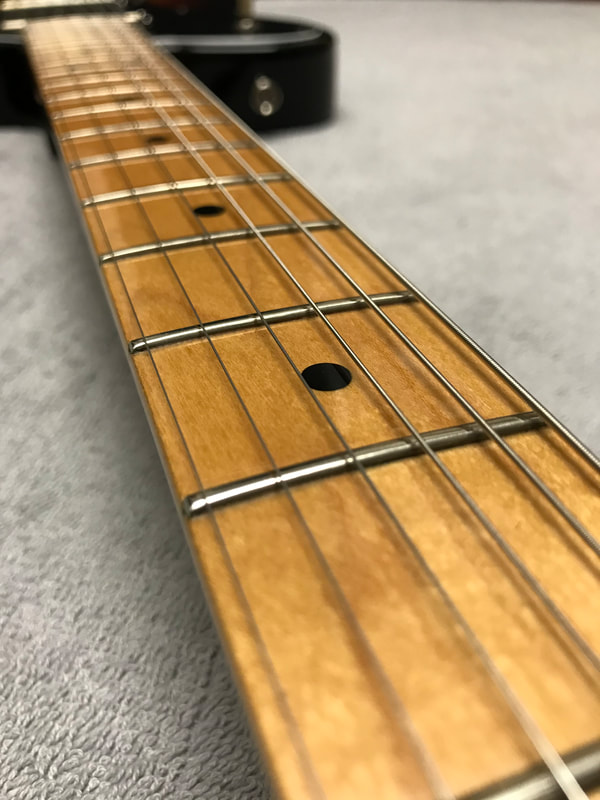
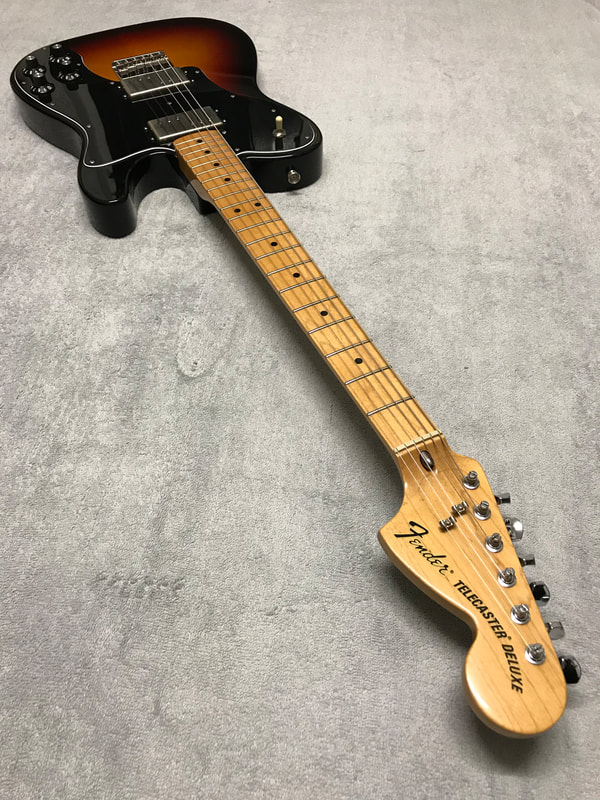
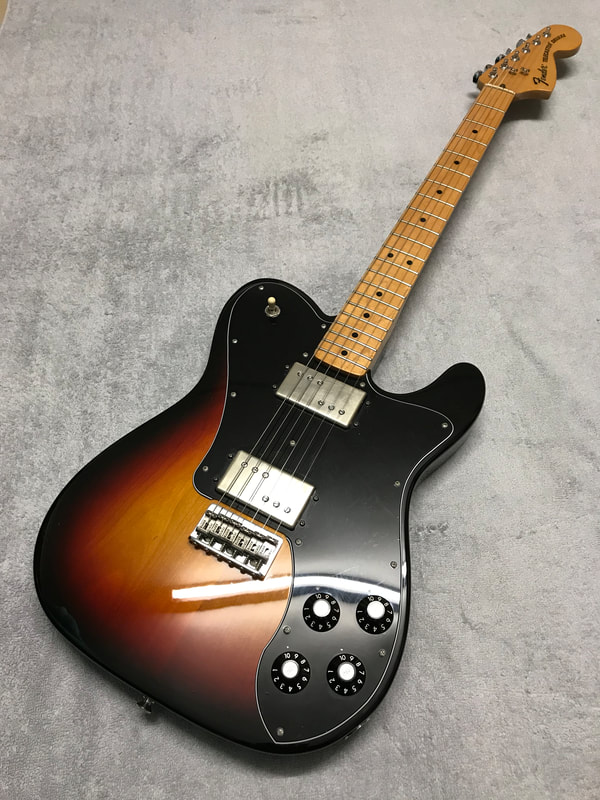
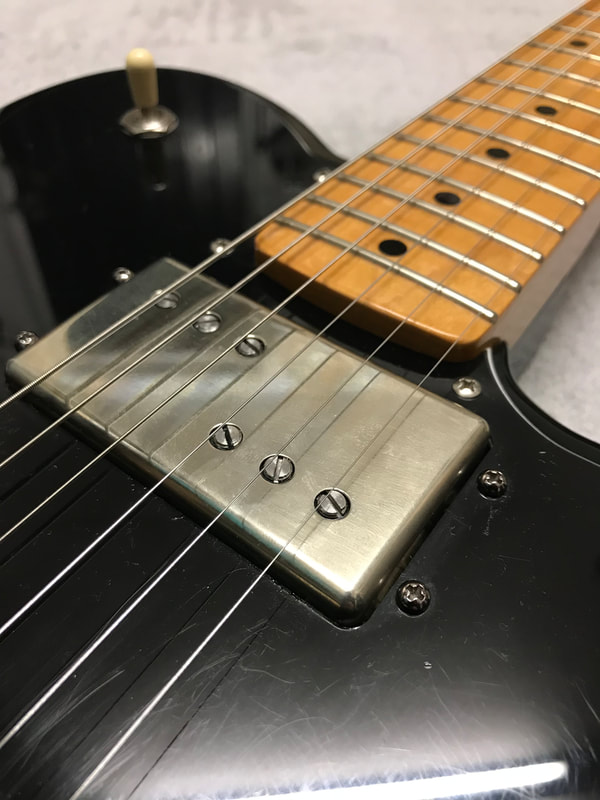
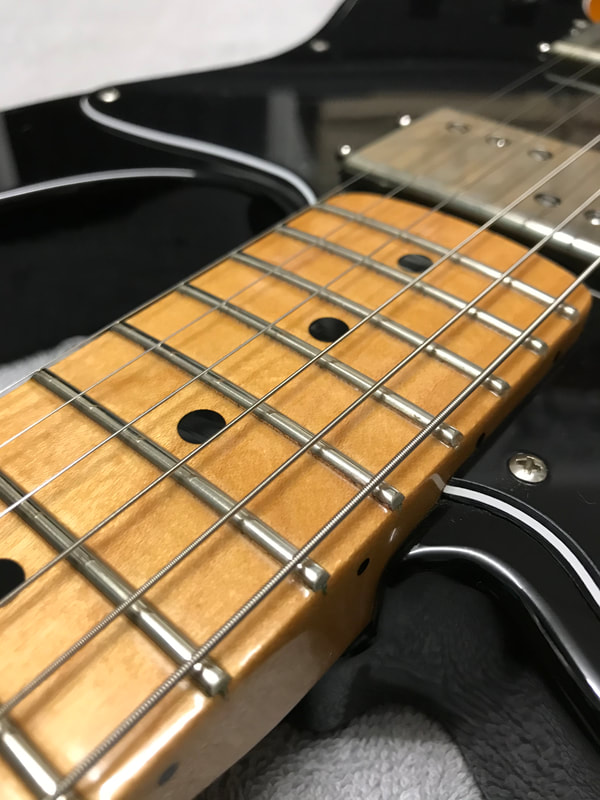
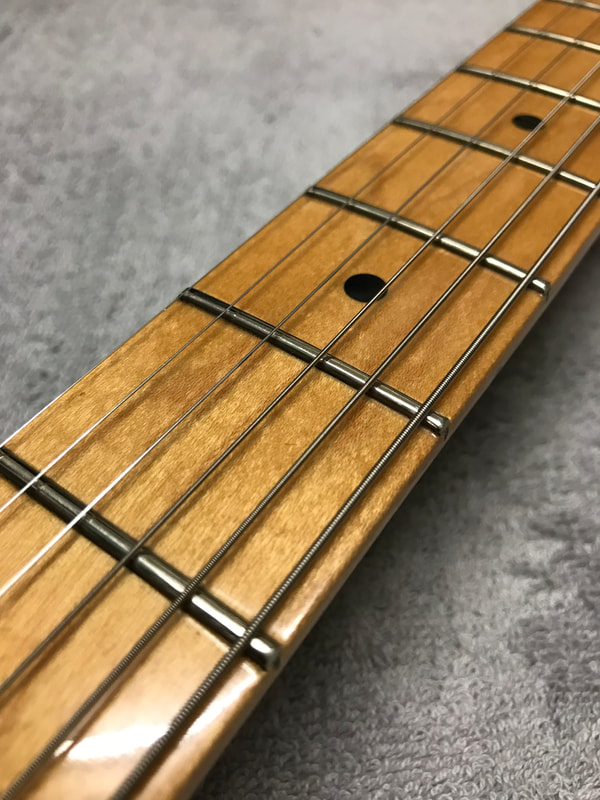
To be in with a chance of winning 5 sets of standard Rotosound guitar strings or 1 set of bass strings, gauge and mixture of your choice! All you need to do is like our Facebook page (if you haven't already) and then comment on our giveaway post which guitar/bass shape you like best! Please click here to enter Winner will be picked at random on 30th, Good luck! This ace Fender Telecaster Deluxe was recently in the workshop for a fret level and ultra low setup to help the customer’s playing due to suffering with Arthritis! The fretboard is masked off before any work begins, the first stage of the level is using the fret level to level the frets with the neck completely straight. The next step the board is straightened under string tension, the frets are then precision levelled a second time to remove tiny high spots when the neck is under string tension. Here you can see the results of the second levelling, the process is complete once the red marker has been removed from every fret. The levelling process complete, this time the frets are filed into shape, leaving a thin marker line on the top of the frets, to make sure the top of the frets and their level is untouched.
|
Lewis DurtnallHi, I'm Lewis, Ive been repairing guitars since 2004, I learnt my craft at Totnes School of Guitar Making! Archives
December 2022
Categories |


 RSS Feed