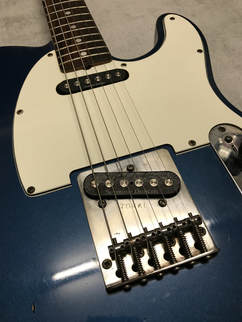
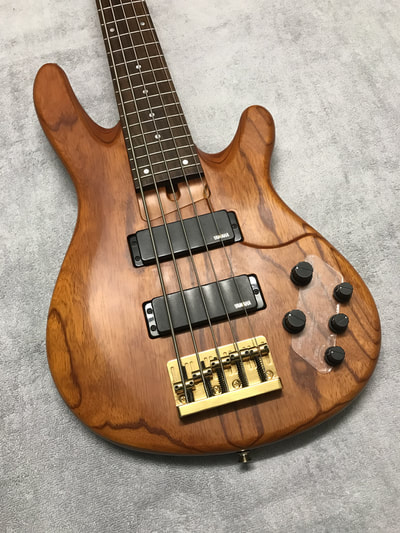
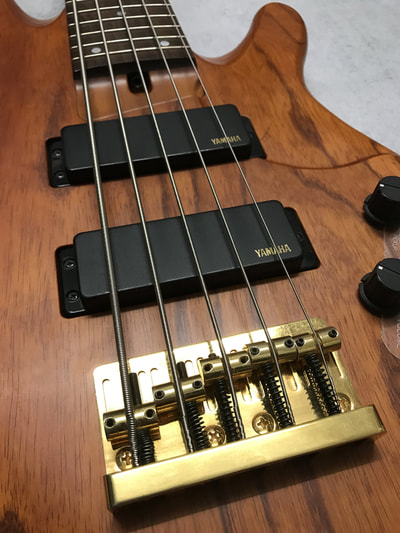
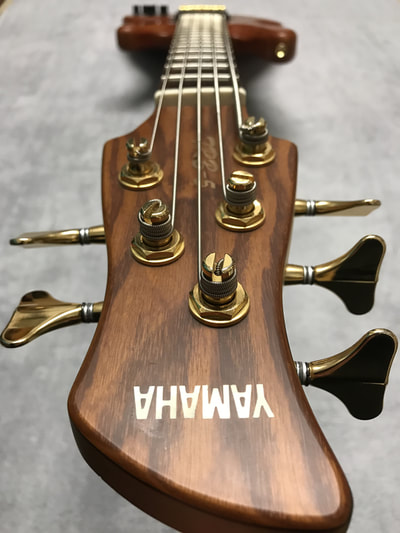
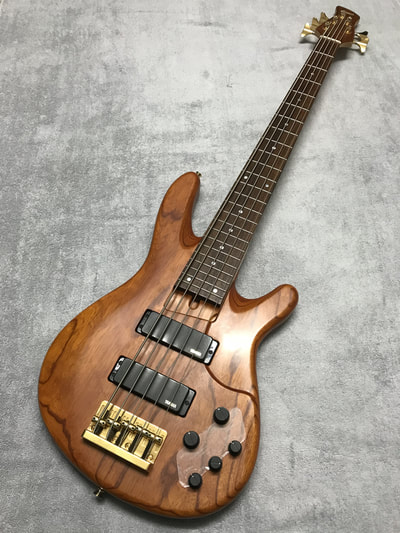
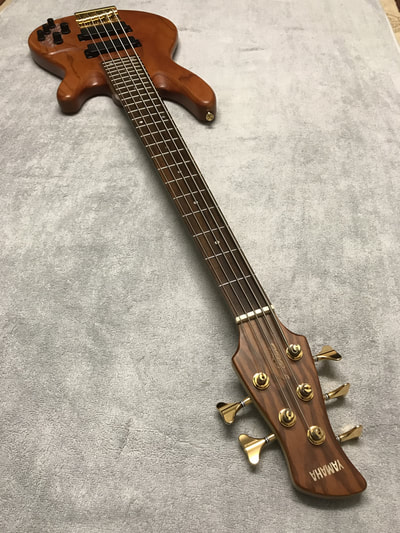
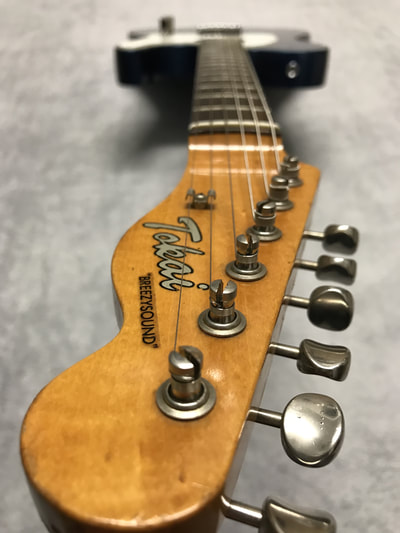
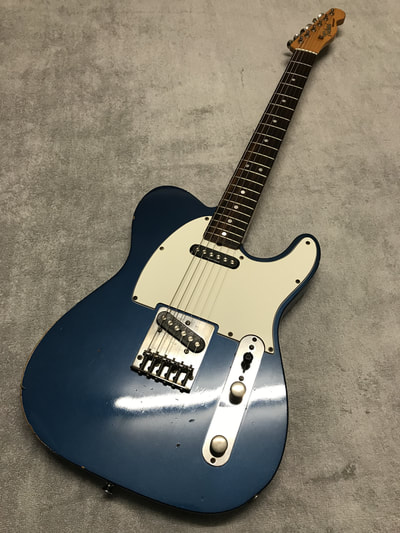
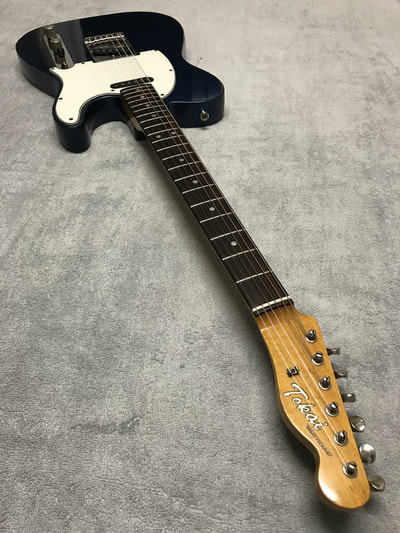
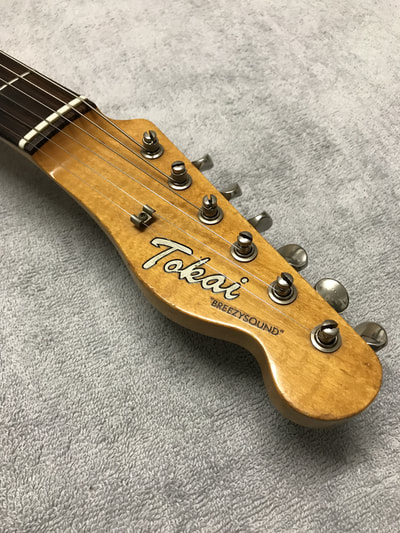
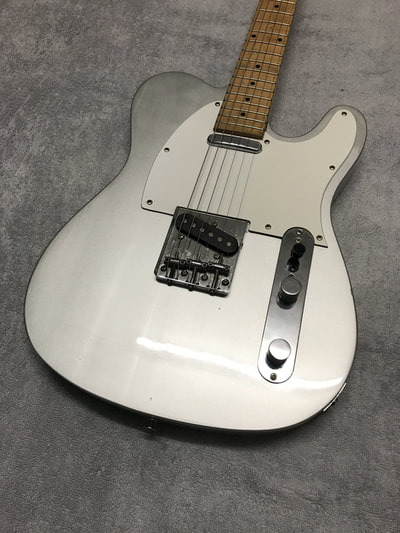
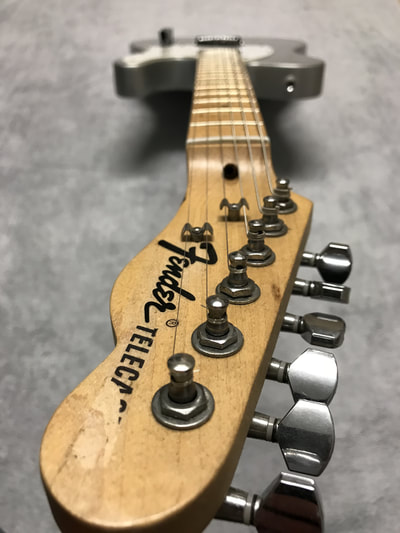
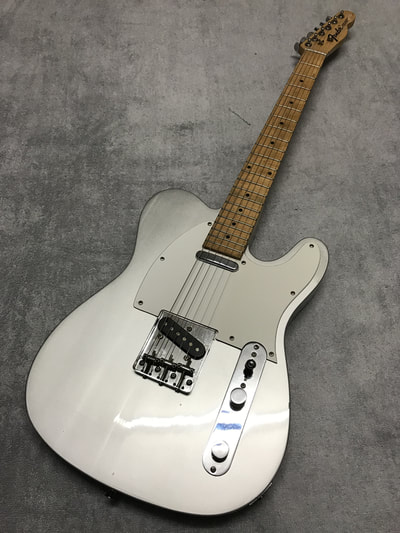
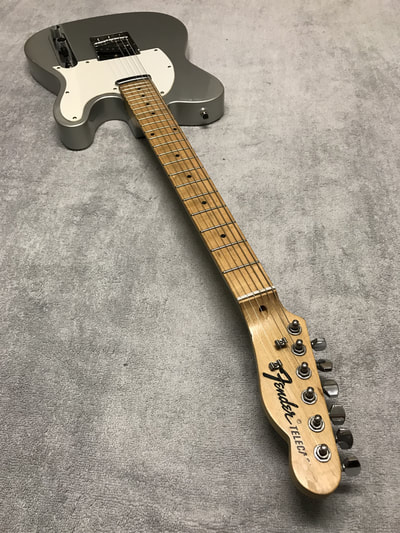
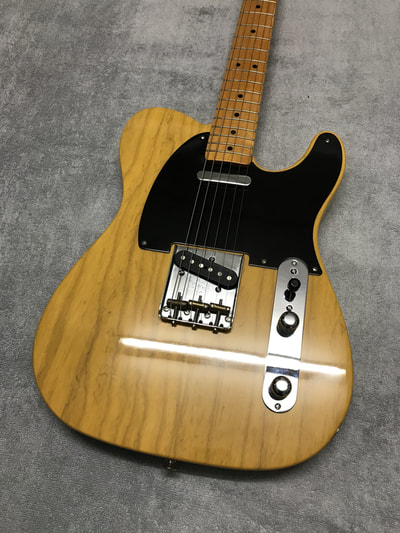
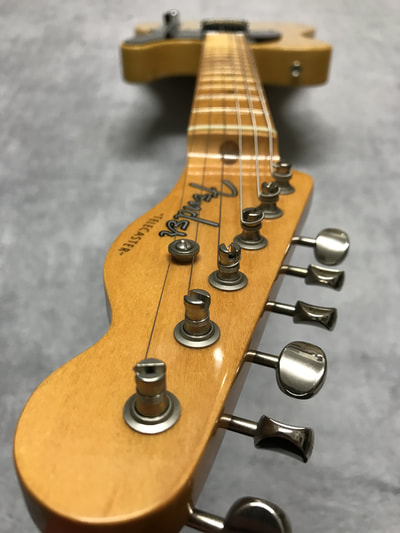
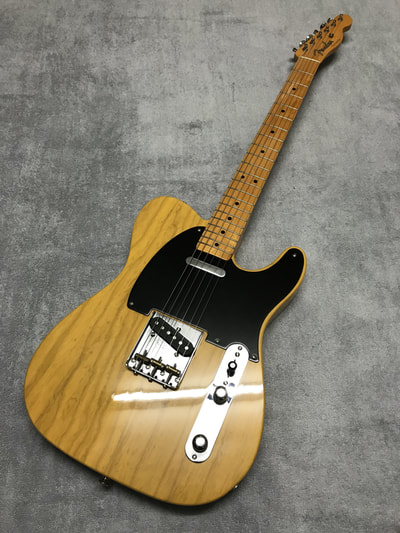
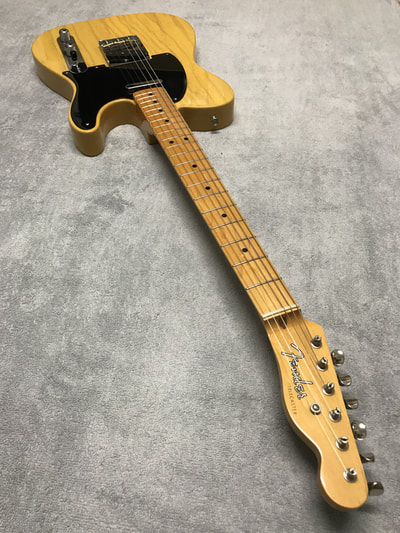
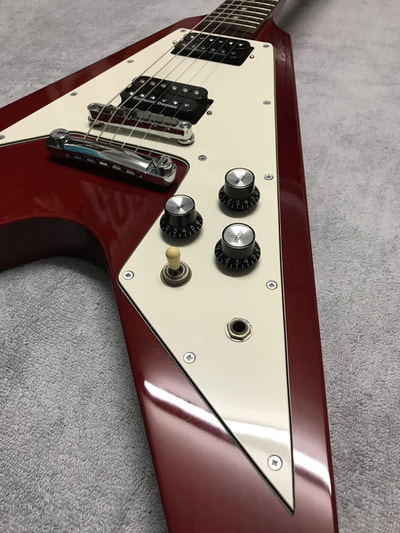
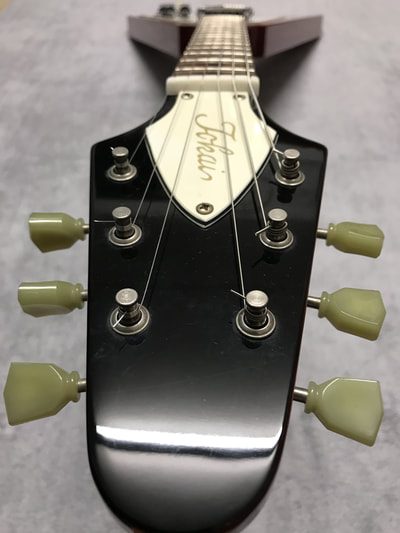
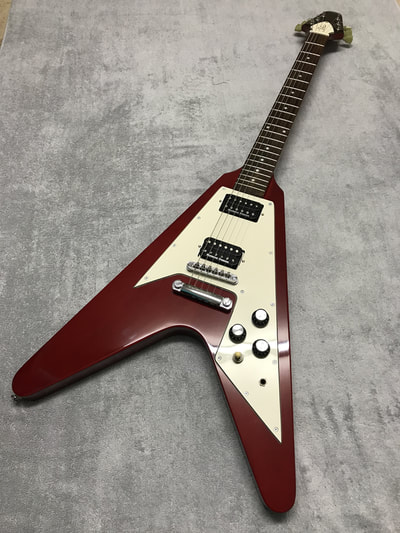
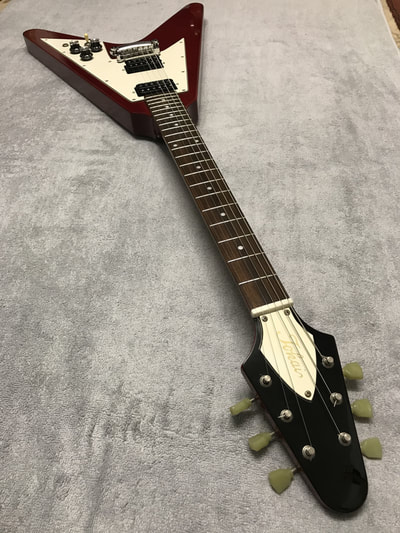
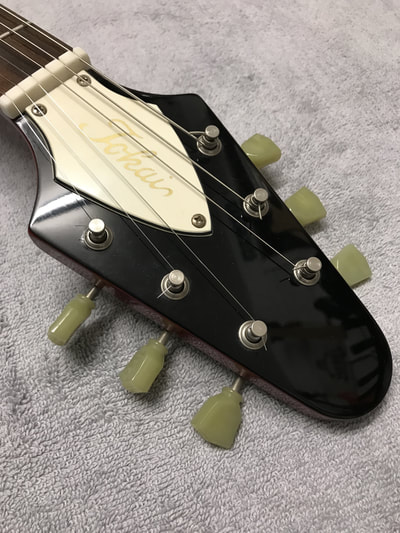
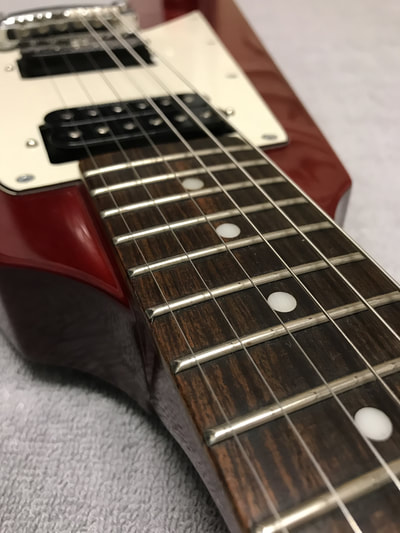
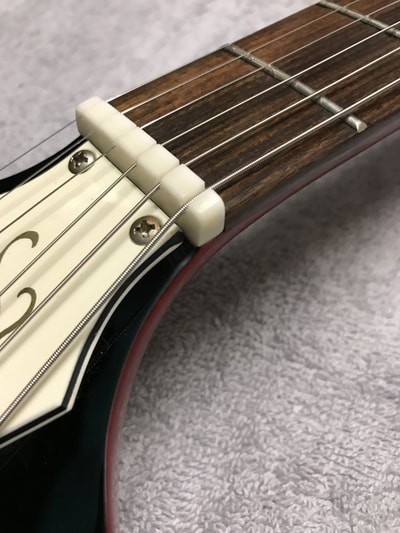
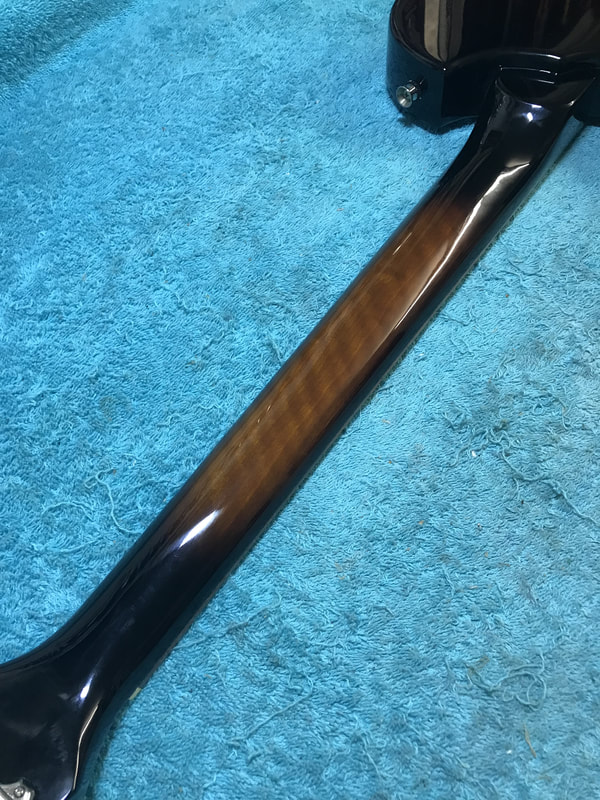
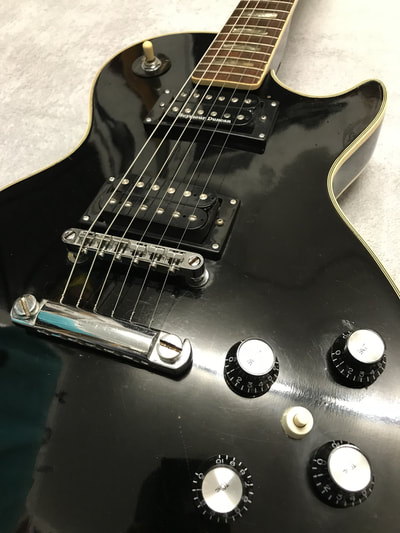
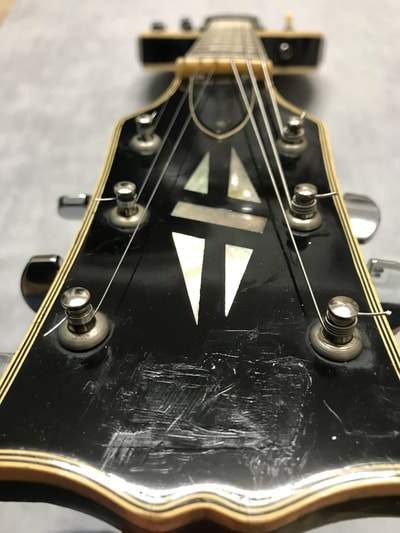
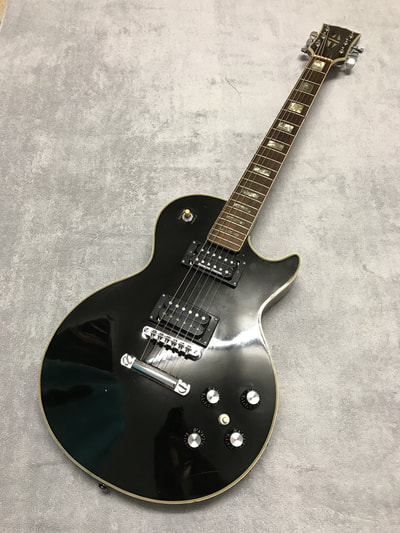
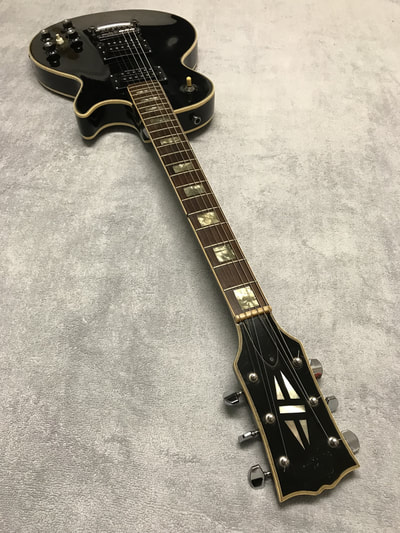
| It's been another great month of repairs, along with the repairs covered in our blog posts this month, we've had many other guitars through the workshop. Highlights include a vintage Tokai Telecaster that was brought in for a restoration, and an 80's Yamaha active bass for a setup Remember we've never too busy to discuss any guitar/ bass repairs, customisations or restorations that you're thinking of having done and we'll be more than happy to help! |
|
0 Comments
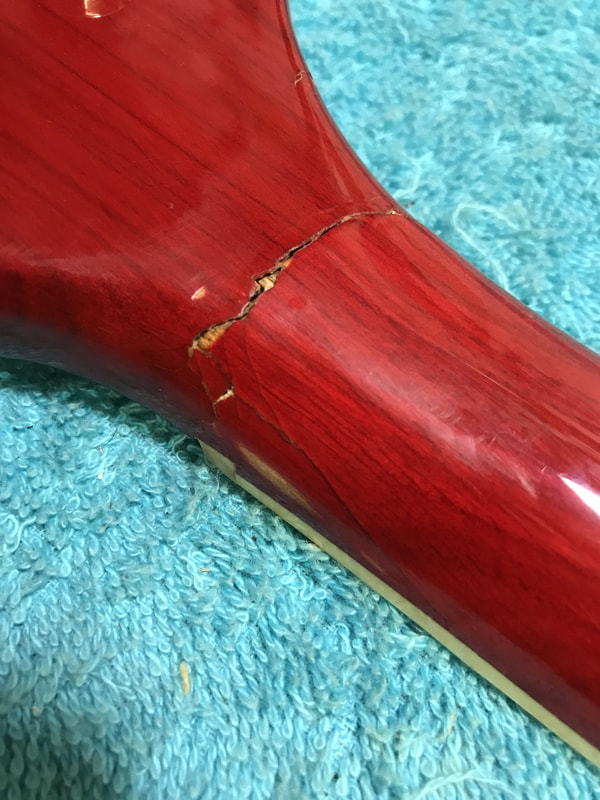
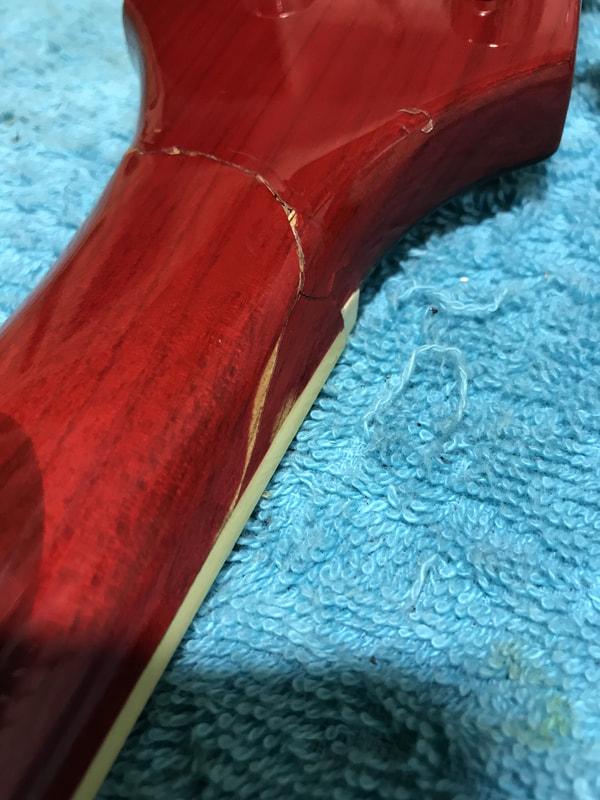
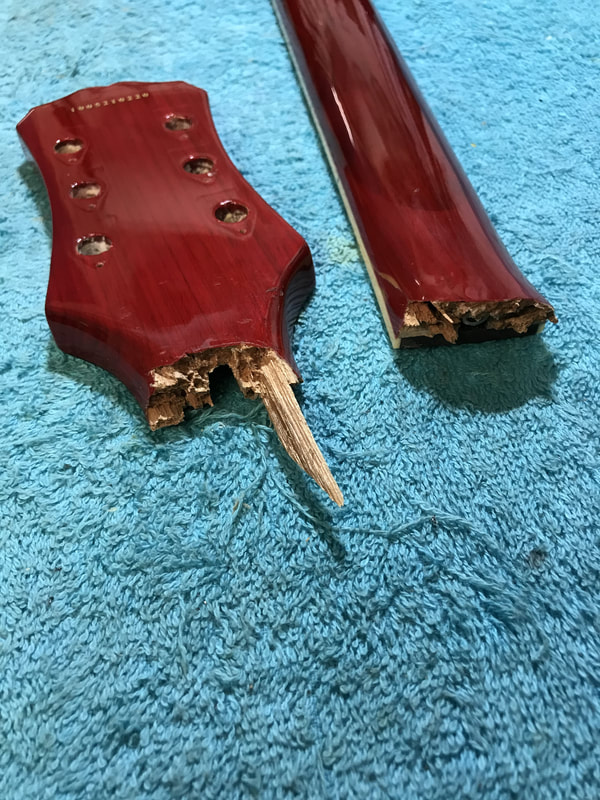
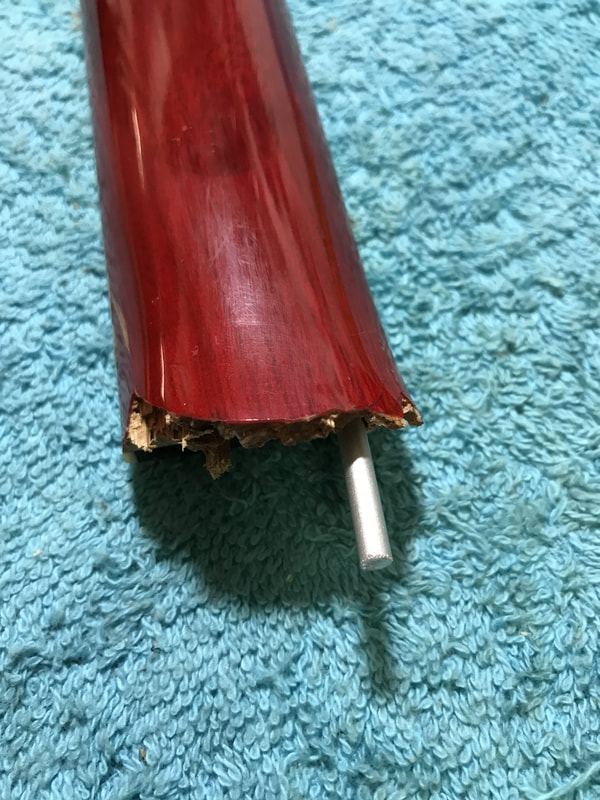
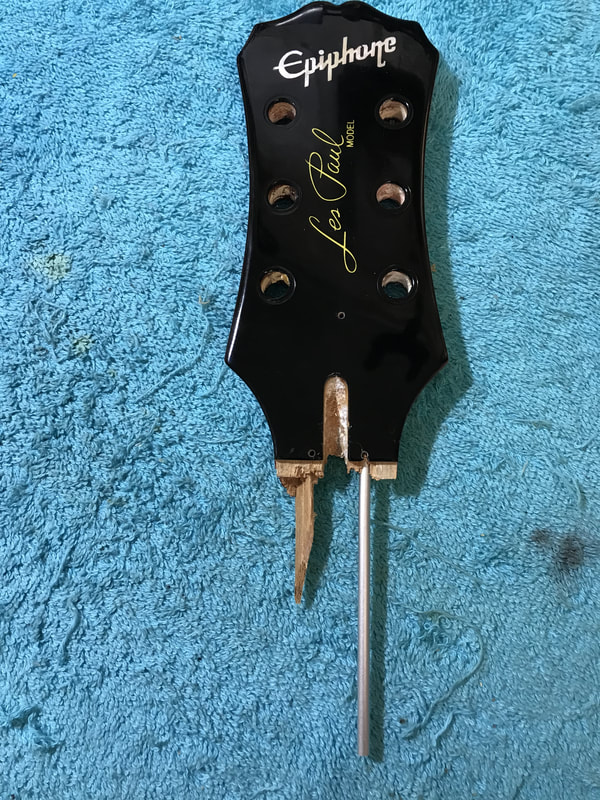
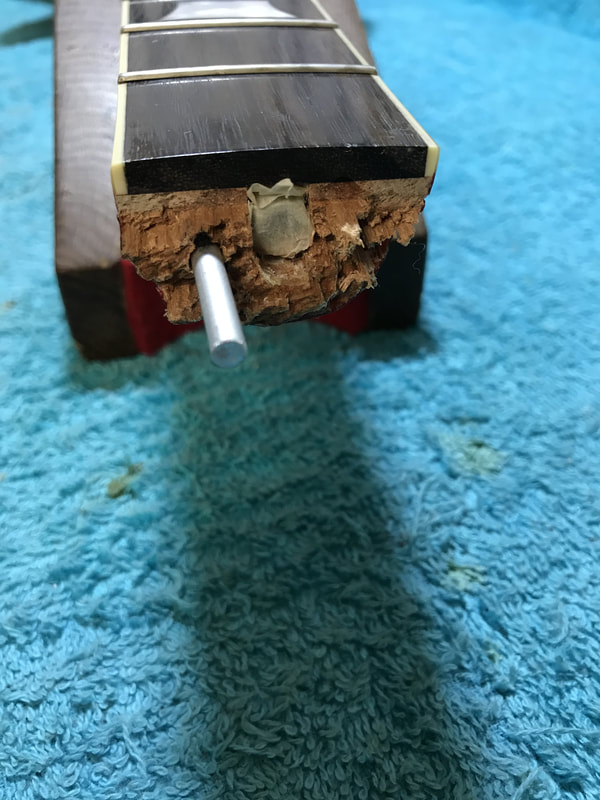
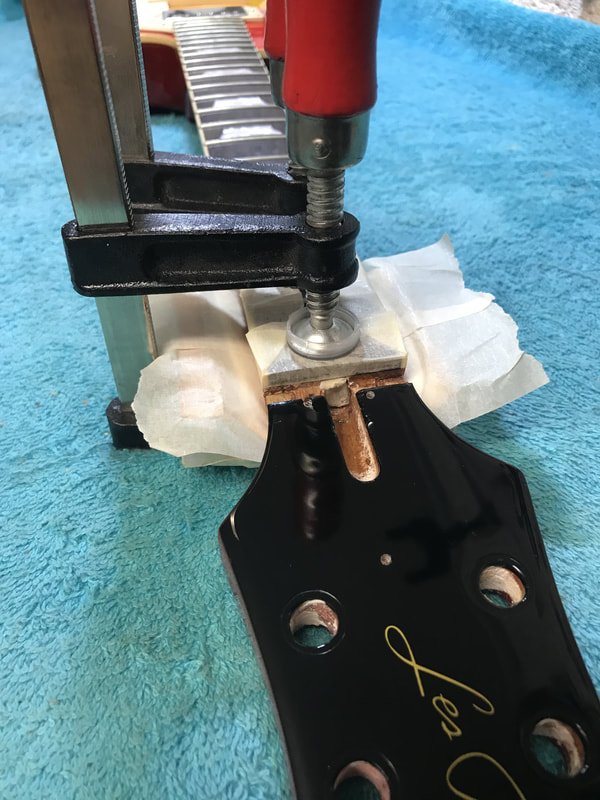
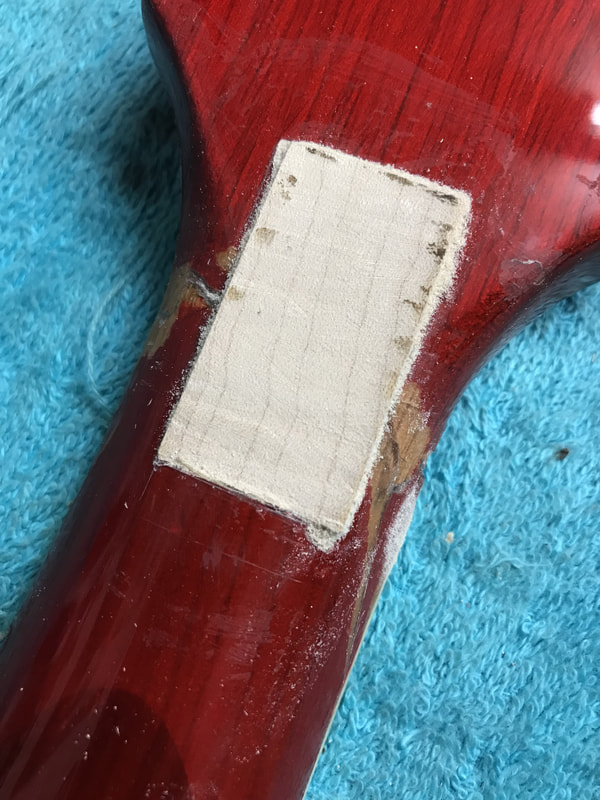
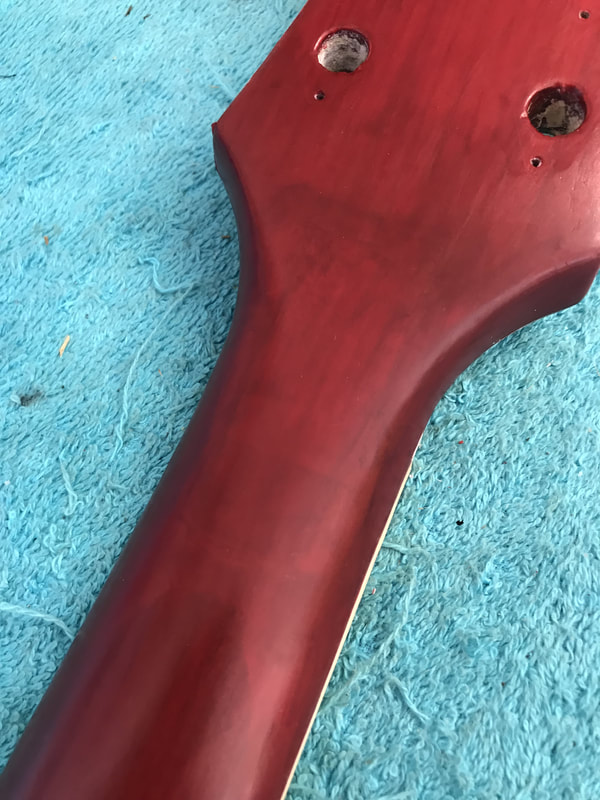
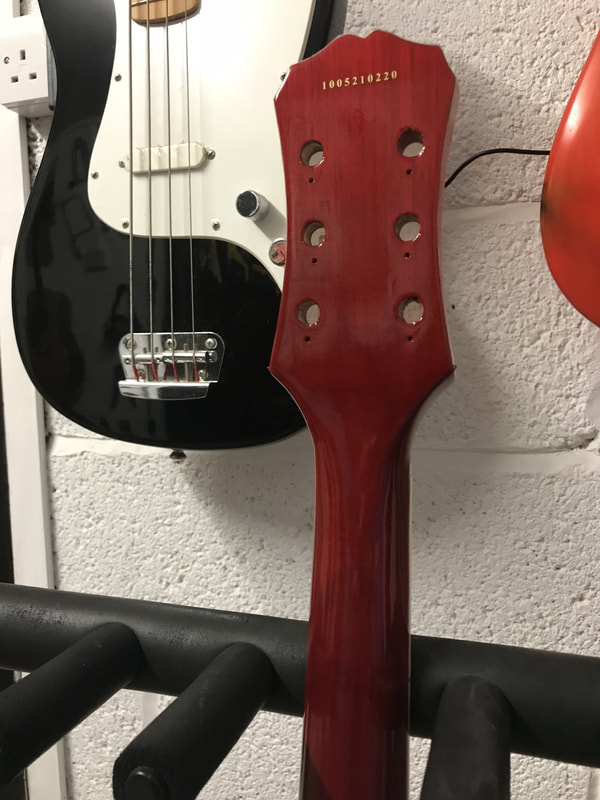
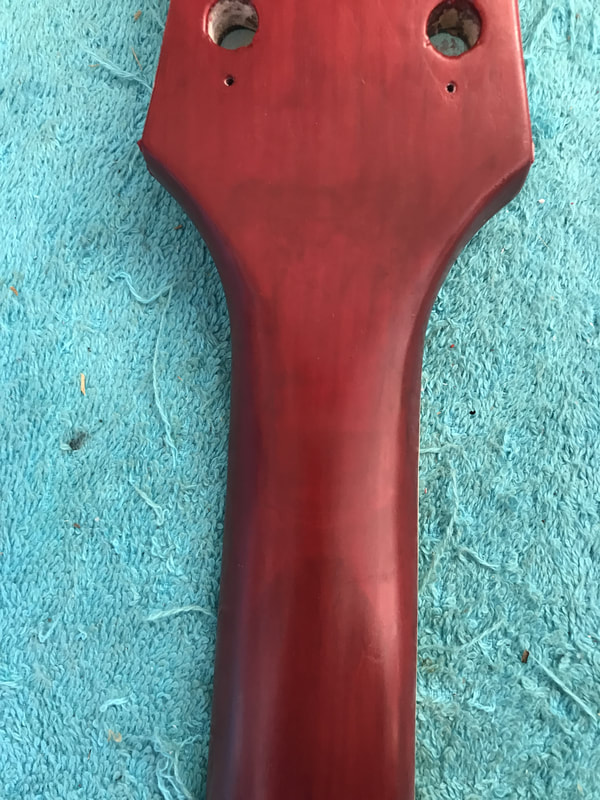
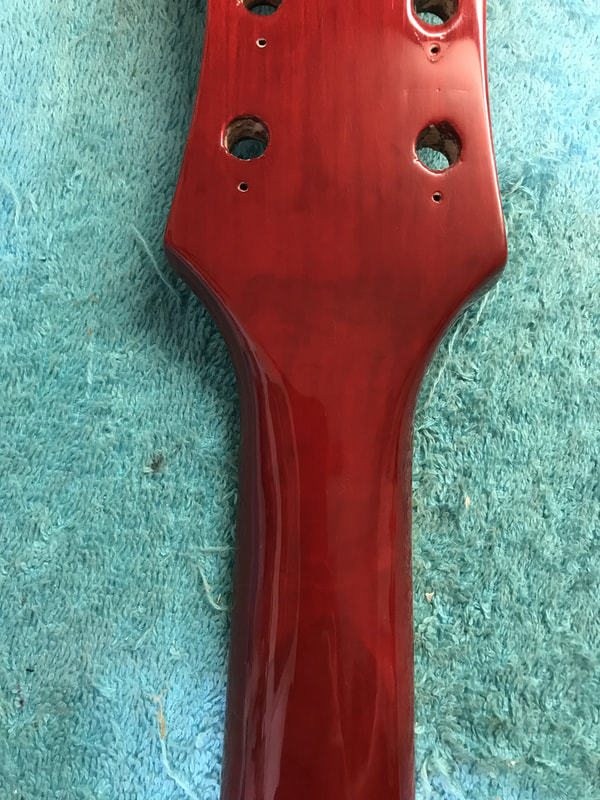
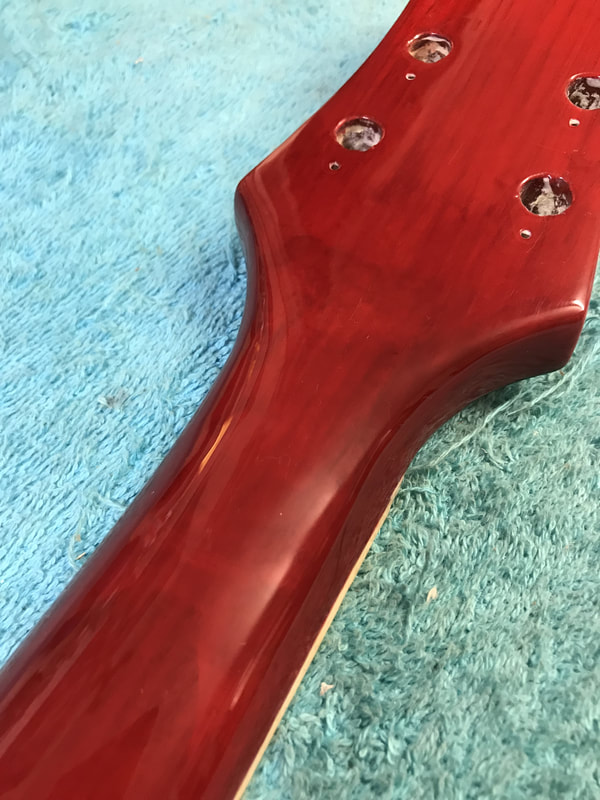
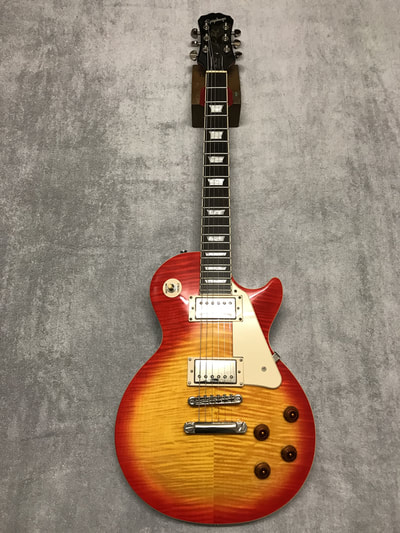
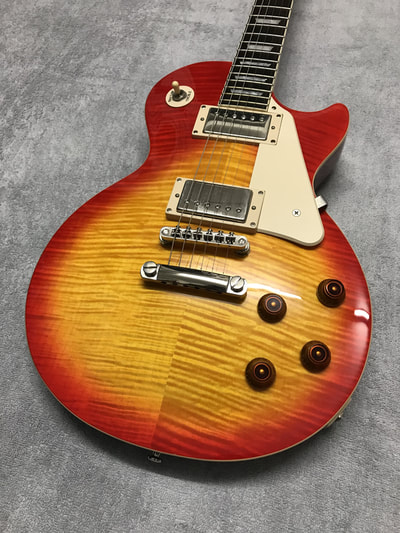
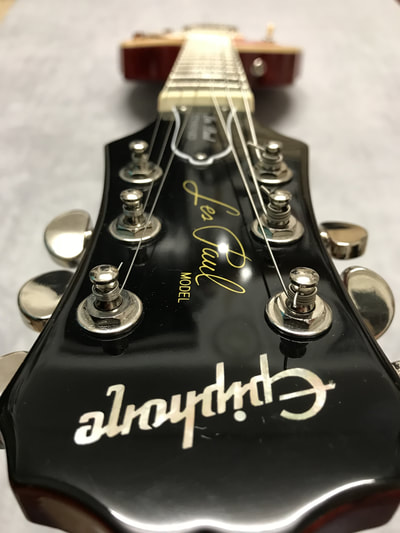
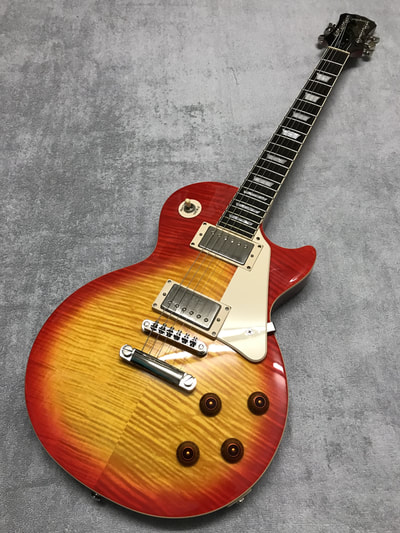
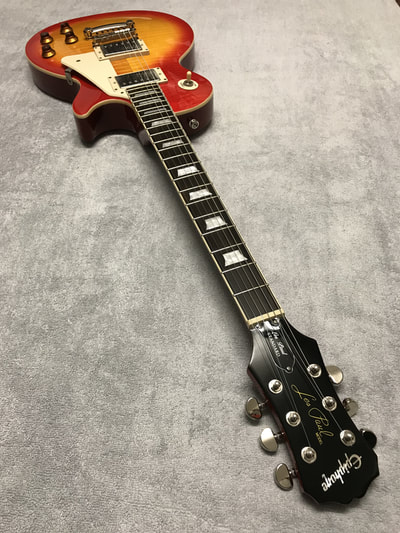
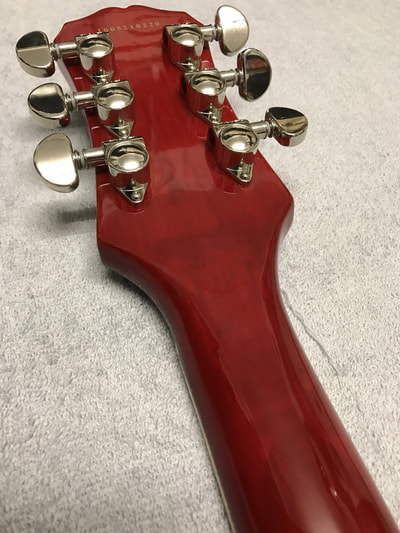
This lovely Epiphone Les Paul was brought in for a headstock repair, what made this different, and more of a challenge, is that it had already been repaired once by a well known guitar shop. Unfortunately the guitar had been dropped in exactly the same place, causing a very tricky repair. Wood glue works by soaking into the fibres of the wood pieces, bonding the wood together. Once it has been glued once, the fibre are saturated with dried glue, meaning that wood glue won't work successfully a second time. Epoxy or resin glue then has to be used, with this type of glue, the surfaces bond to the glue, rather than each other, and can often lead to a weaker join. Note you can see where the original repair wasn't refinished and the repair had been smoothed back, exposing the wood through the red finish. Getting into the repair, it turned out to be a very nasty break indeed, with the stress of the fall travelling down the neck, causing a giant splinter to travel down the neck. The only option for this repair was use of a re-enforcing aluminium rod, inserted down the neck and headstock, pinning the headstock to the neck. The photos show the various stages of the pinning, the actual final length of the rod was a lot shorter than the second photo.
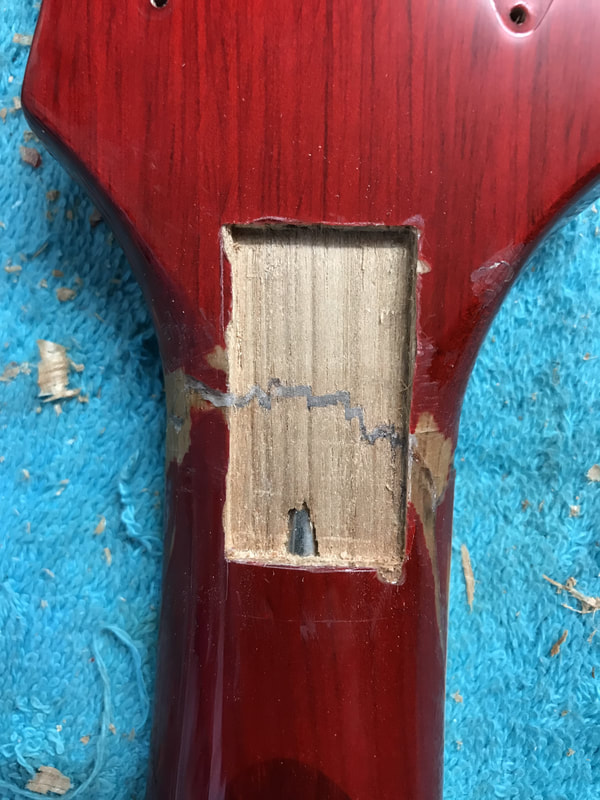
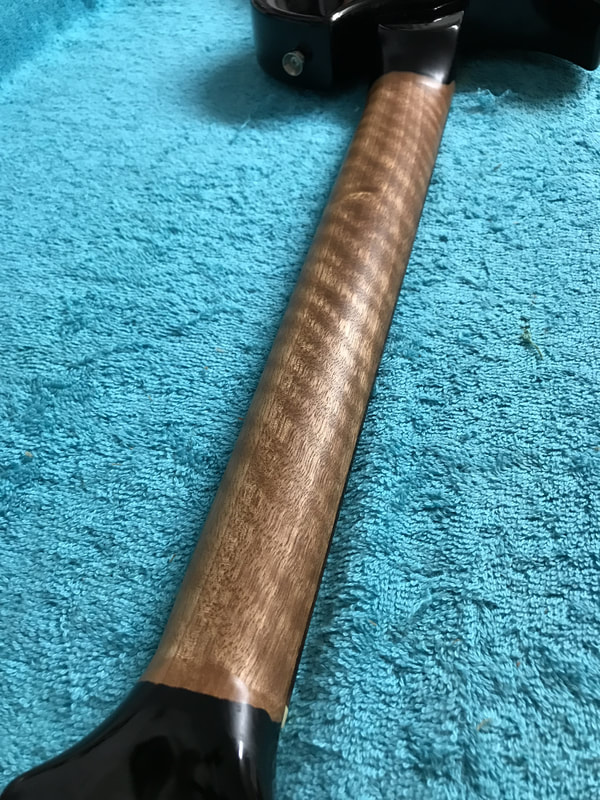
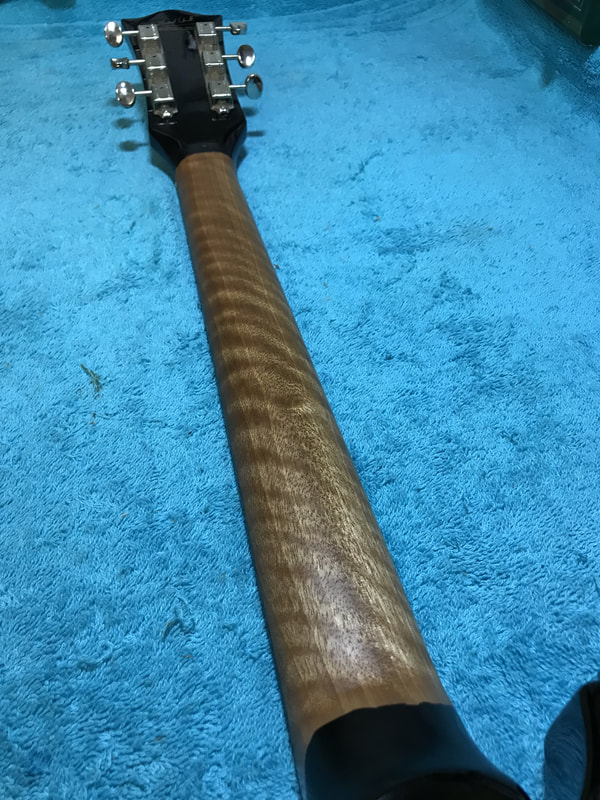
The back of the neck was very carefully hand paired away, opening up the neck to house the maple insert. As you can see the tolerances were very slim as the trussrod and trussrod cavity were sitting directly below the area of removed wood. The small area of exposed trussrod was covered to protect it from any wood glue being used. The maple block was cut to size and then glue in, with the excess cut off flush once the glue had set. It was then shaped into the contour of the rest of the surrounding neck.
The repair complete, the guitar was restrung and ready for the customer to collect!
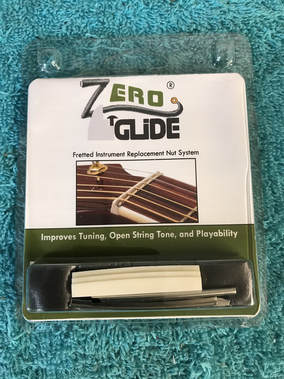
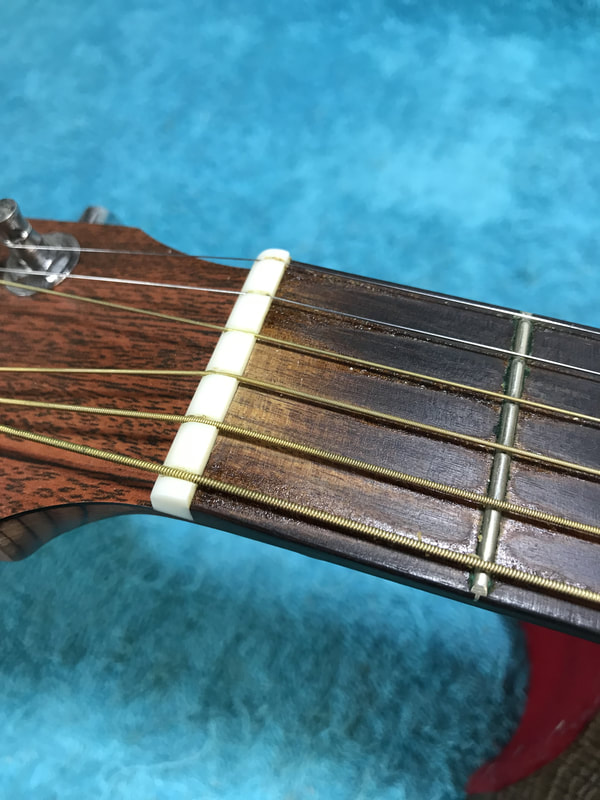
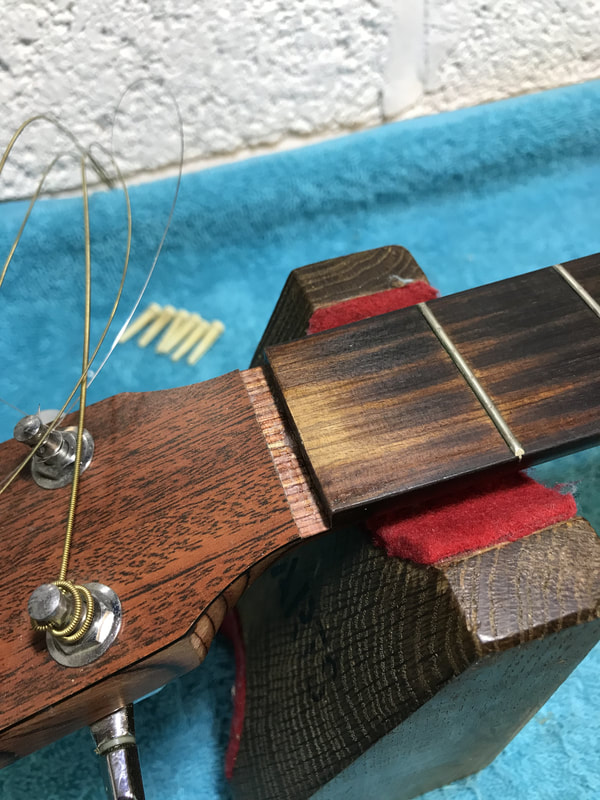
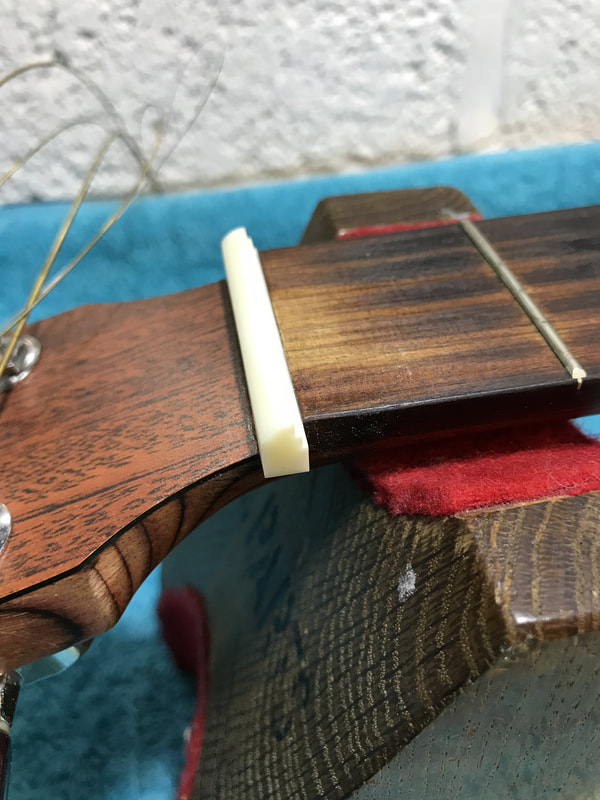
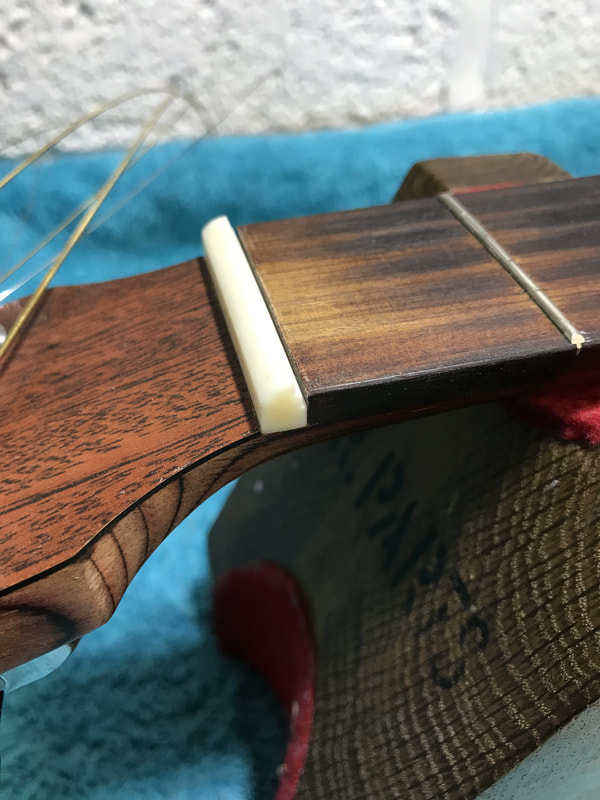
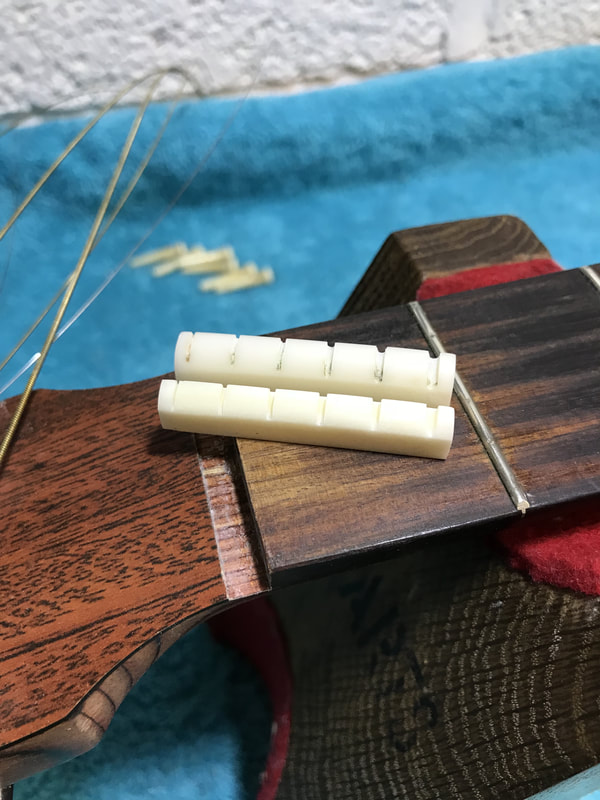
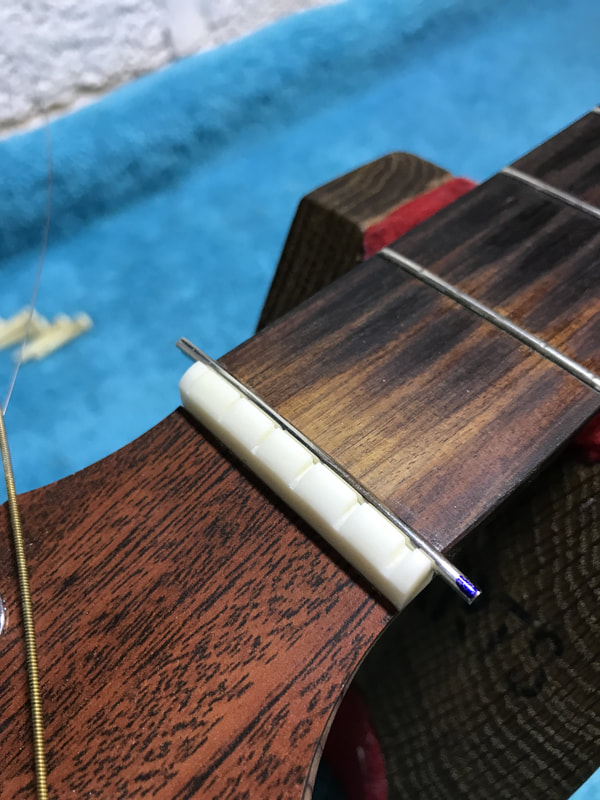
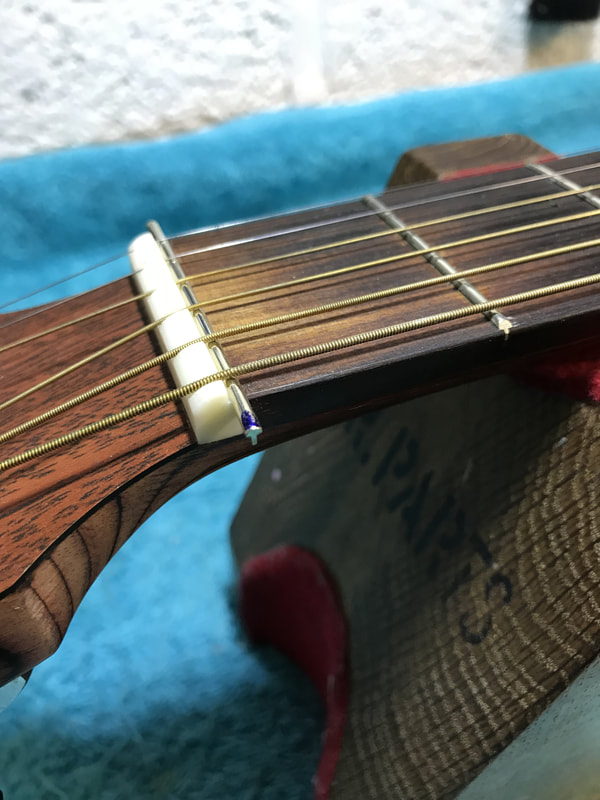
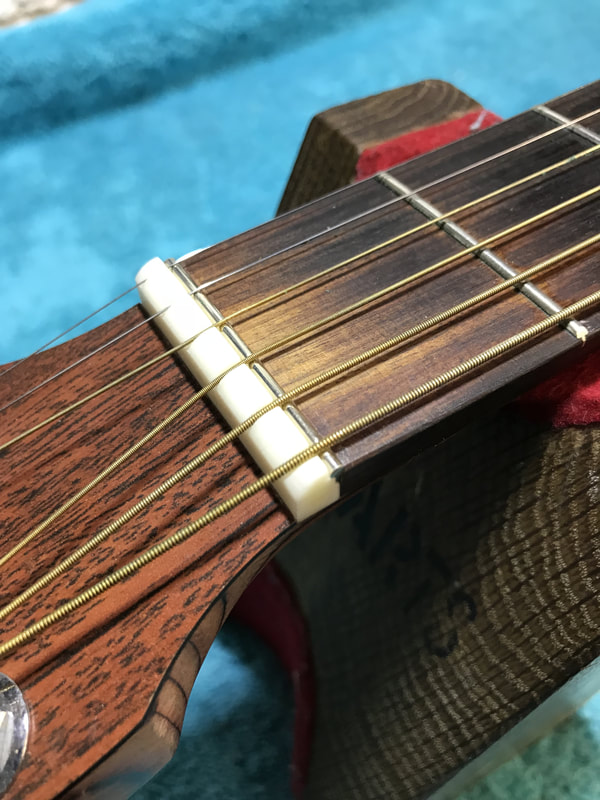
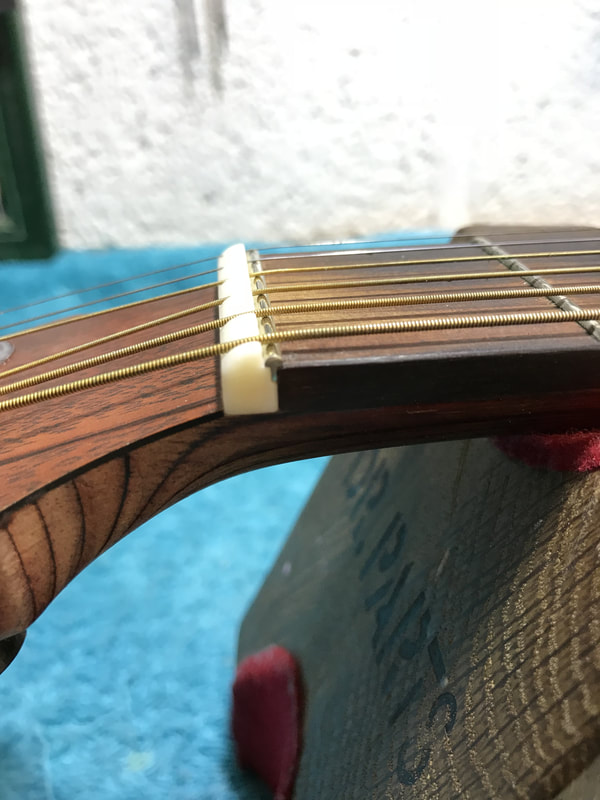
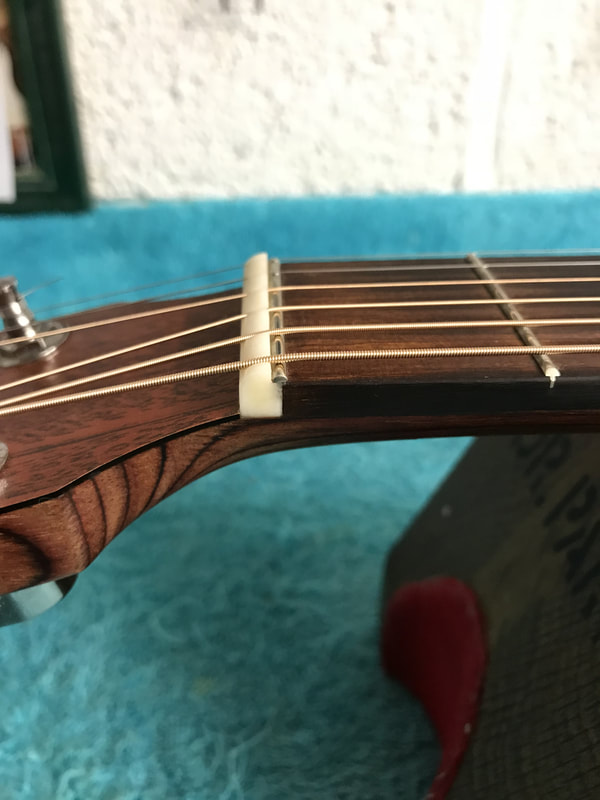
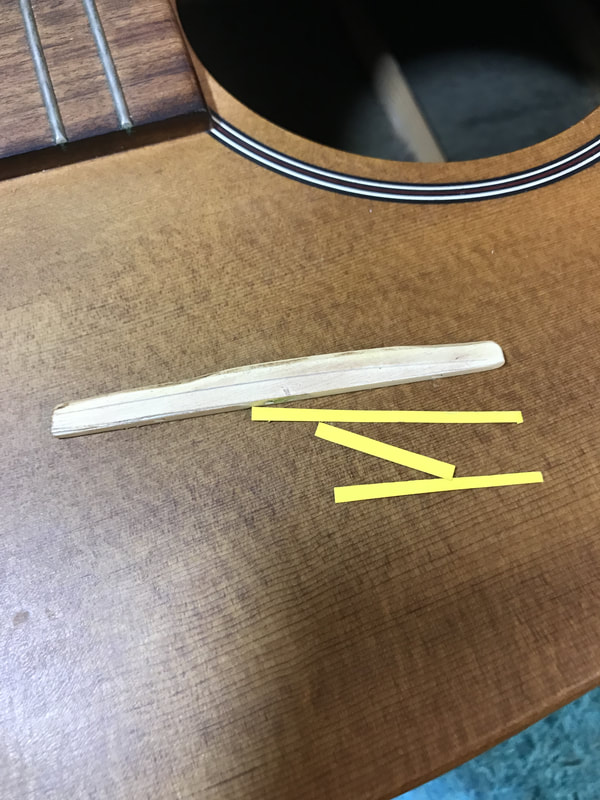
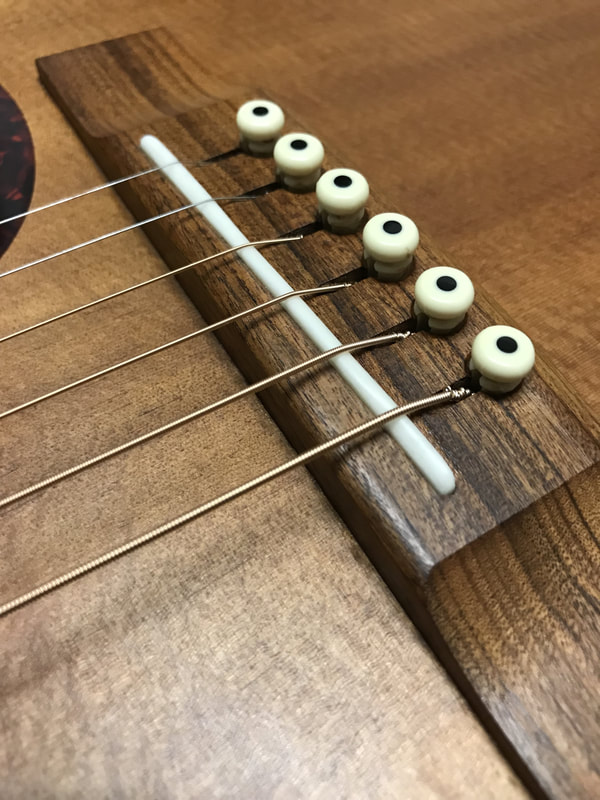
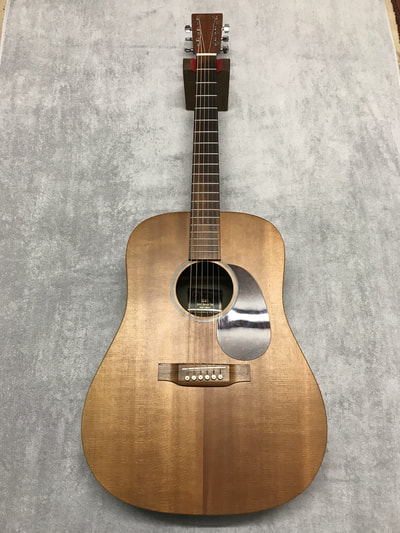
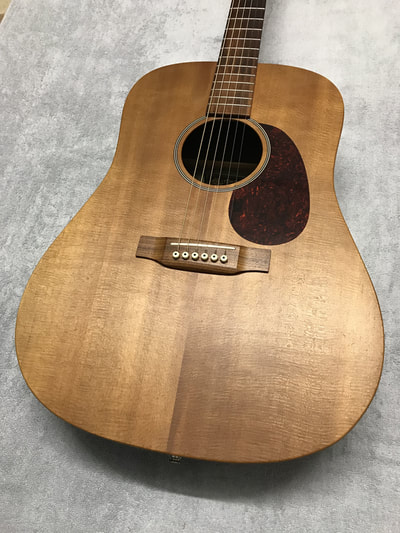
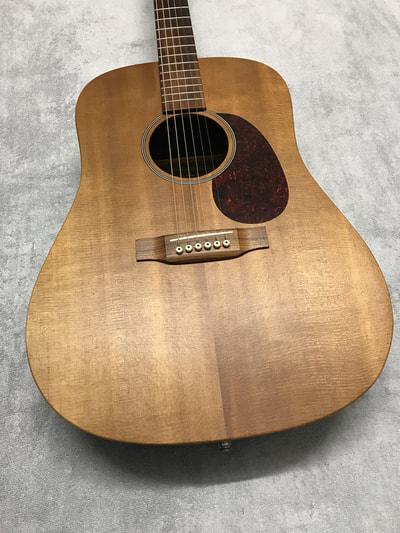
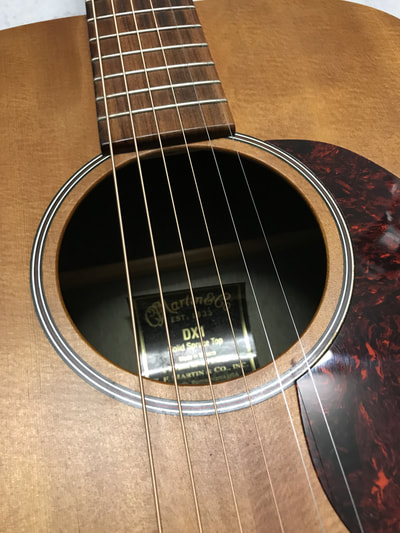
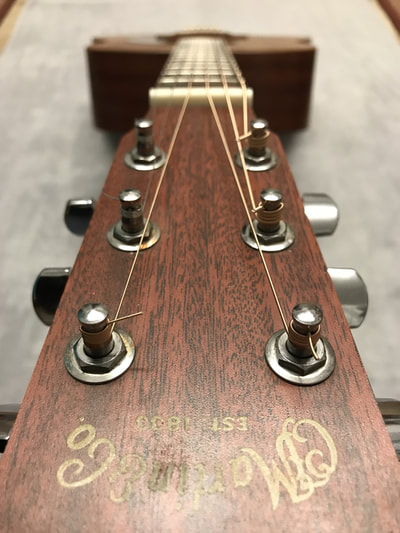
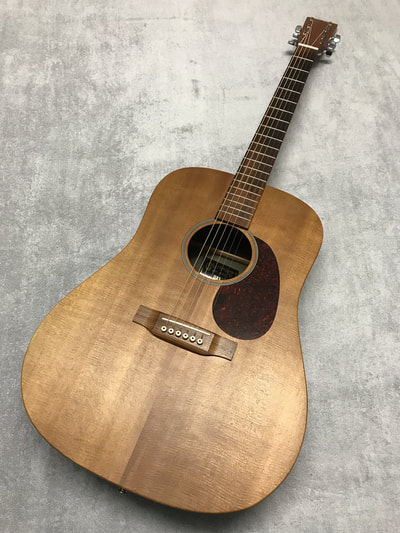
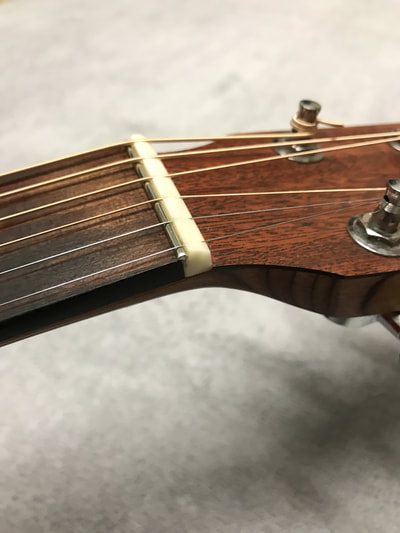
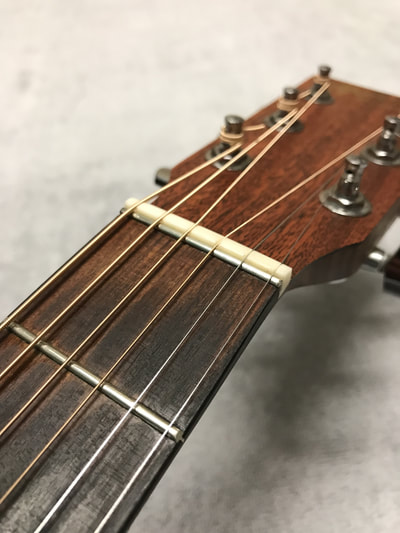
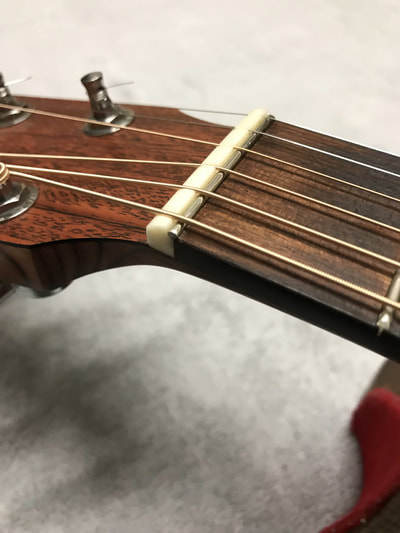
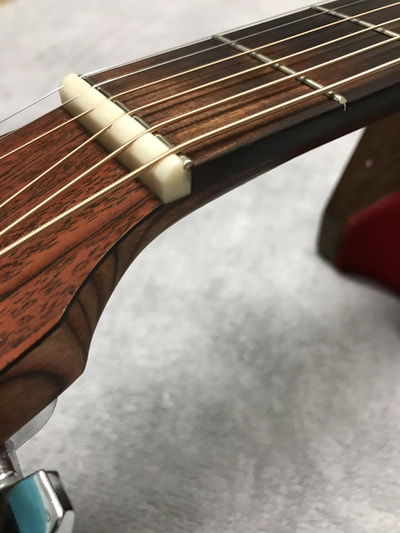
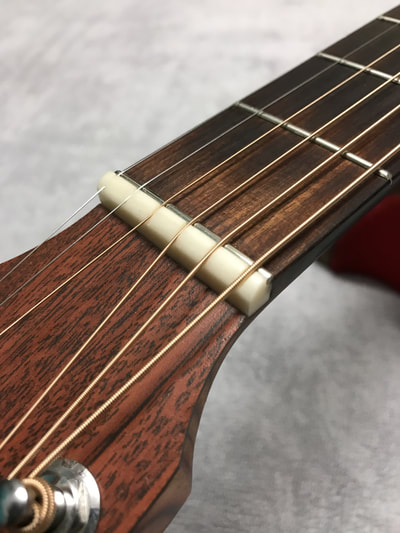
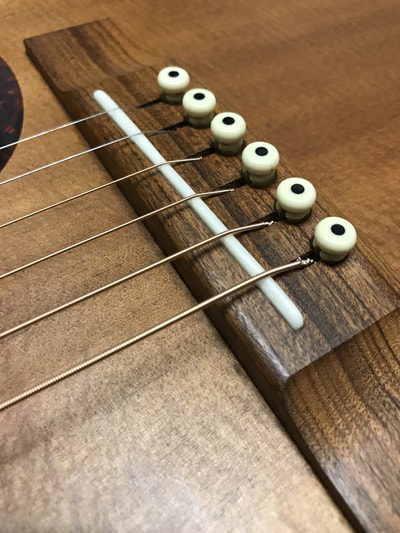
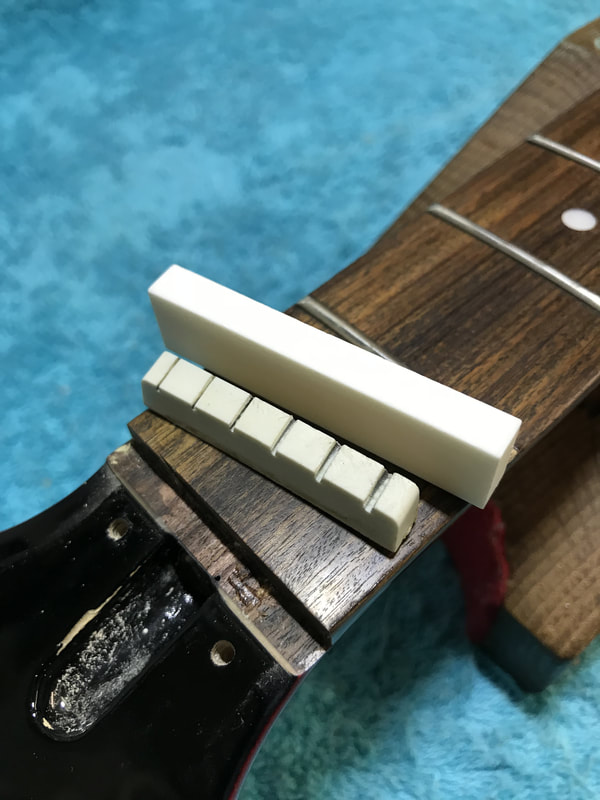
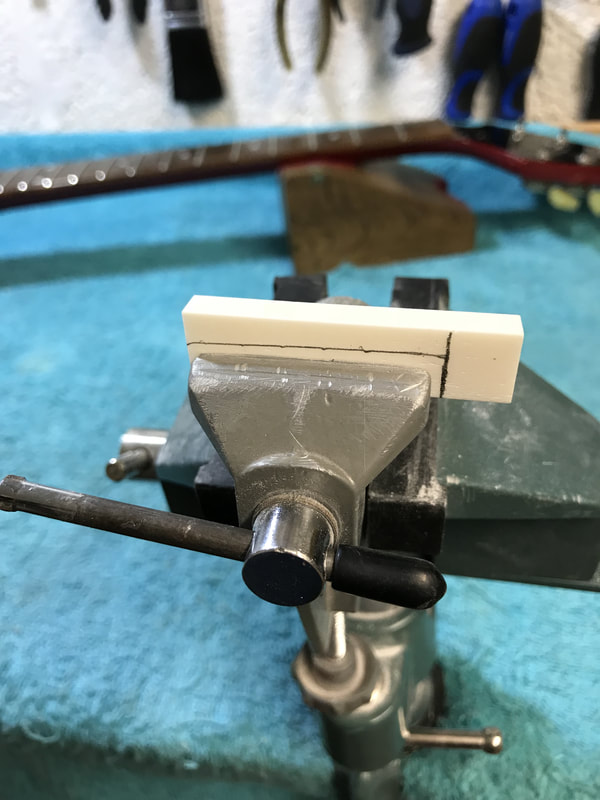
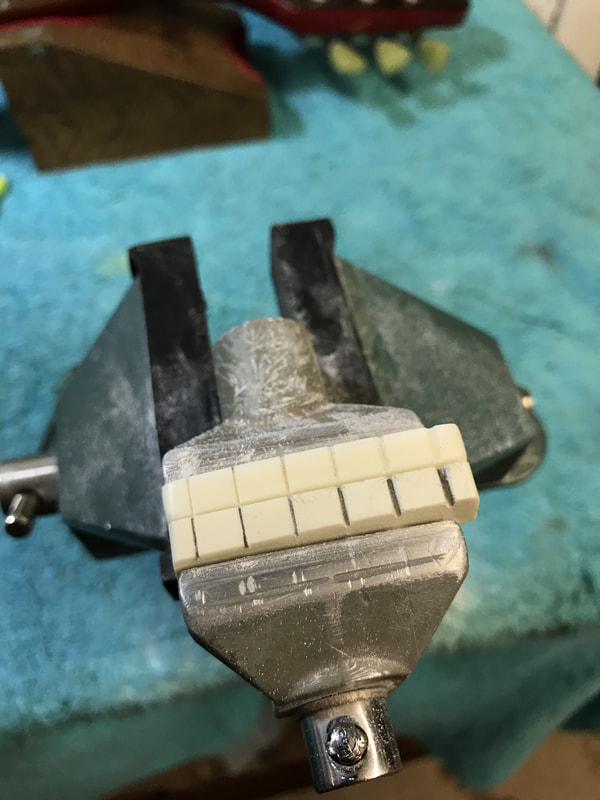
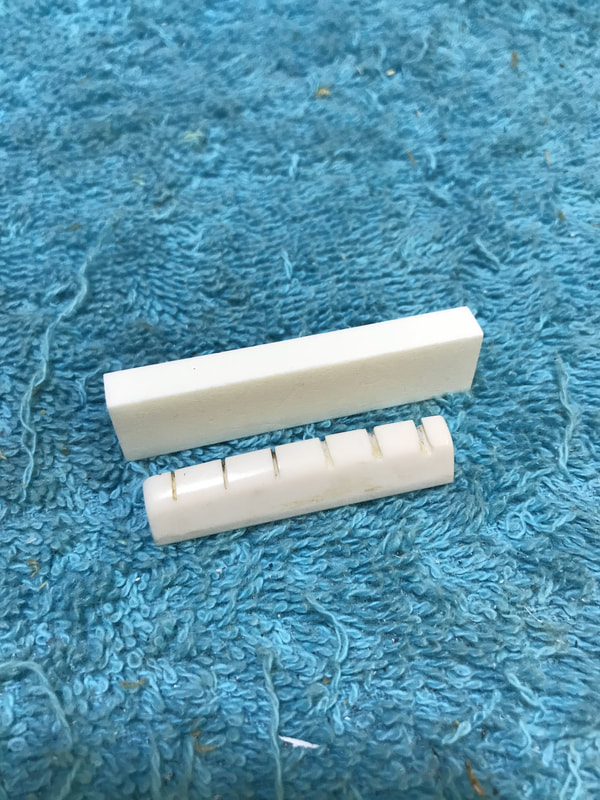
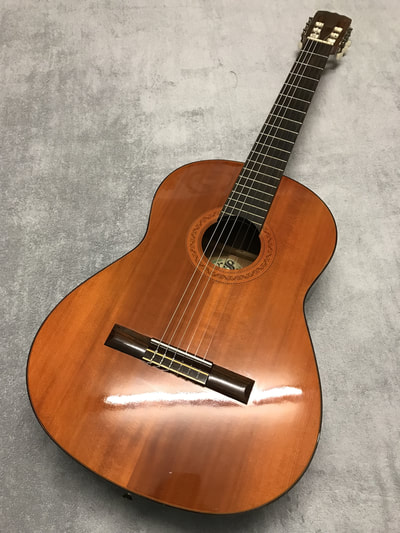
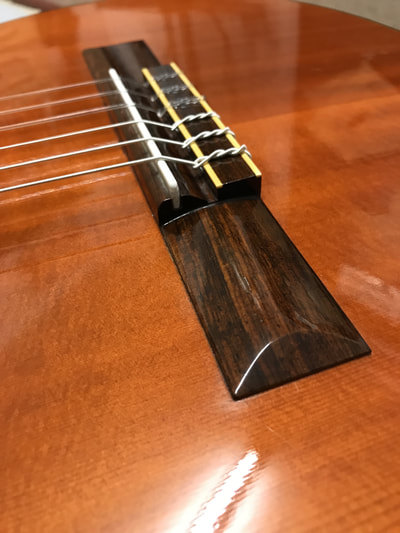
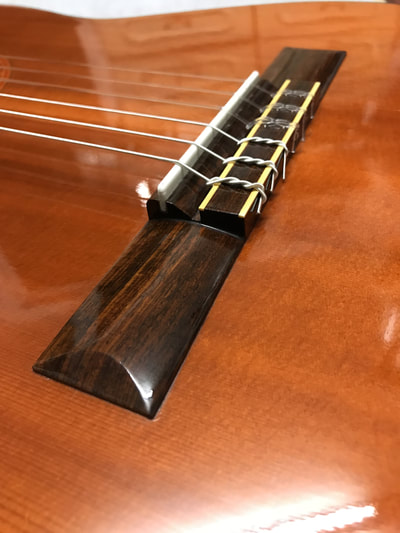
Once the nut slot was prepared, the ZeroGlide was thickened down to an exact fit into the nut slot, then the nut was cut to the precise width of the fingerboard As this Martin was a non standard string spacing nut, the slots were cut out of the Zeroglide blank, using the existing nut as a template. Once this was done, the fretwire for the Zeroglide was determined, with the string height being set as low as possible without any string buzz or rattle. The correct fretwire profile chosen, the wire was glued into place with the wire cut to size. The final stage of the installation was a cosmetic one that we like to do. This involves filling the small gap at either end of the Zeroglide with a bone/glue mixture, giving a much neater, more factory fitted look, Next the upgraded bone saddle was made, the old saddle had been adjusted down at some point, and had been over done. It then was bodge fixed by thick paper shims being put under the saddle to raise it up.
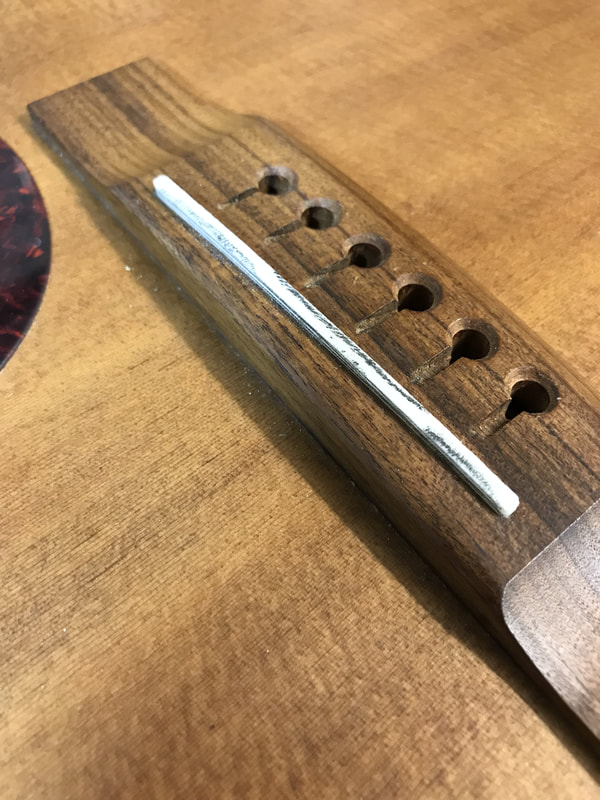
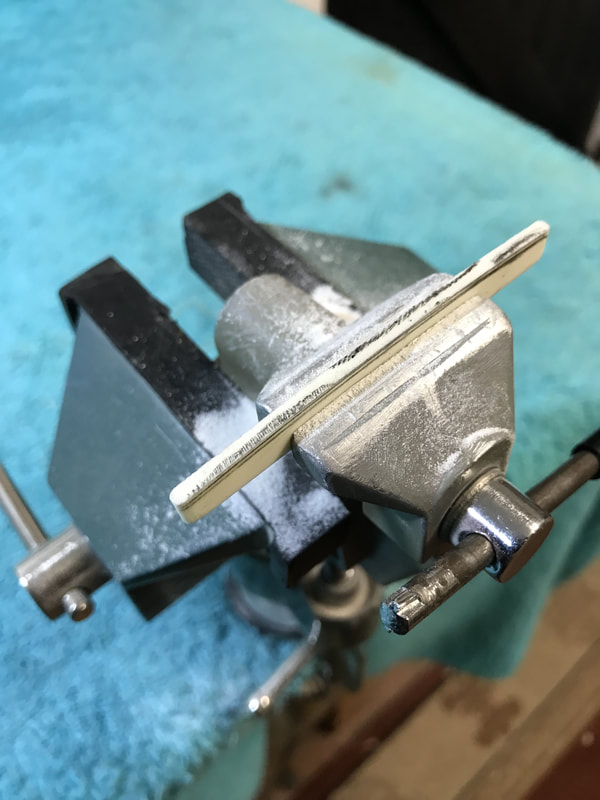
The new saddle was cut and shaped from a bone blank, matching the profile exactly of the existing one, including the compensation for the intonation. The height was then set, setting the action in the process. With all the work done, the guitar was restrung with a fresh set of strings ready for the customer to enjoy his guitar again!
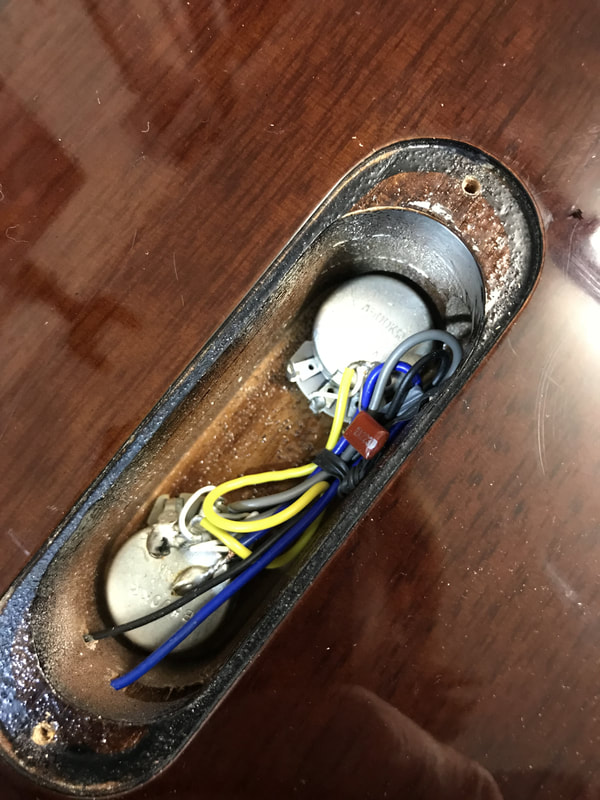
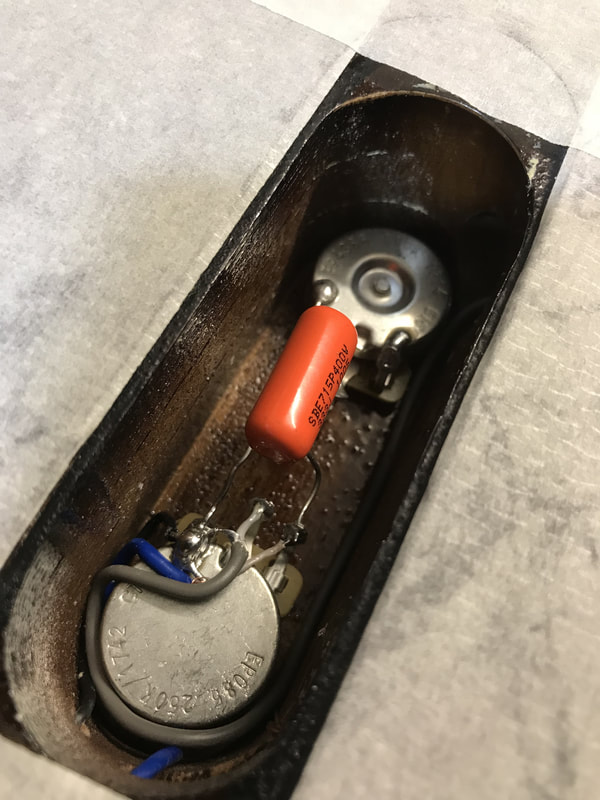
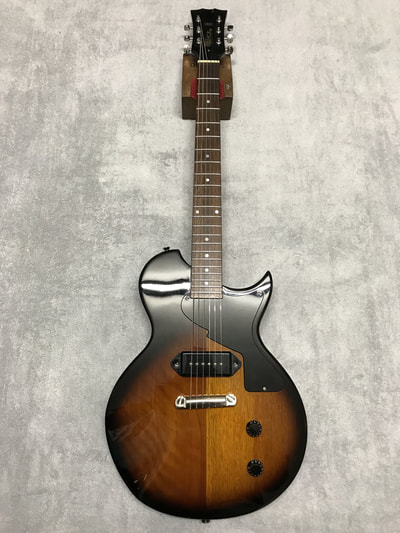
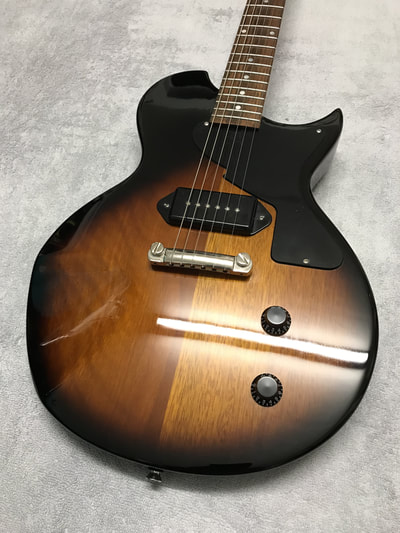
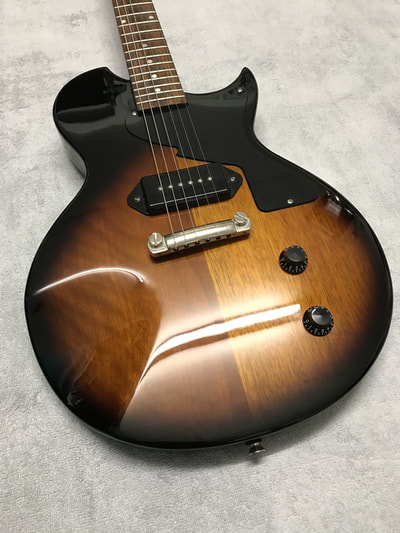
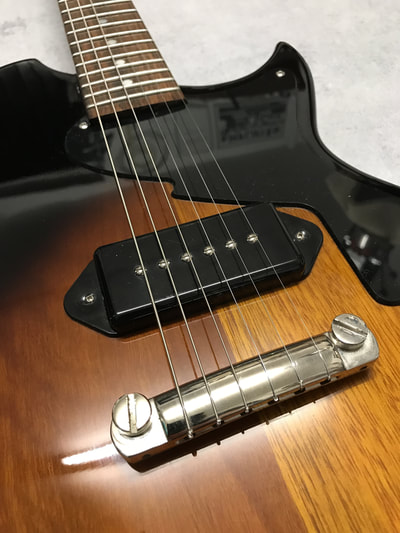
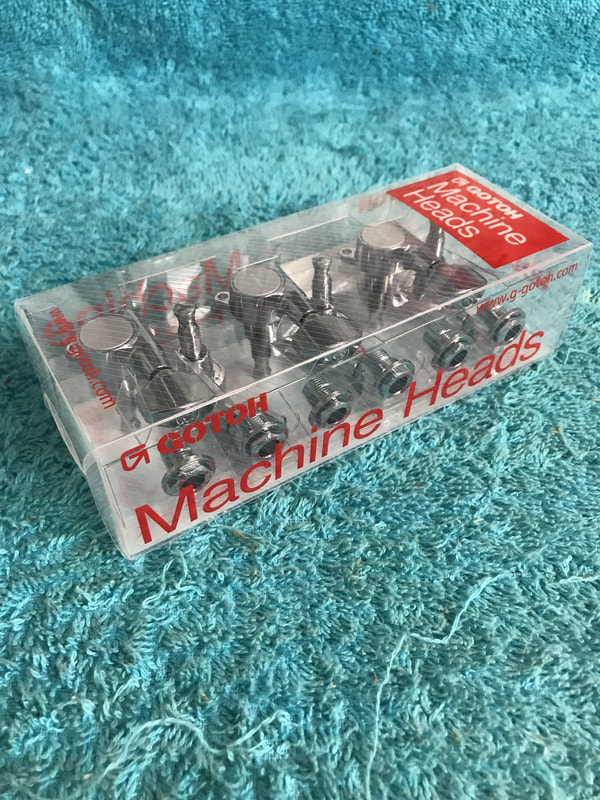
The customer also felt that the P90 wasn't giving the best tone as it should on paper. This was solved by upgrading the electronics ( tweaking the resistance load on the circuit) and a rewire, with shortened signal paths and an upgraded capacitor. An old school trick of adjusting the screw pole heights completed the task of getting the pickup to live up to it's potential! The work was completed by replacing the worn out set of machineheads with a direct replacement sourced from the manufacture, and then a full setup!
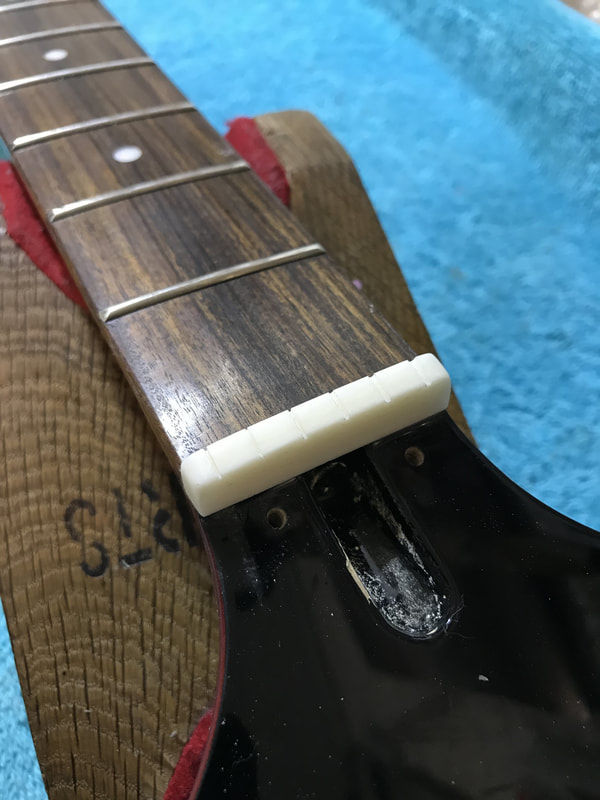
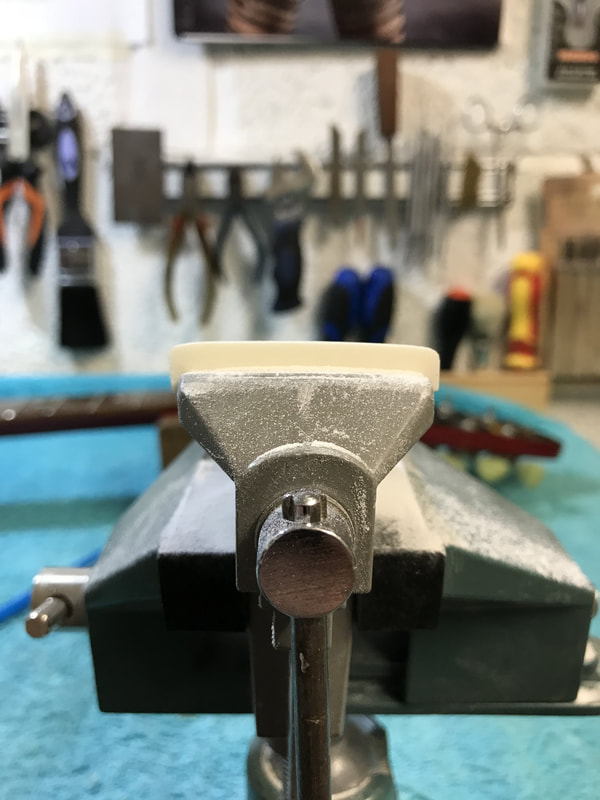
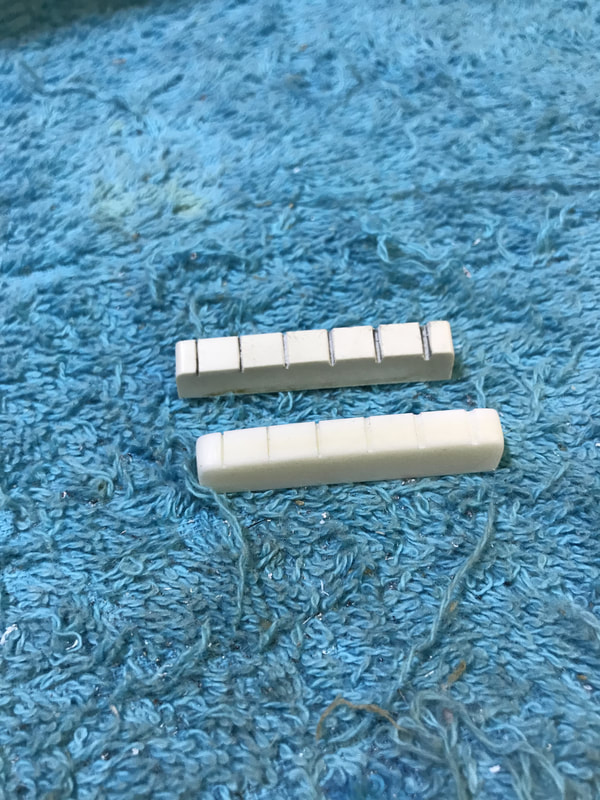
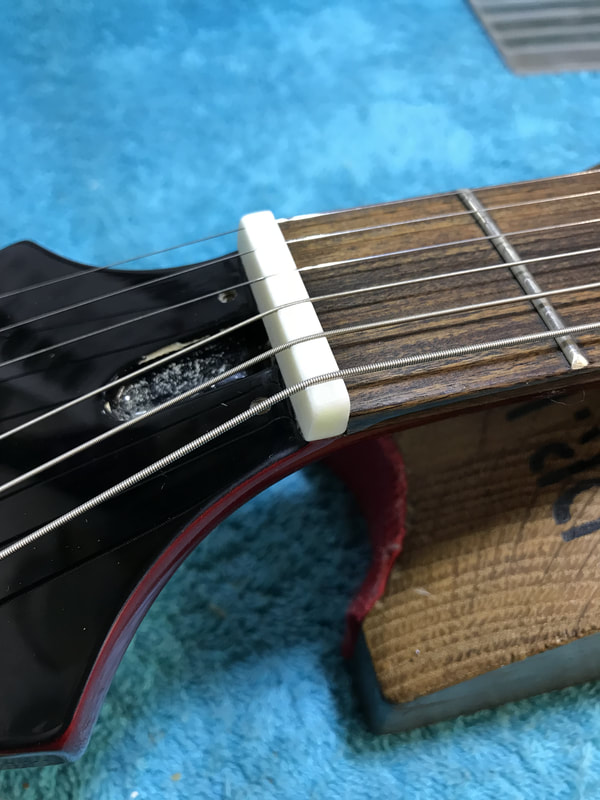
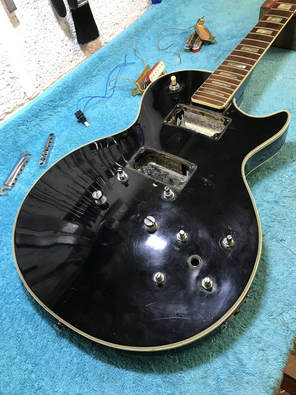
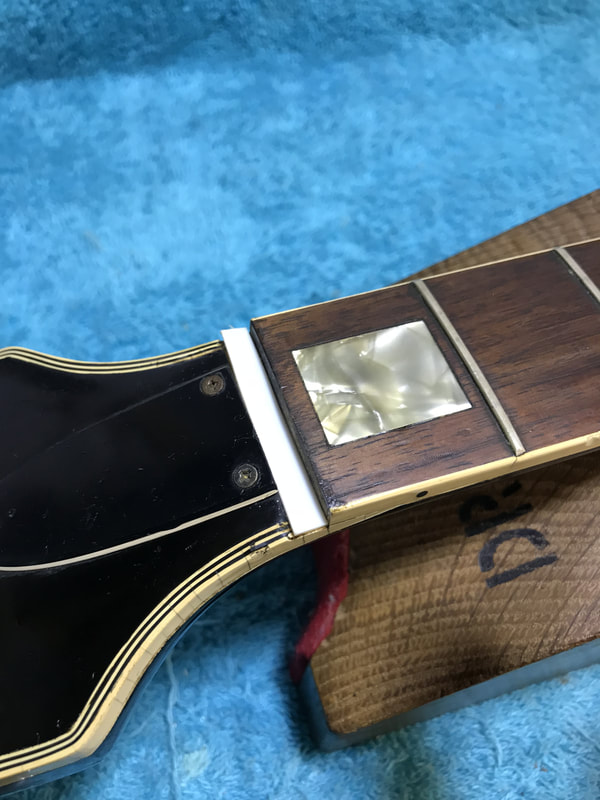
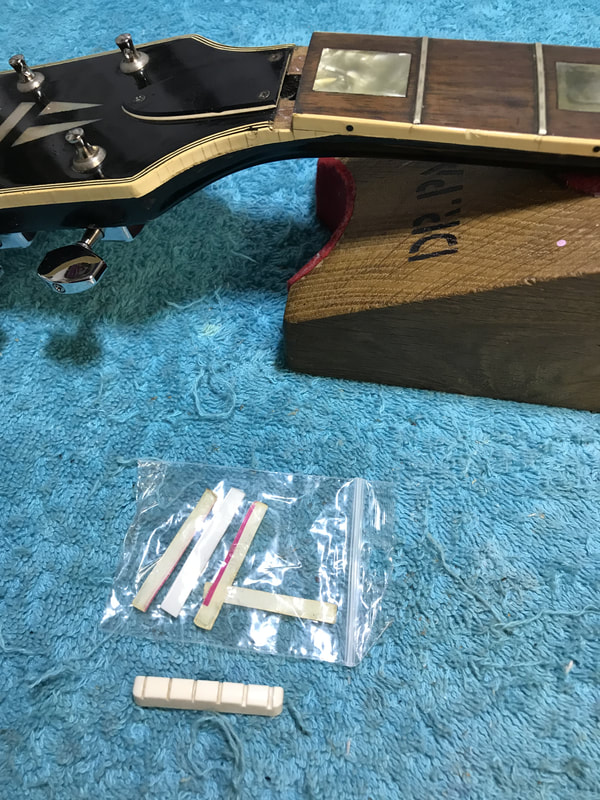
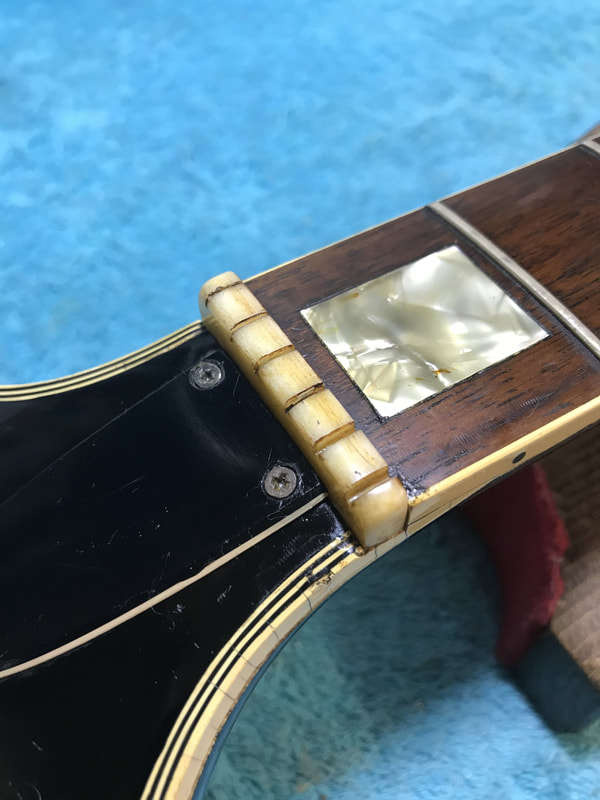
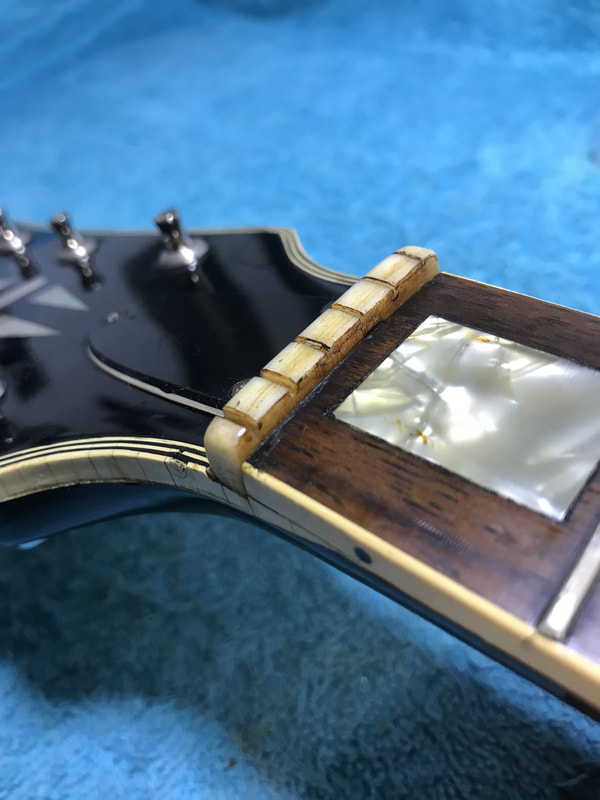
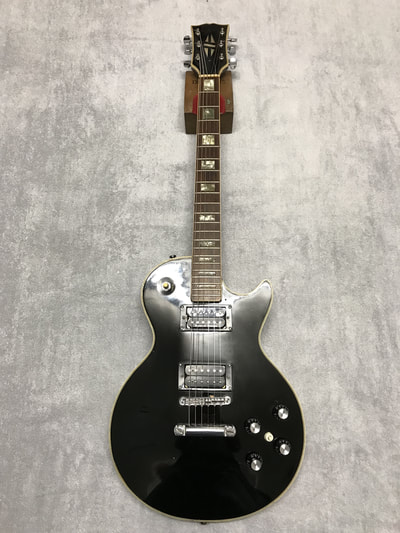
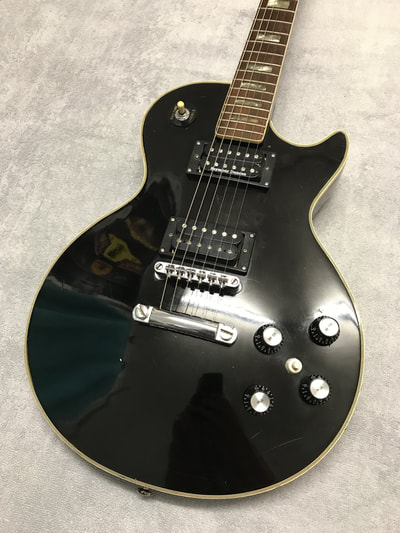
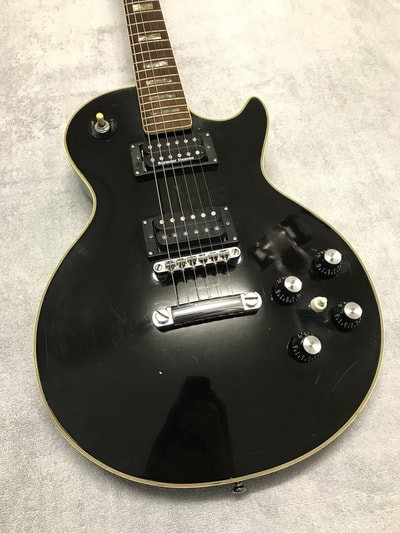
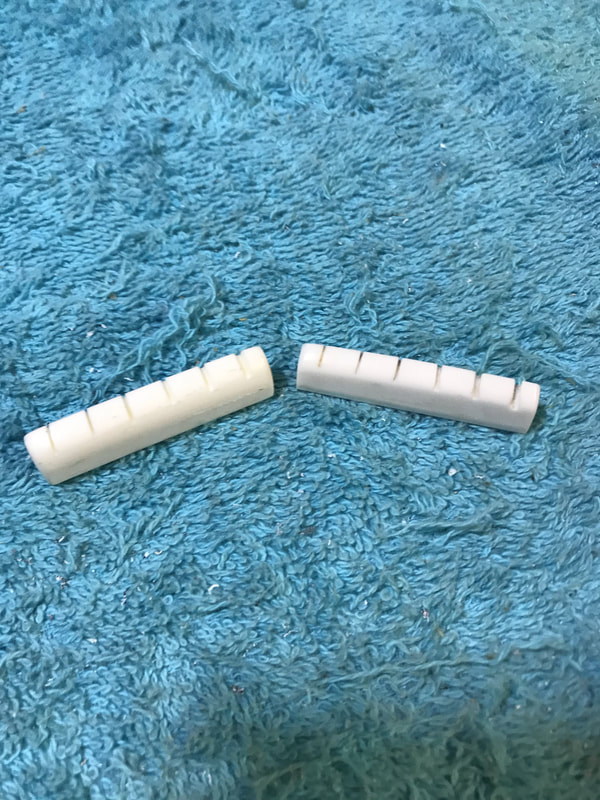
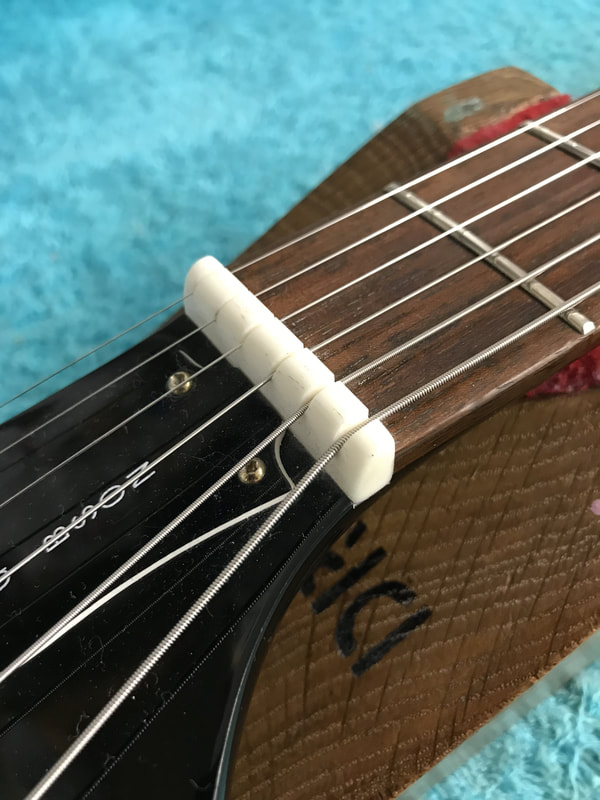
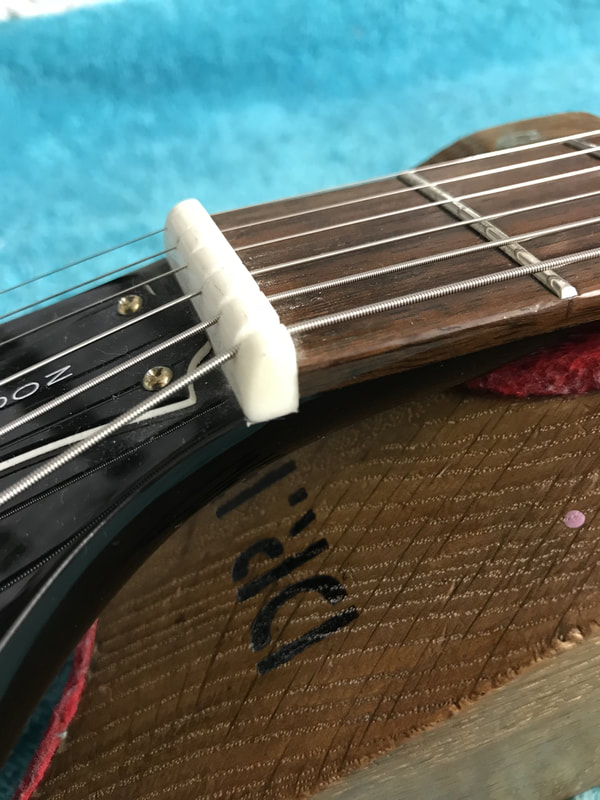
The old nut had been shimmed up with various thickness of plastic, this all had to be removed before the new nut was hand cut and shaped out of bone, to an exact fittment on the guitar. The nut was then stained to match in with the rest of the aged plastic. With the new nut fitted, the guitar was set up, new pickups fitted, replacing the old broken ones along with a rewire. The guitar was given a detail clean and the body was given a polish before the customer collected his new purchase!
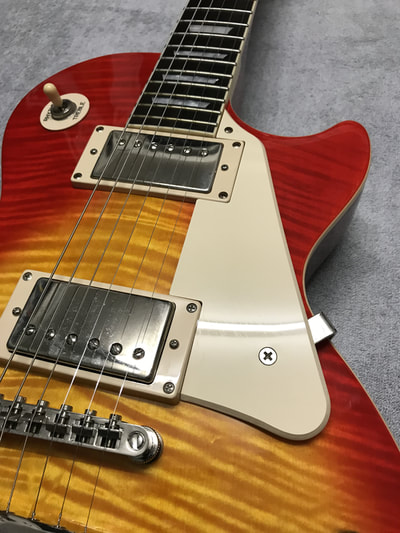
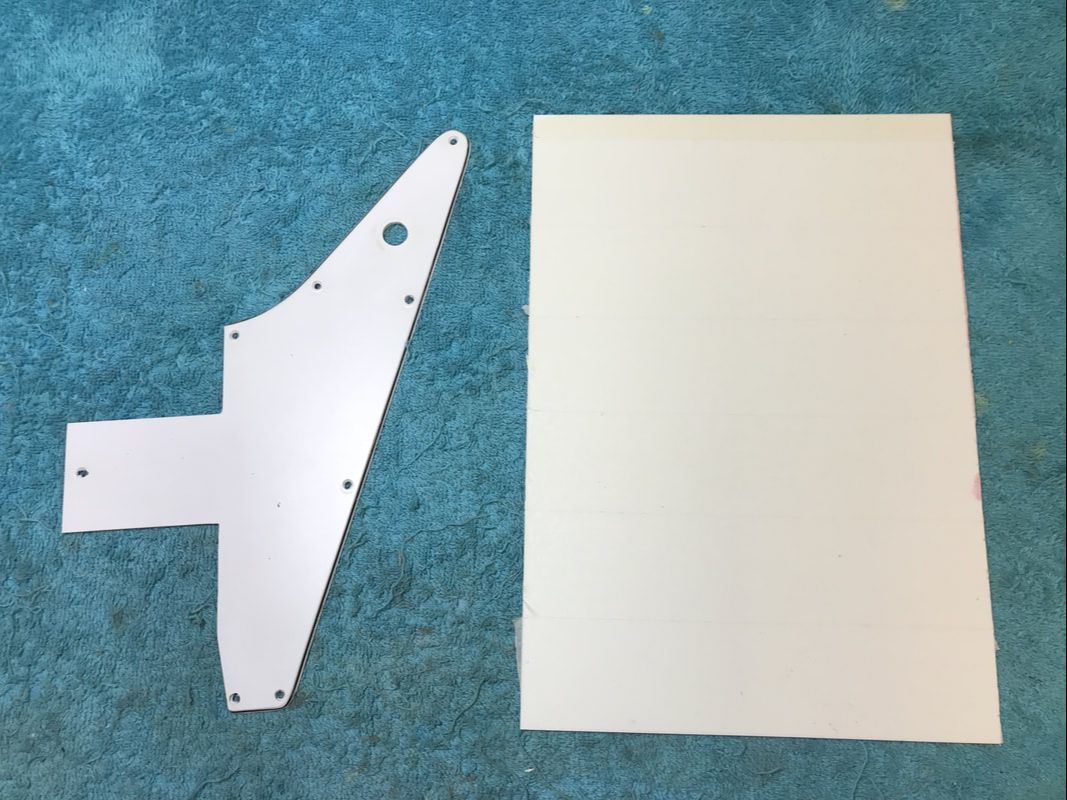
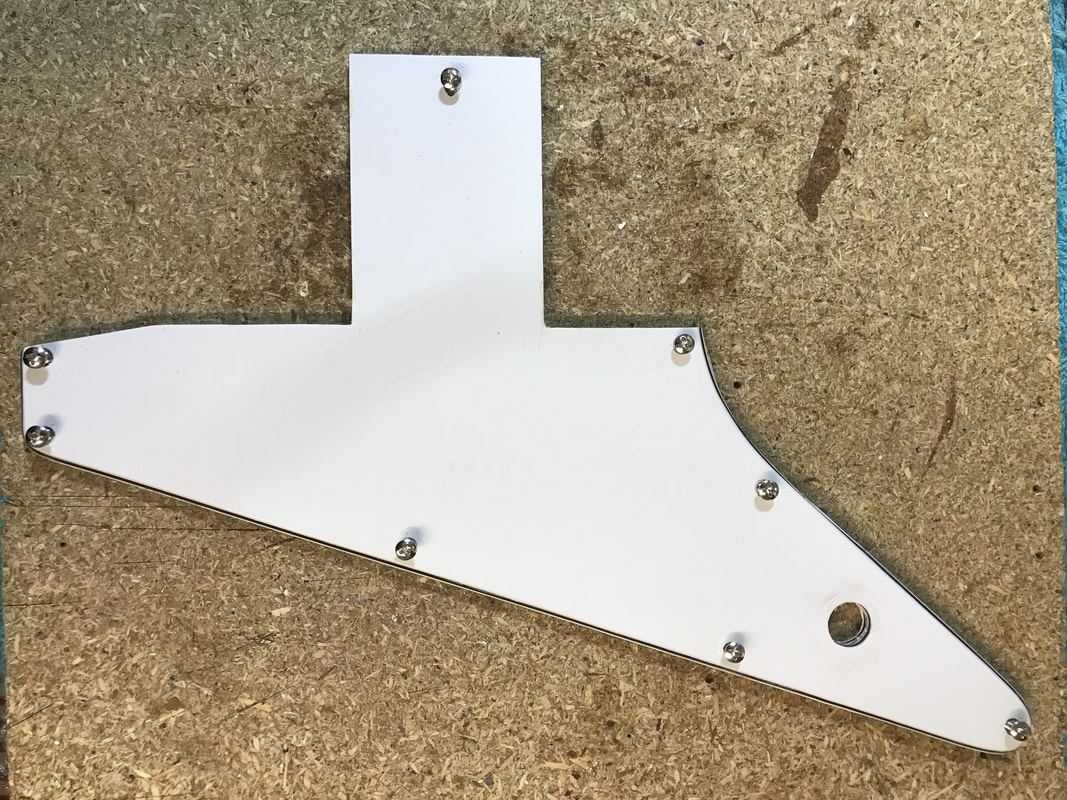
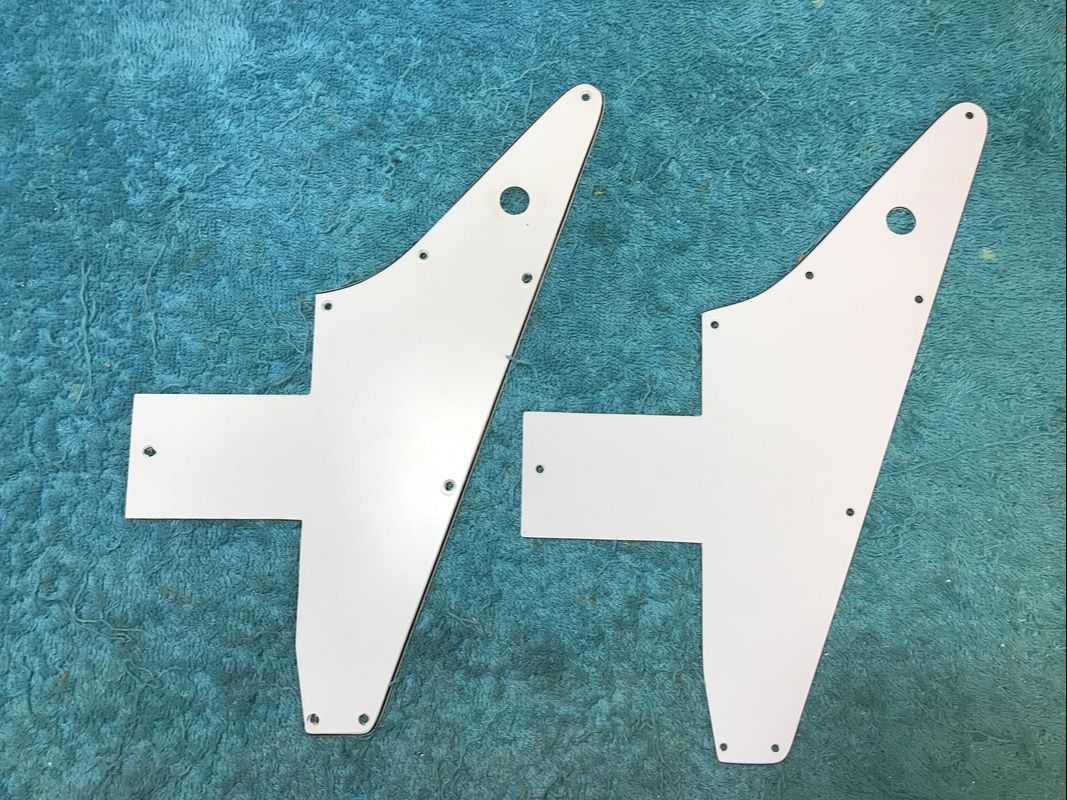
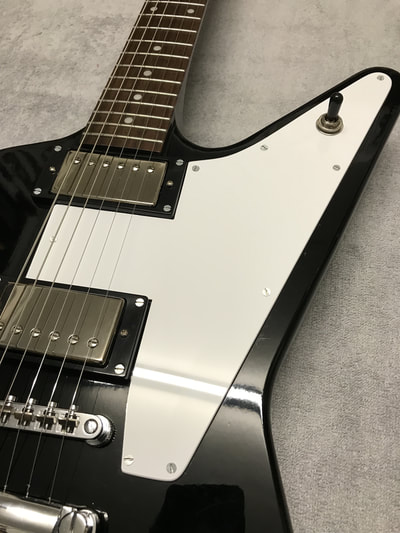
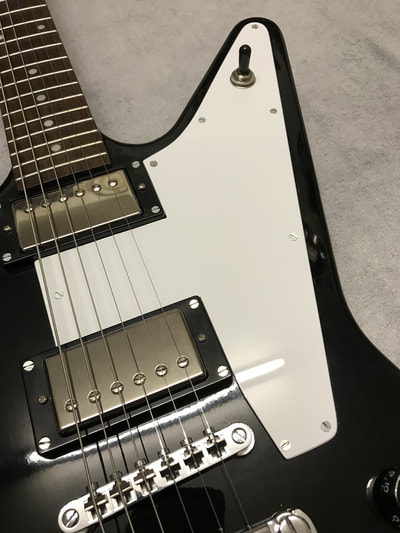
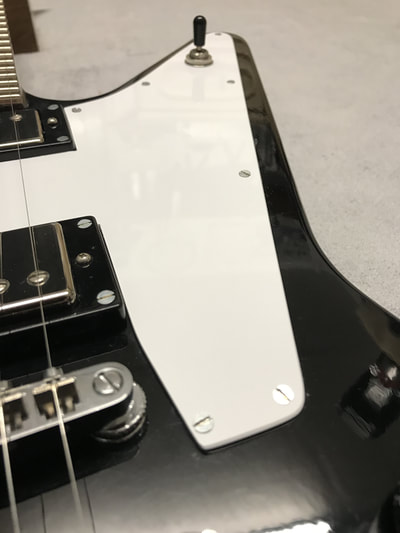
First the new scratchplate blank is cut to size and covered with protective tape. The current scratchplate will be used as a template for an exact match. Once the holes are drilled for the new template, the old one is screwed down and the new one is cut out. Once the shape is cut, the bevelled edge is cut and the screw holes are countersunk. The finished result side by side the original scratchplate
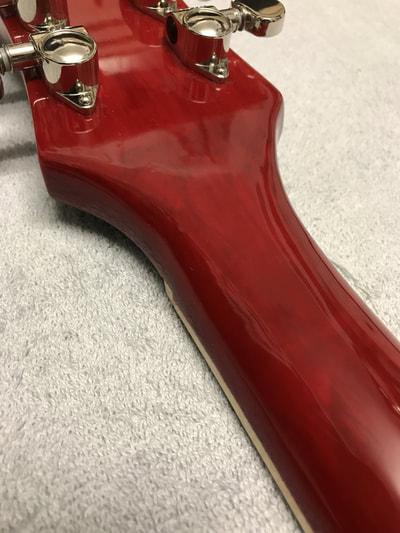
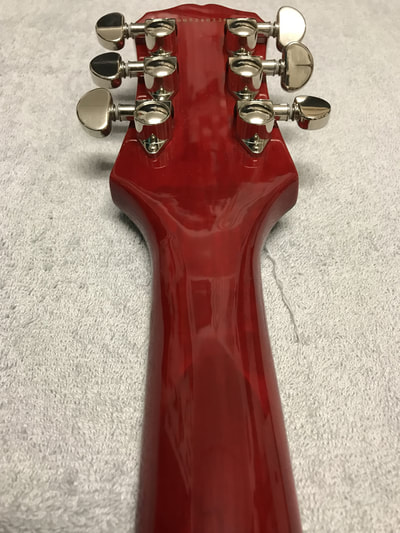
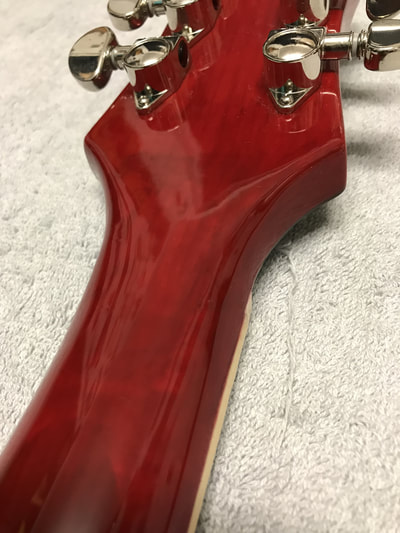
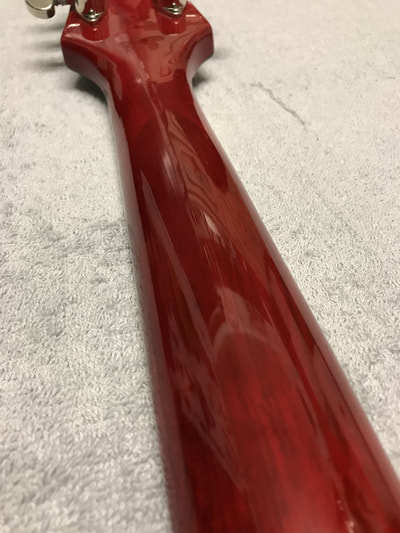
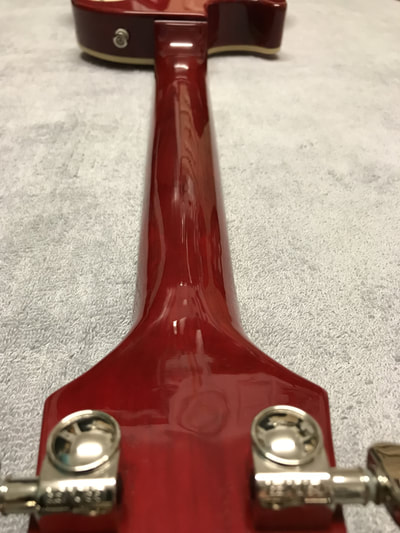
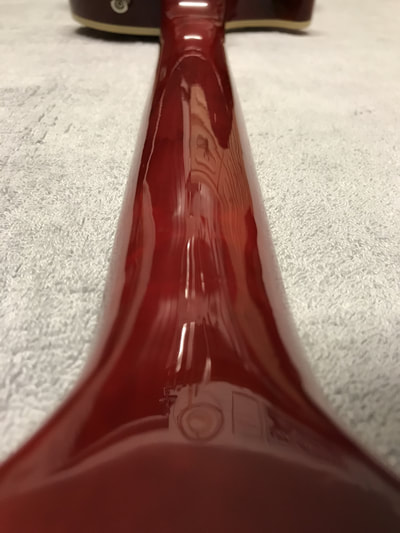
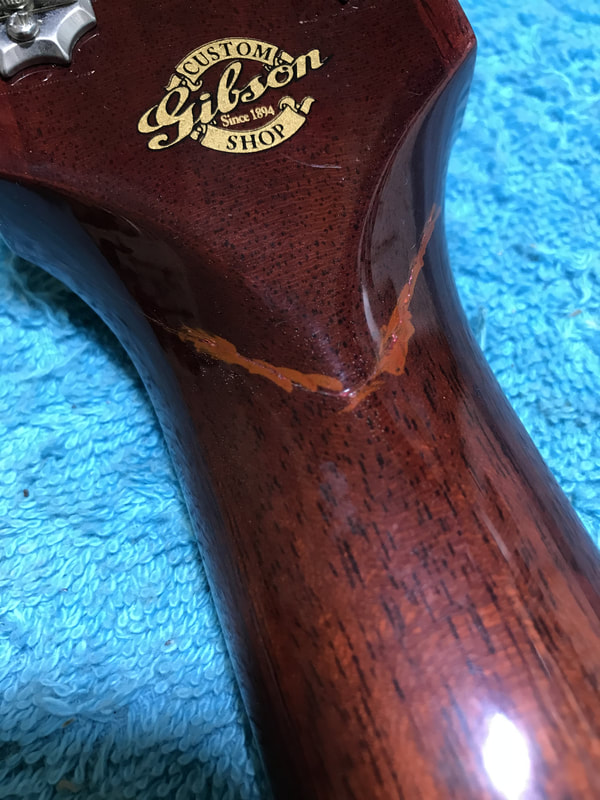
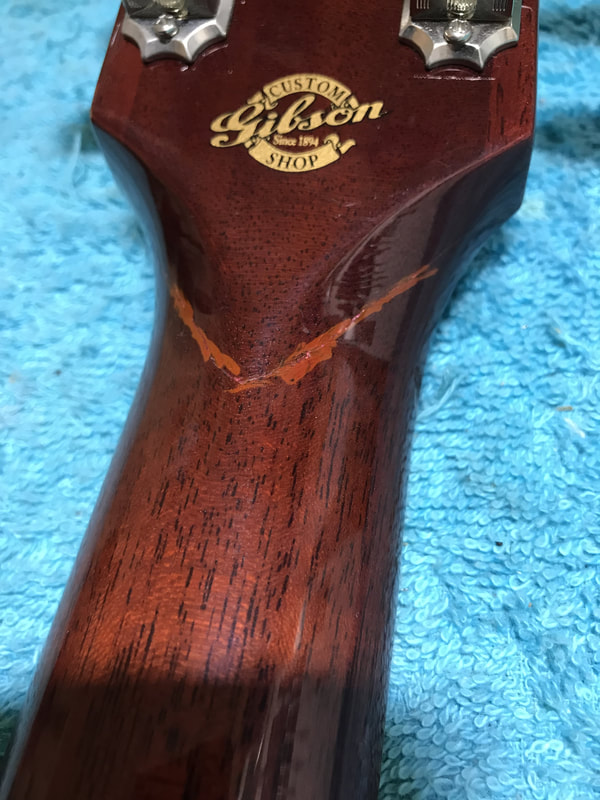
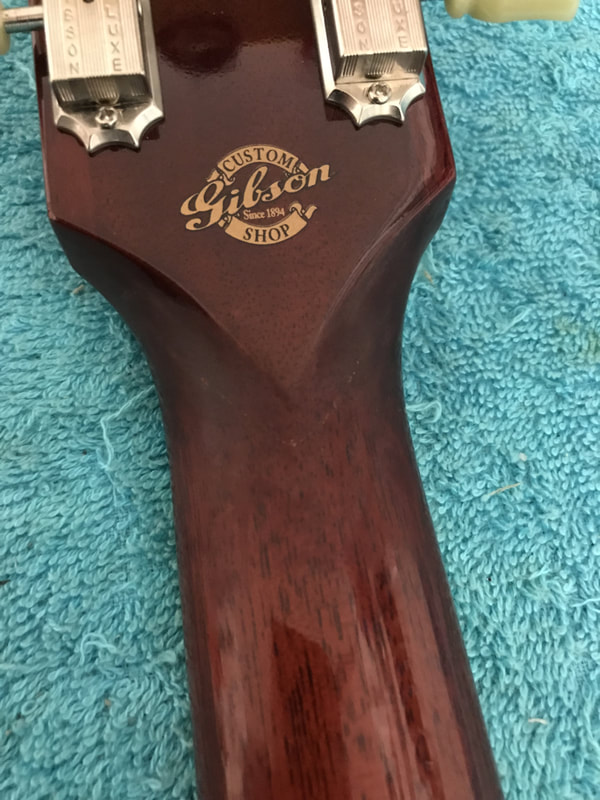
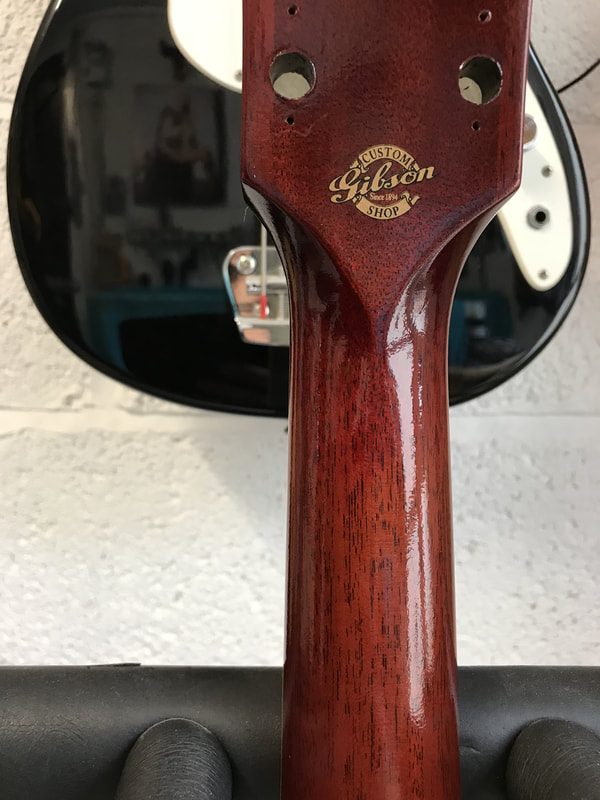
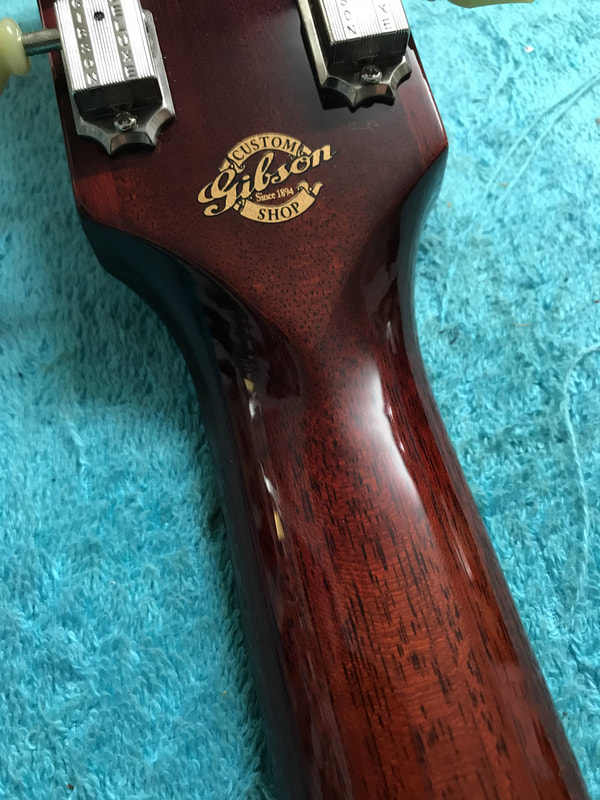
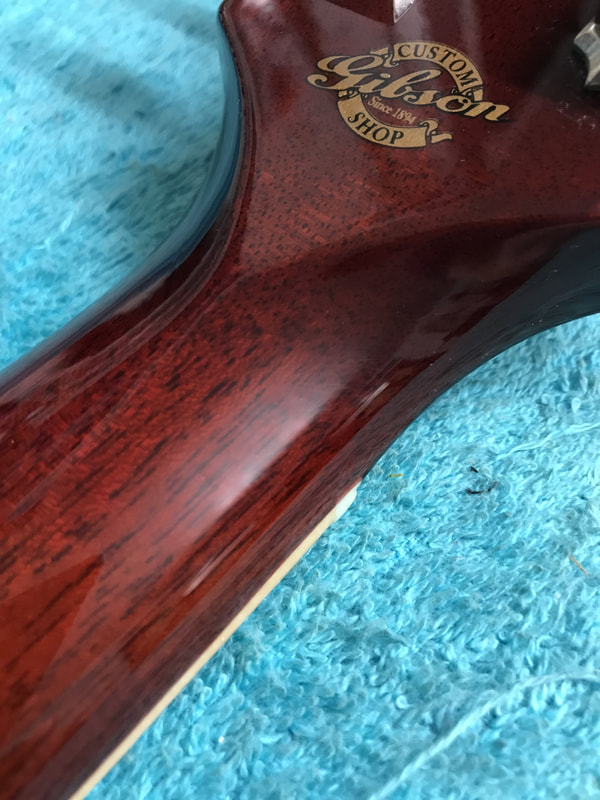
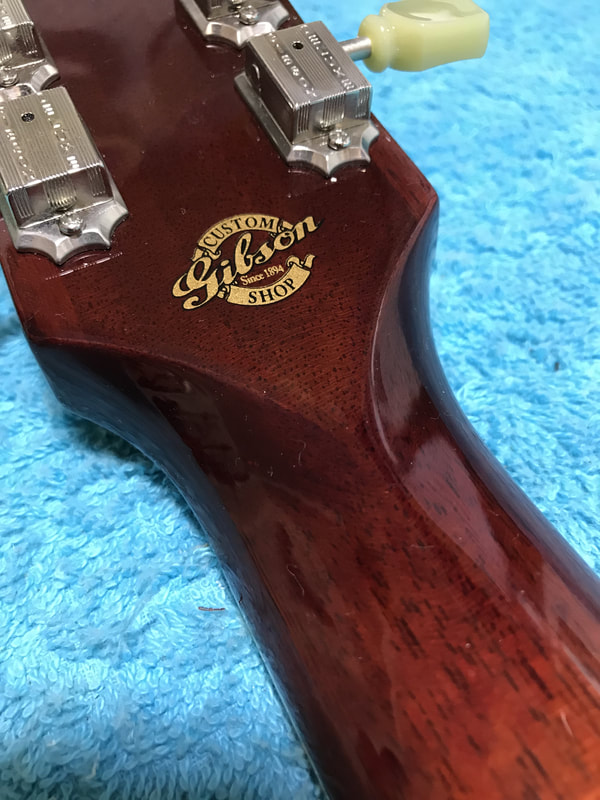
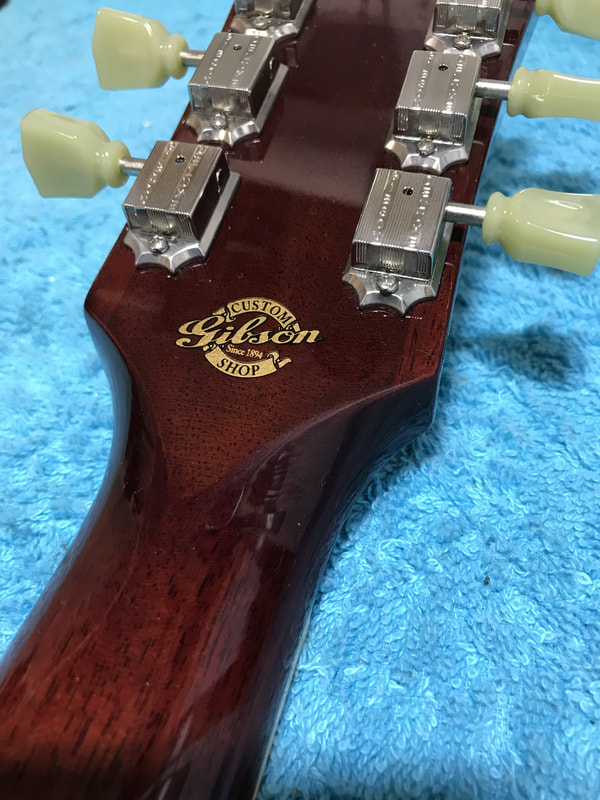
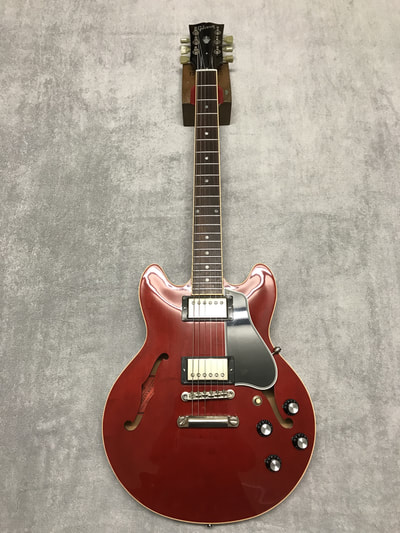
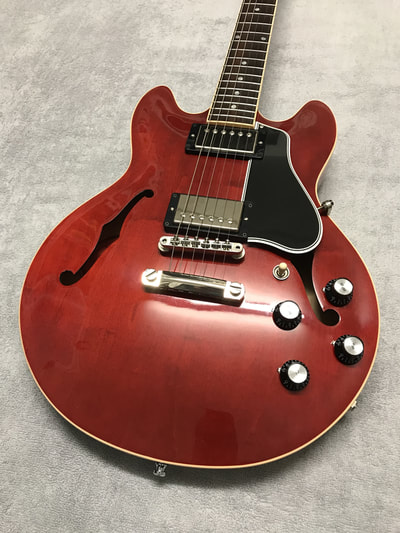
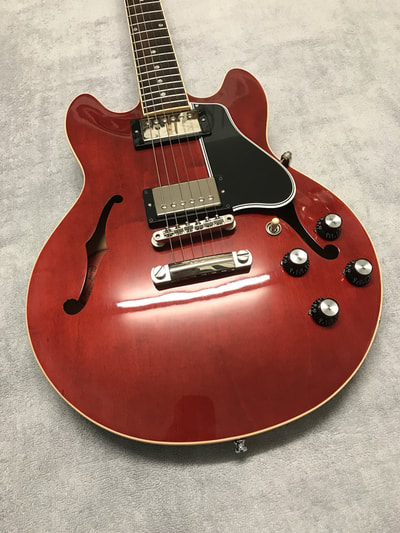
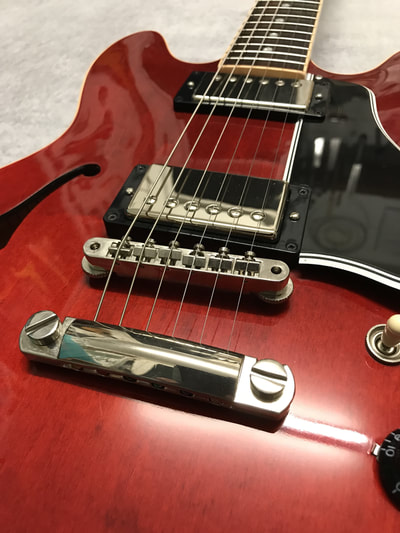
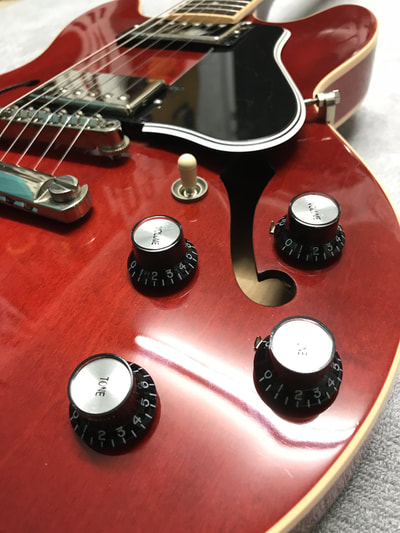
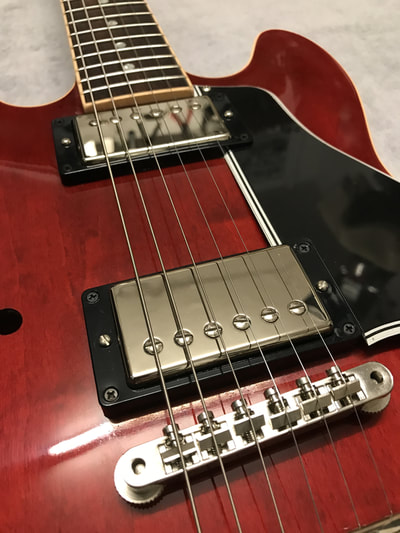
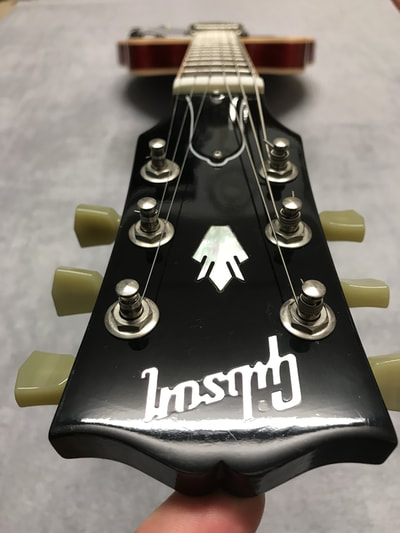
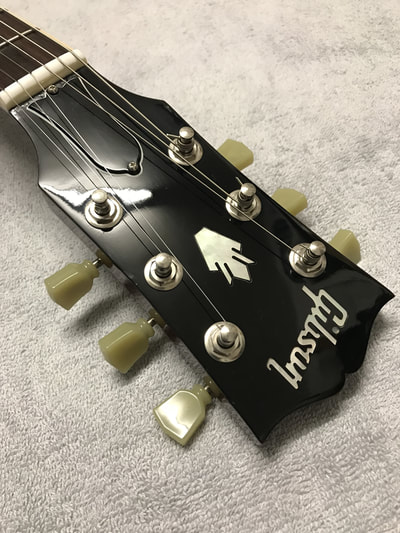
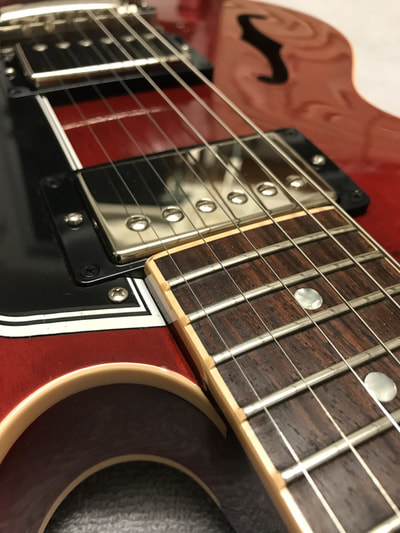
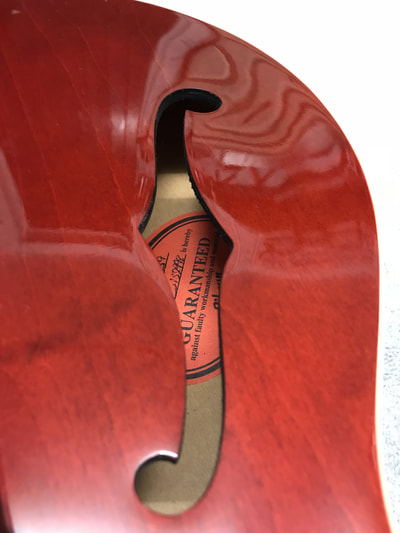
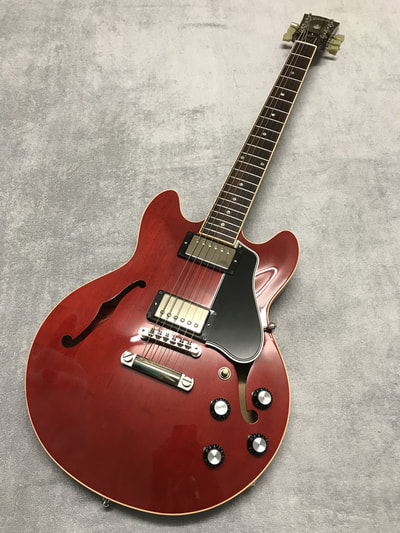
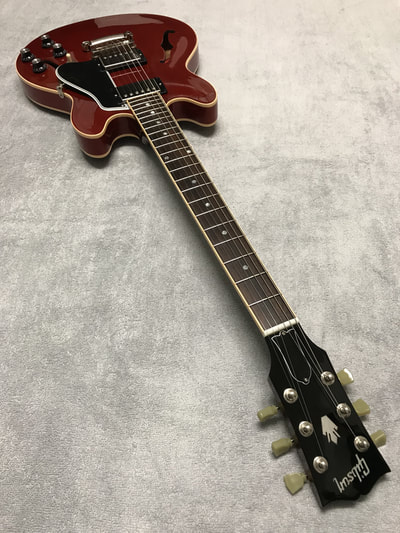
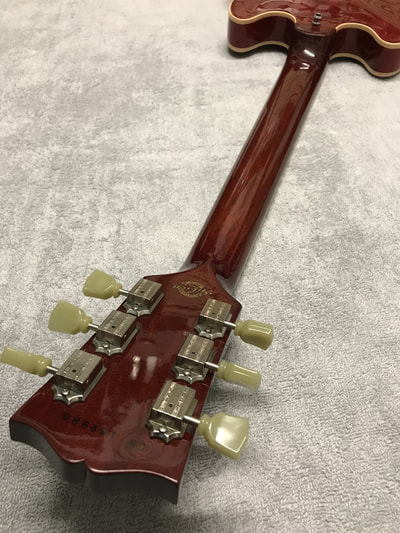
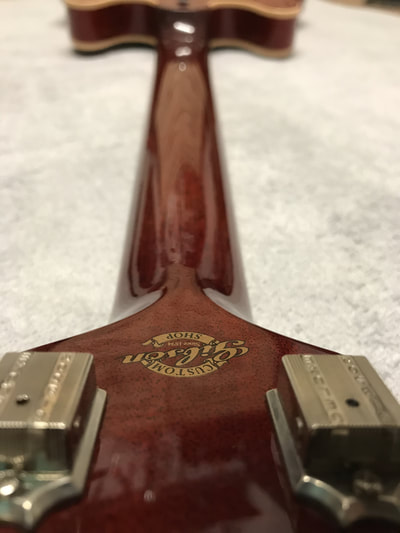
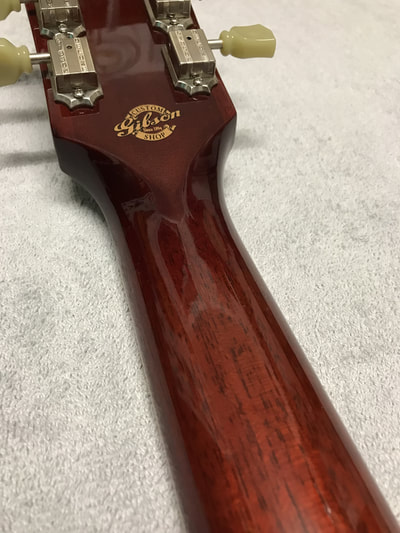
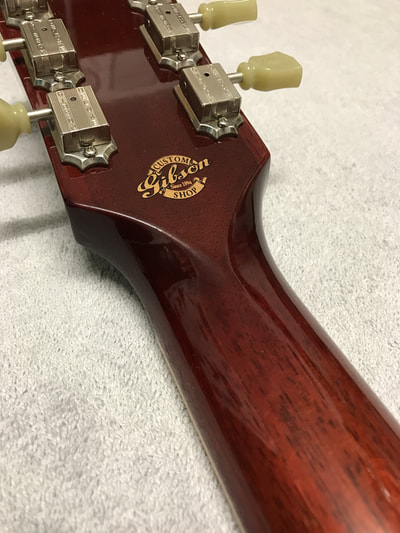
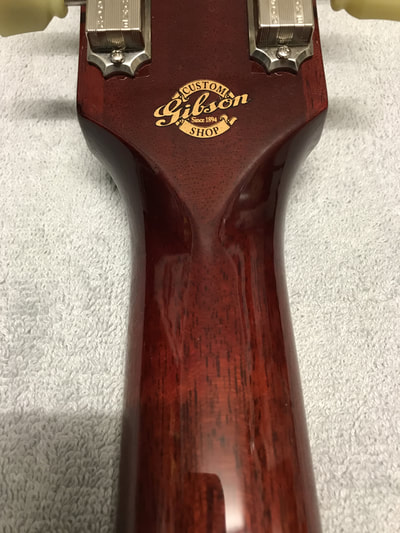
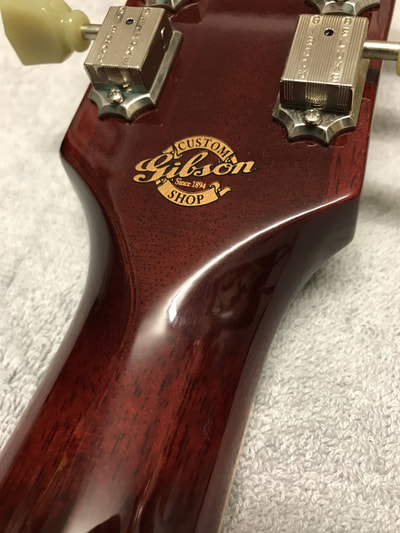
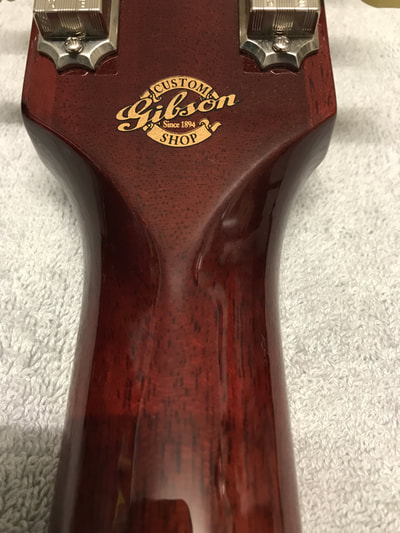
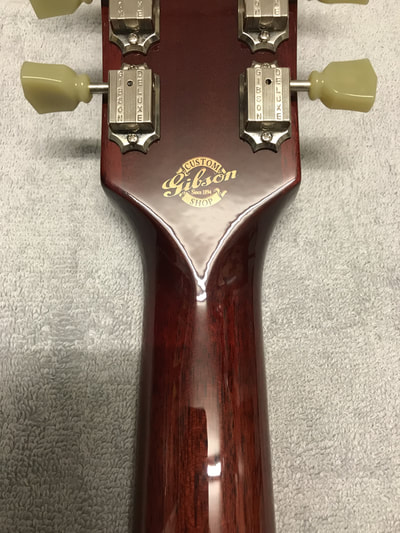
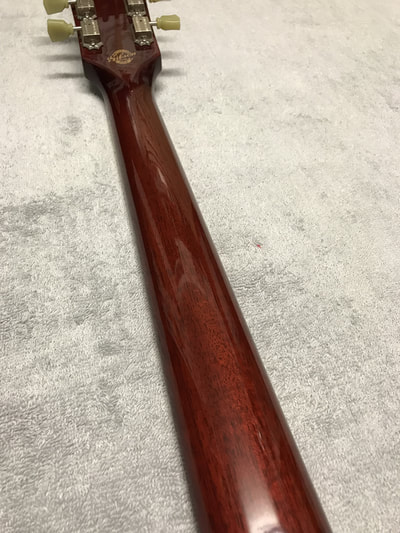
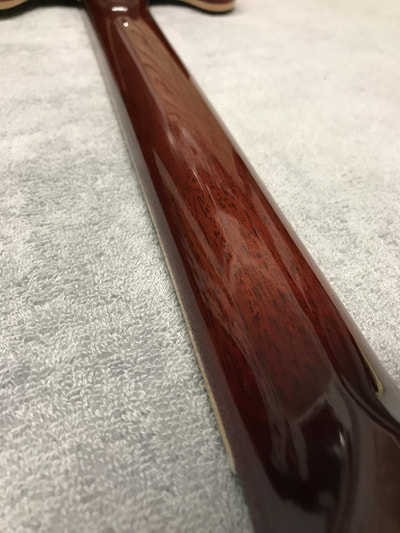
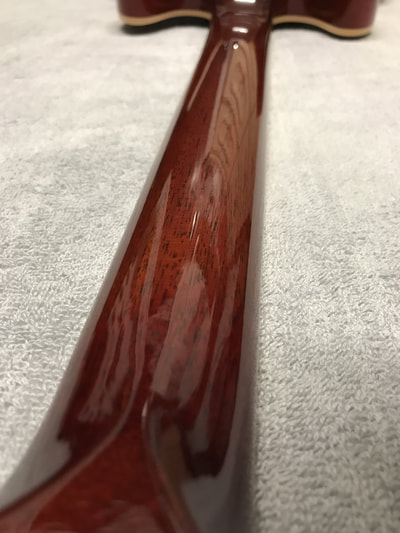
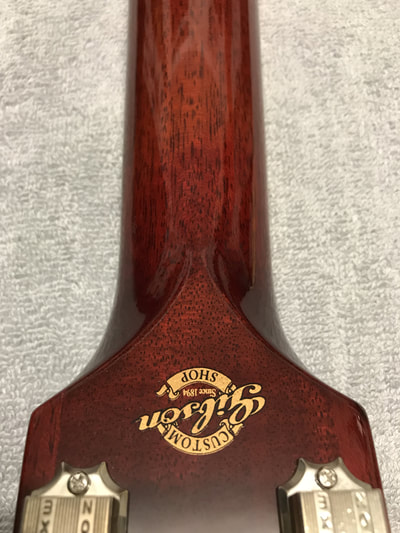
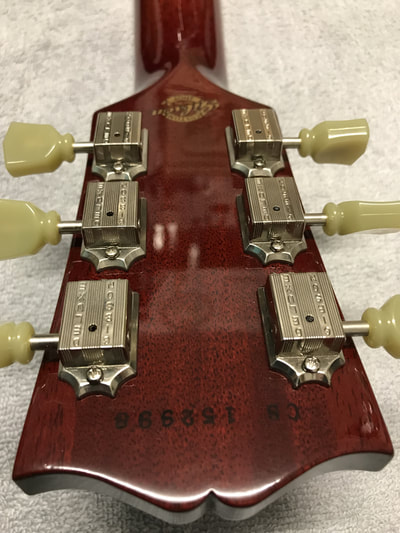
This lovely Gibson Custom Shop 339 was brought in, as the guitar had suffered a headstock break. It had been repaired by a very well known guitar shop, however the customer wasn't happy with the poor refinishing attempt that the shop had done. As time went on he became more and more upset with the miscoloured repair to the point he stopped playing the guitar. Our job was to refinish the repair, hiding the work done by the previous repair shop. The first step was removing the mismatched red from the previous repair shop, once this was carefully removed, colour matched stain was then applied to the crack to blend the finish, hiding the crack in the process. Once complete, the neck was then sprayed with Nitrocellulose lacquer, this blends in the existing Gibson lacquer, giving a smooth transition between lacquer coats. At the same time, the back of the headstock was sprayed too, evening out the slightly uneven factory finish. The lacquer was left for a set period of time to allow it to cure and sink before the flatting and polishing could begin. Once the lacquer had been left to cure to a hardened state (Nitrocellouse never fully truly cures 100%, hence the tone of the wood is not sealed in) the lacquer was flattened back and then hand polished and buffed to a shine. The guitar was then restrung with a fresh set of strings before the customer collected his guitar!
|
Lewis DurtnallHi, I'm Lewis, Ive been repairing guitars since 2004, I learnt my craft at Totnes School of Guitar Making! Archives
December 2022
Categories |


 RSS Feed