Wood glue works by soaking into the fibres of the wood pieces, bonding the wood together. Once it has been glued once, the fibre are saturated with dried glue, meaning that wood glue won't work successfully a second time. Epoxy or resin glue then has to be used, with this type of glue, the surfaces bond to the glue, rather than each other, and can often lead to a weaker join.
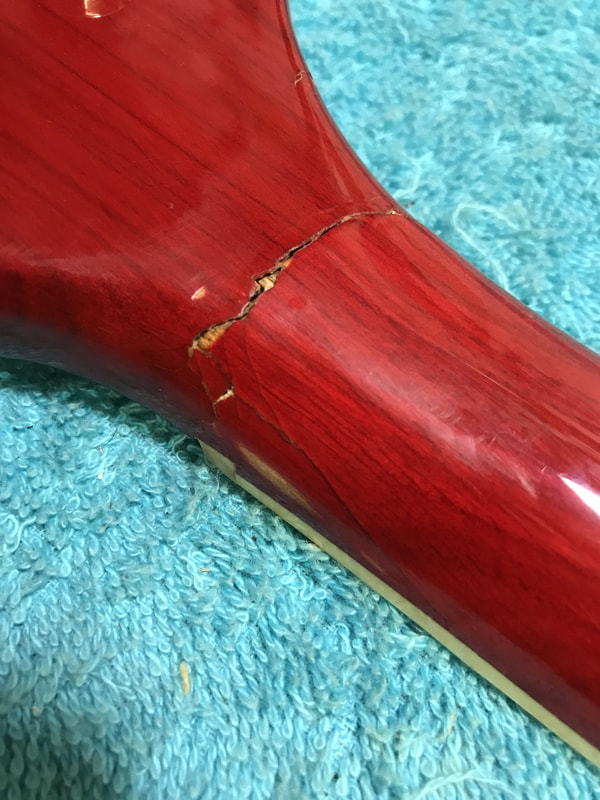
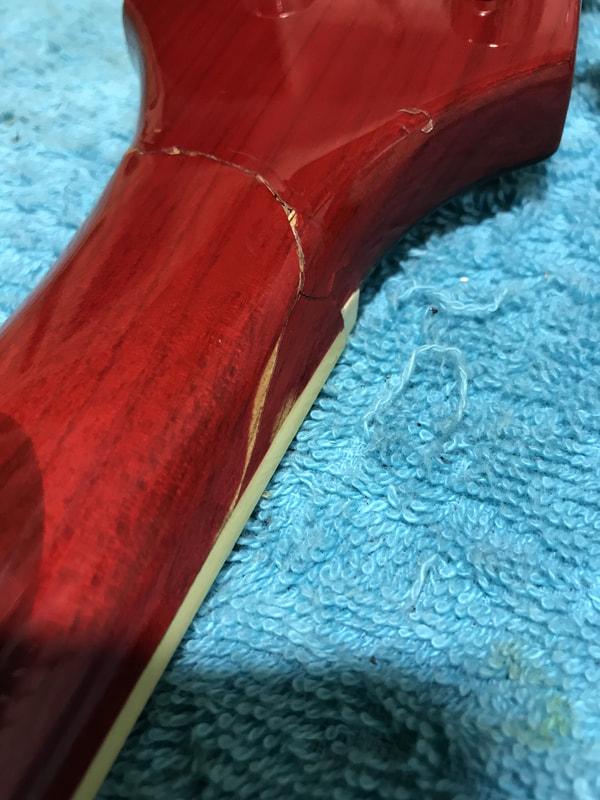
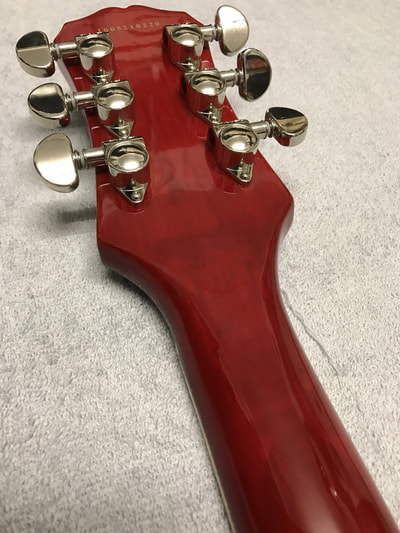
Note you can see where the original repair wasn't refinished and the repair had been smoothed back, exposing the wood through the red finish.
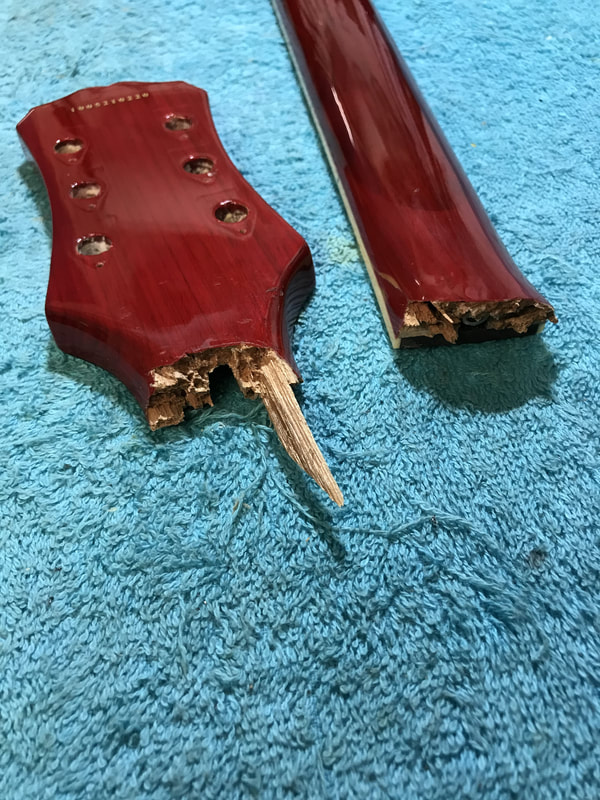
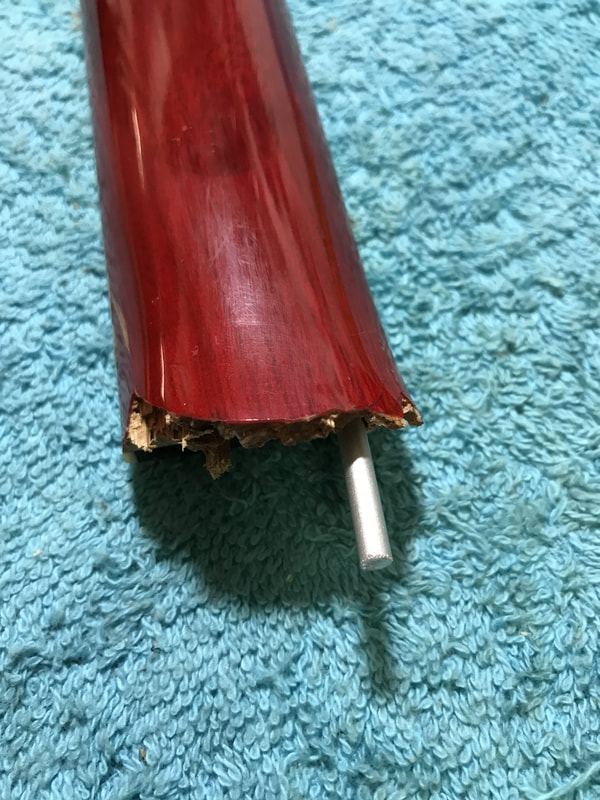
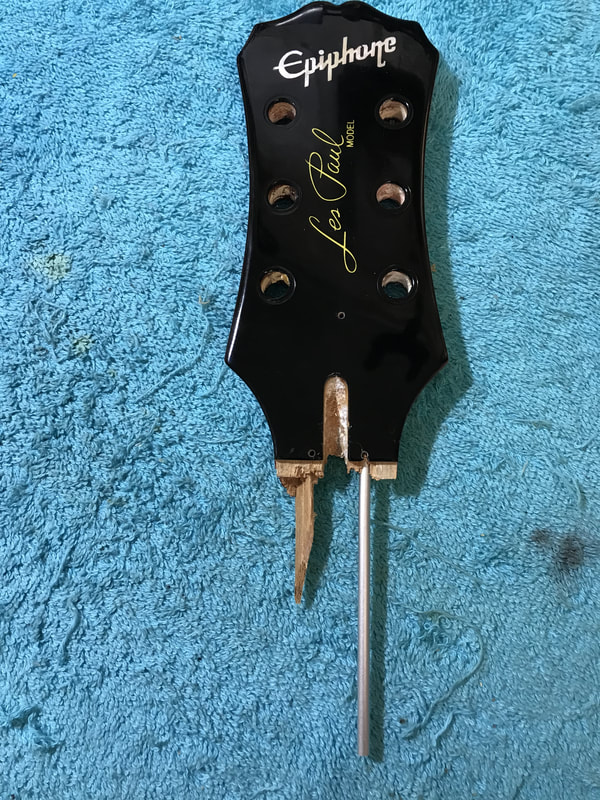
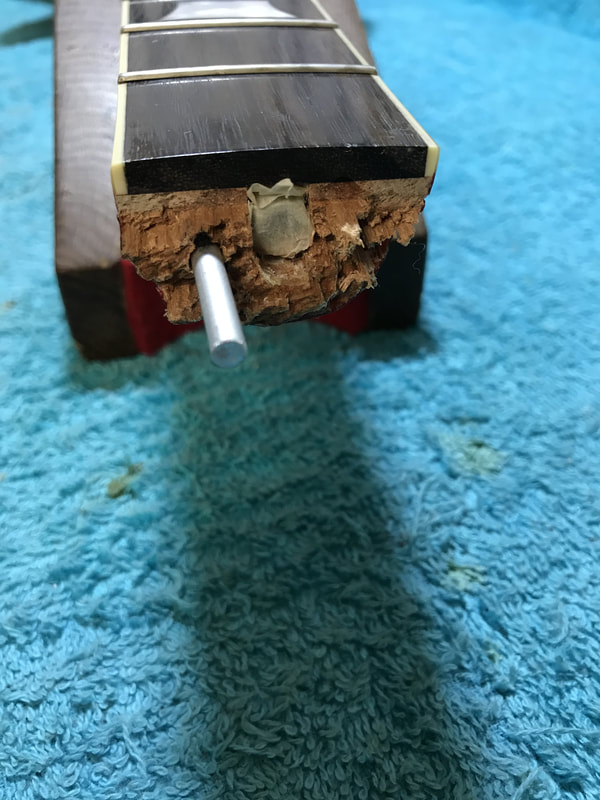
The only option for this repair was use of a re-enforcing aluminium rod, inserted down the neck and headstock, pinning the headstock to the neck.
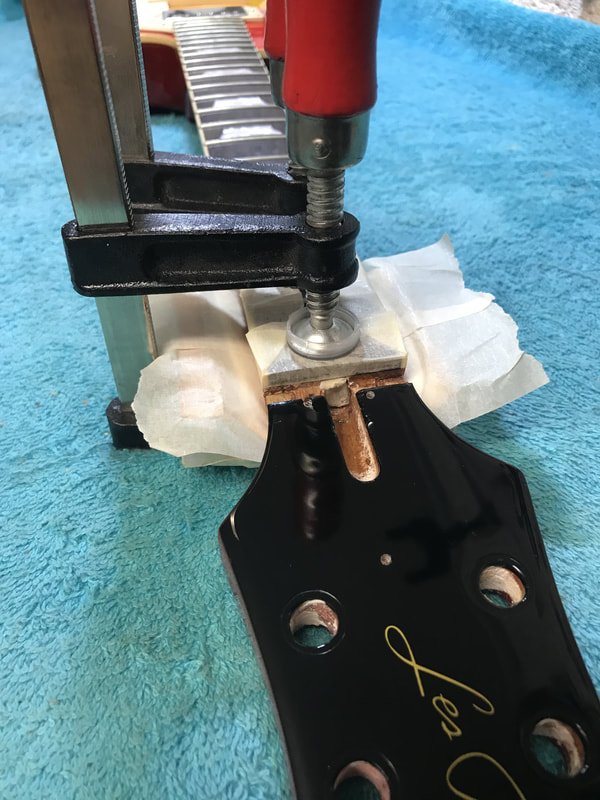
The photos show the various stages of the pinning, the actual final length of the rod was a lot shorter than the second photo.
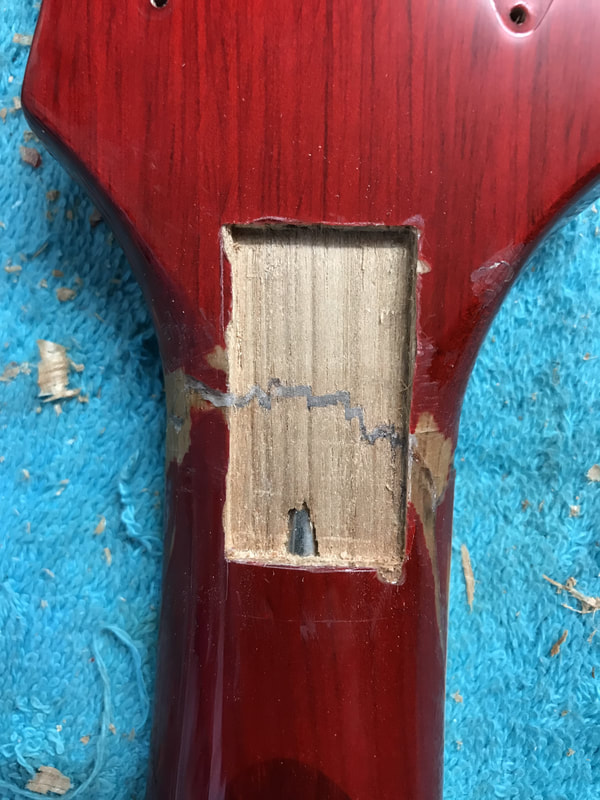
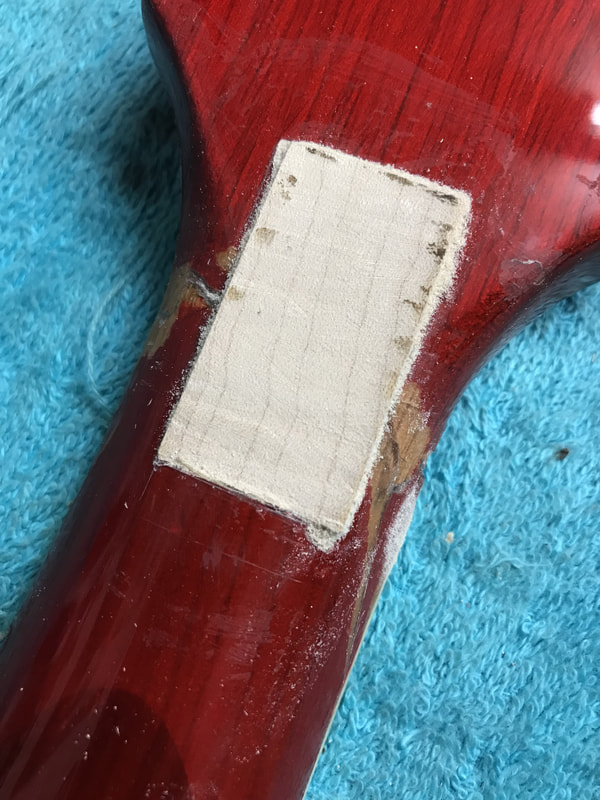
| With the aluminium rod cut to size and inserted, the joint was clamped up and epoxy glue was used to reattached the headstock to the neck. Due to the long splinter break down the neck, it was very hard to get the break completely joined flush with each other. With this in mind, an extra step was added to the repair, a maple insert was fitted into the back of the neck. This served two purposes of hiding the crack join plus giving extra strength to the repair. |
The maple block was cut to size and then glue in, with the excess cut off flush once the glue had set. It was then shaped into the contour of the rest of the surrounding neck.
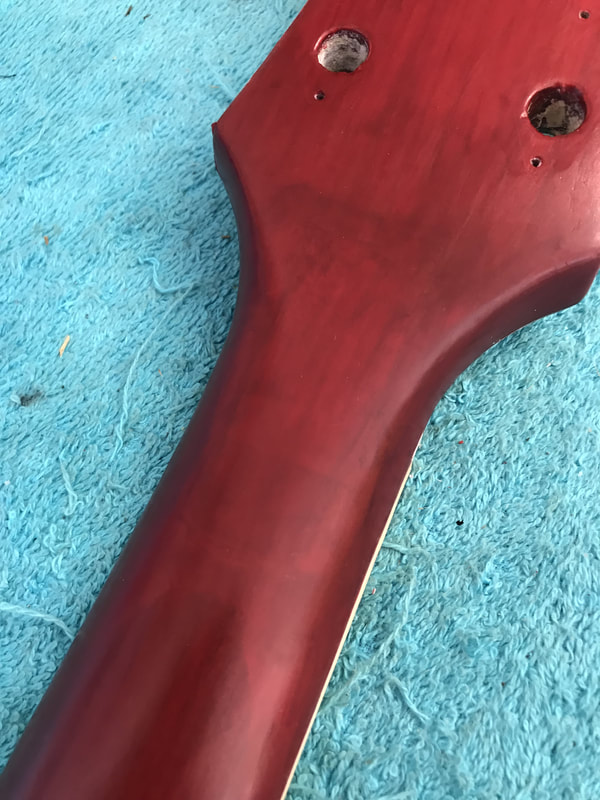
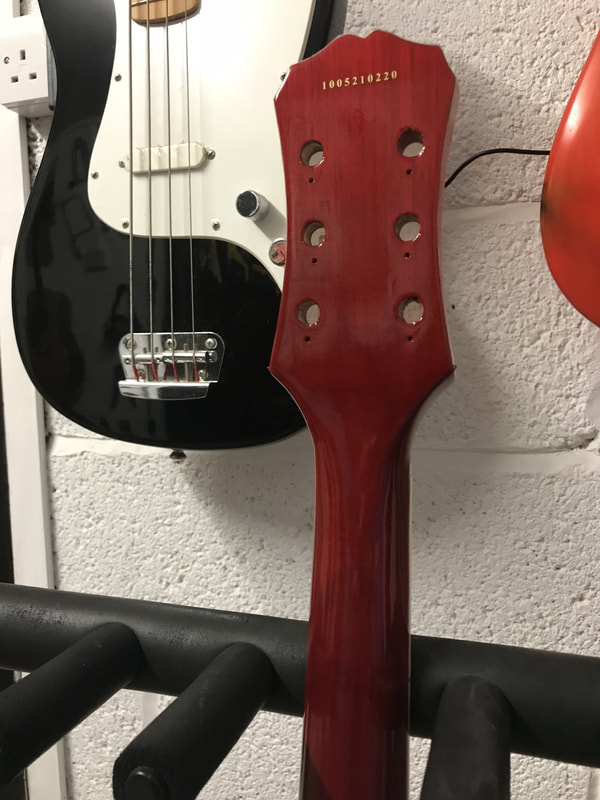
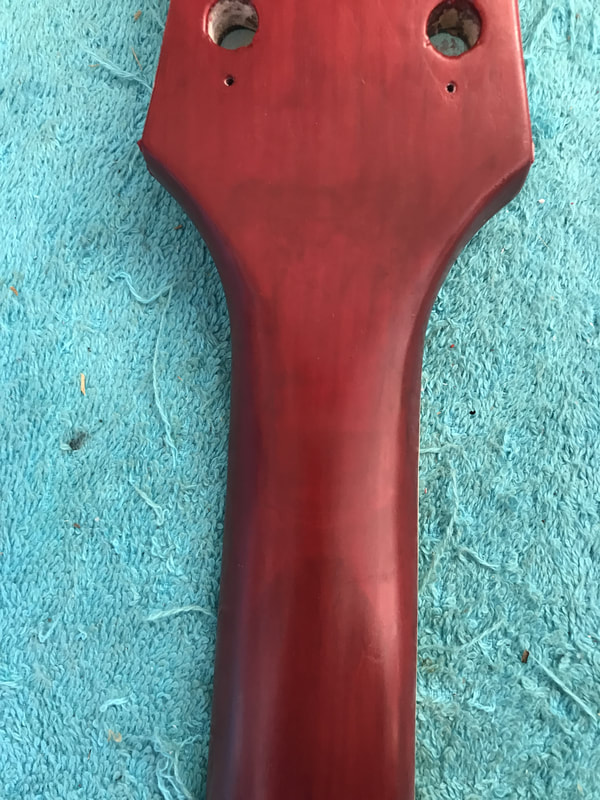
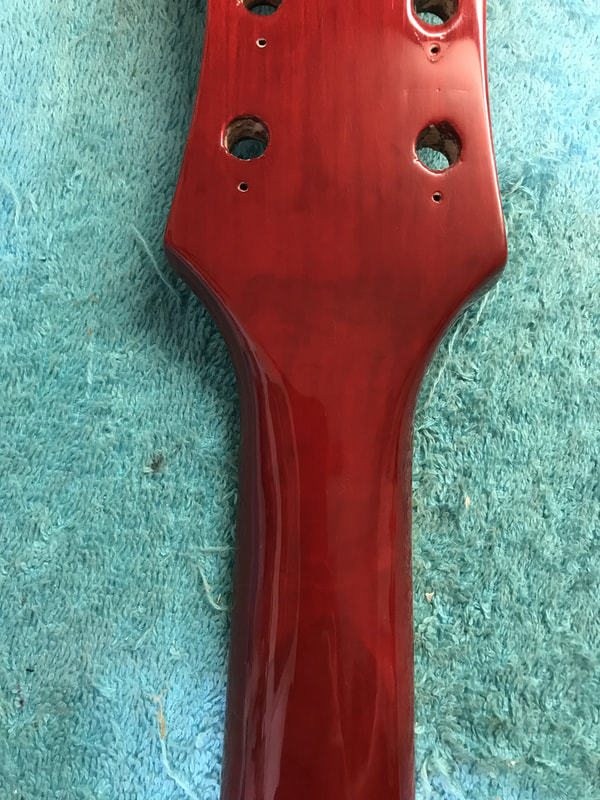
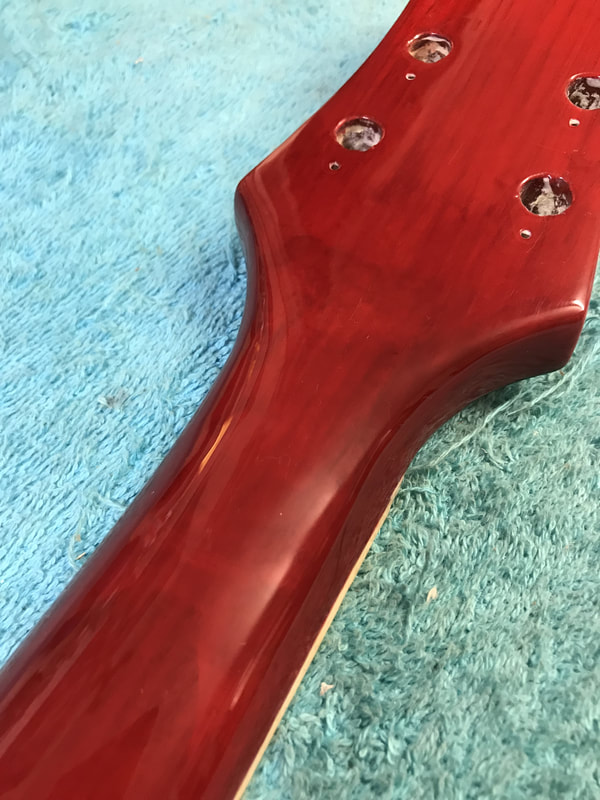
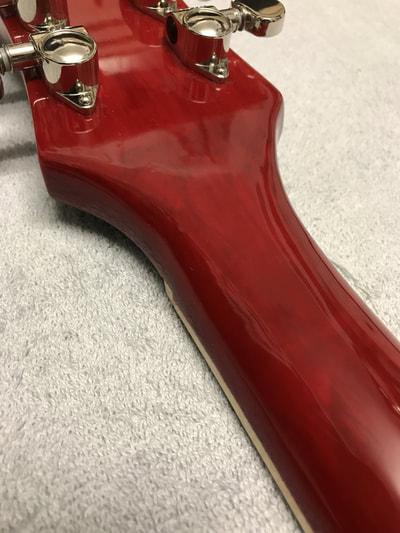
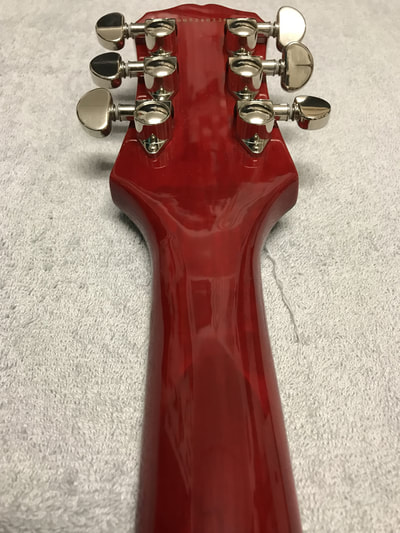
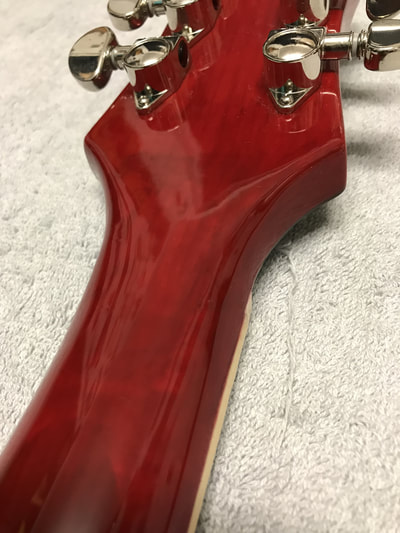
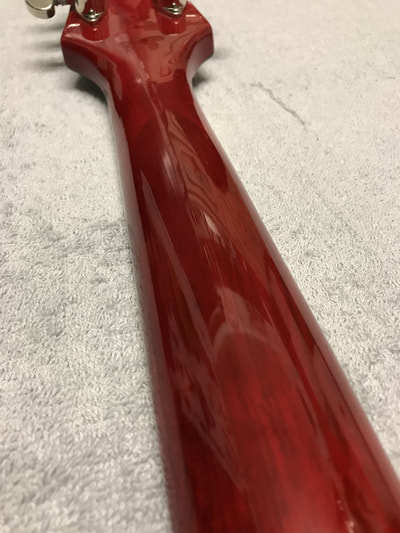
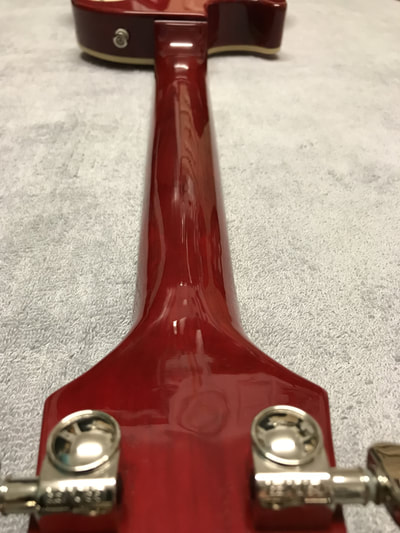
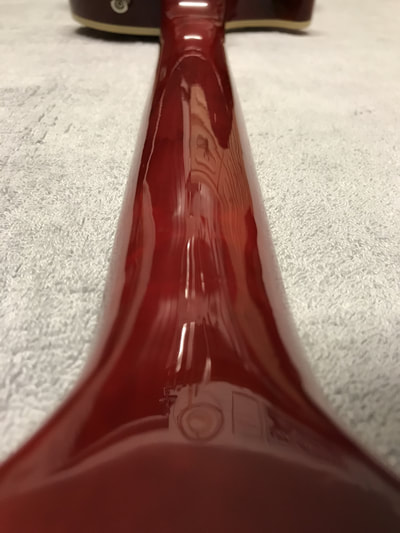
| Once the neck had been joined, the second phase of the repair could begin. This was refinishing the neck break, hiding the repair work and the maple insert in the process. Translucent red finish can be quite an awkward finish to work on, as the balance needs to be found between blending out the repaired area, without it being a solid block of colour, which is not in keeping with the rest of the guitar. Once the lacquer had been sprayed, it was left to cure and sink, before it was flattened back and polished to a high shine. |

 RSS Feed