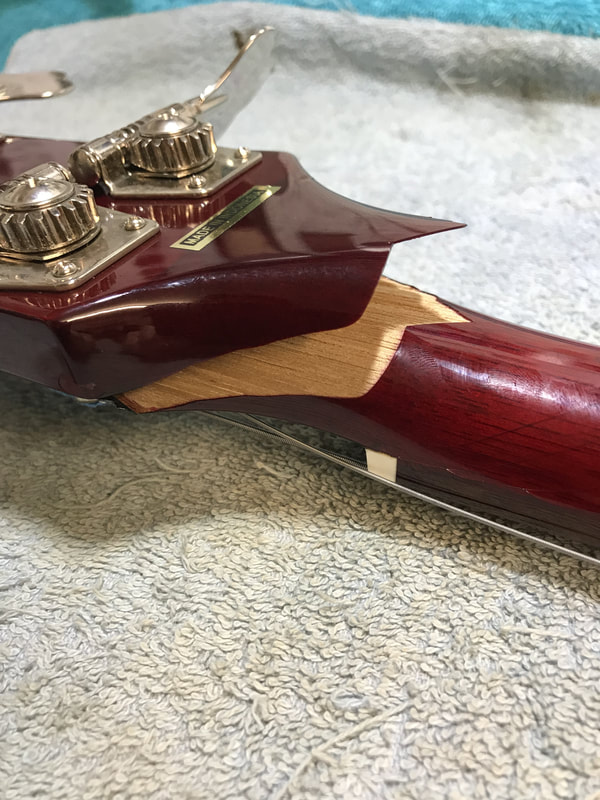
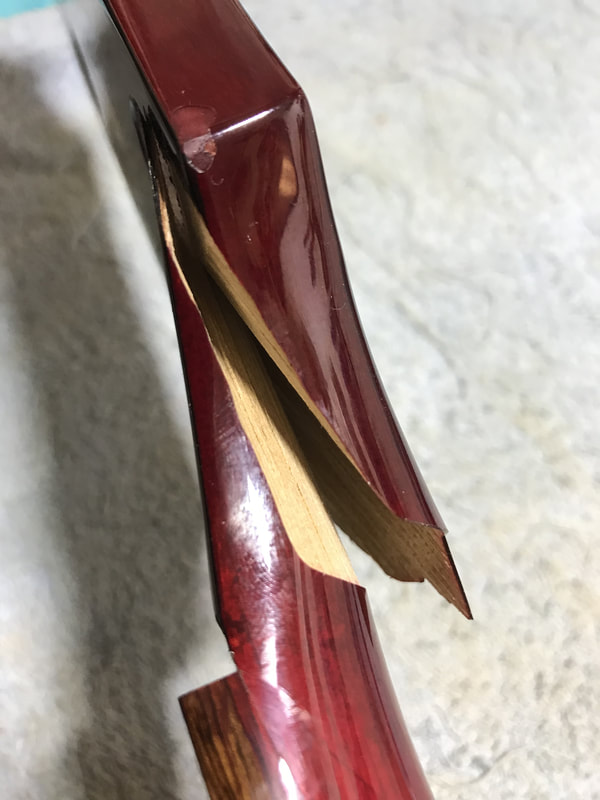
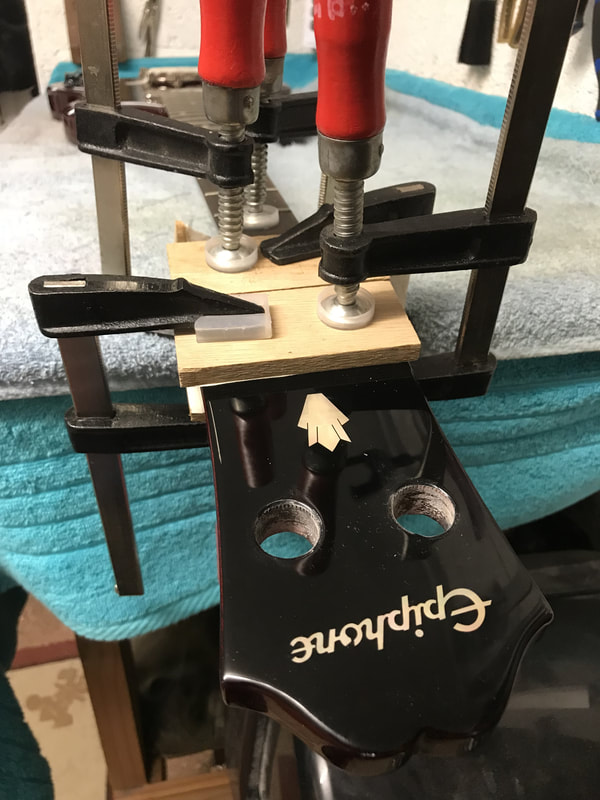
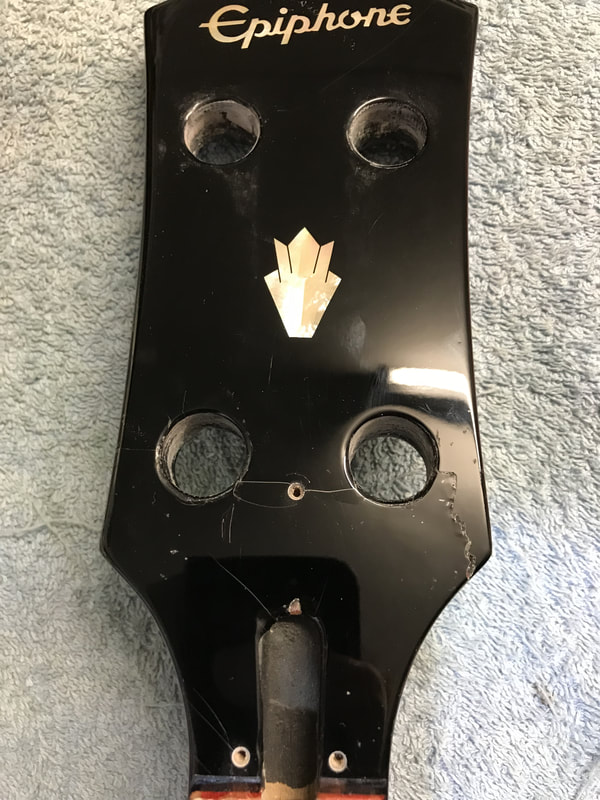
| Although the break was visually bad, it actually was a clean break, which made the repair a lot easier. The first job was gluing the headstock back onto the neck, this was achieve with carefully placed clamps and purpose made jigs. Once the glued joint was left to set for 48 hours, the clamps were removed and the joint cleaned of excess glue, ready for the challenging yet fun part of the repair, working to hide the break by refinishing |
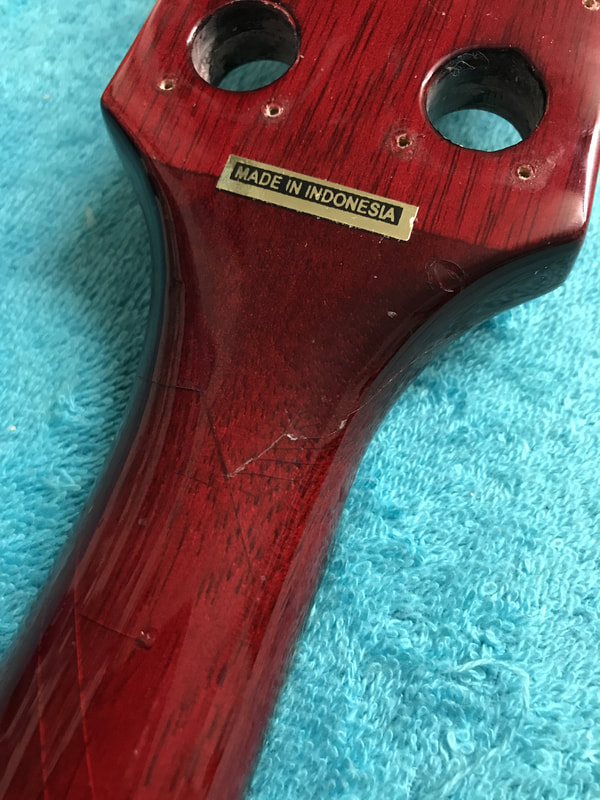
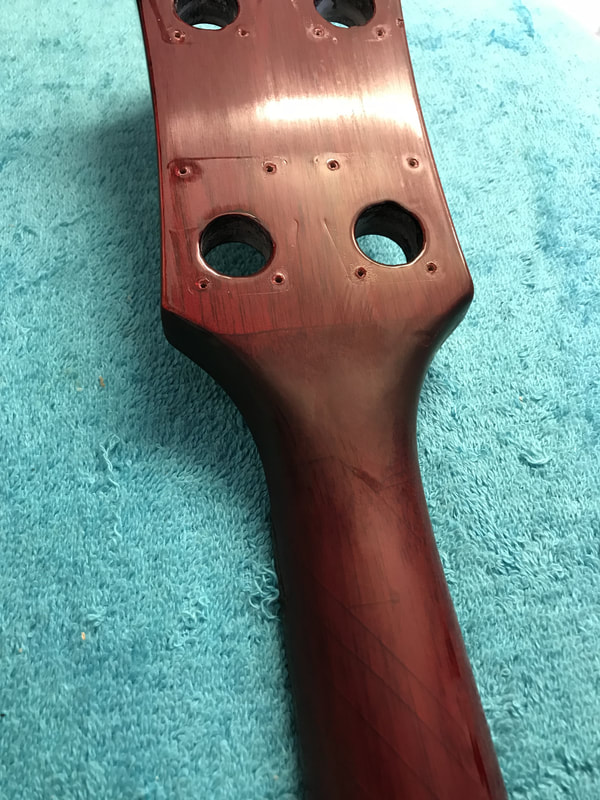
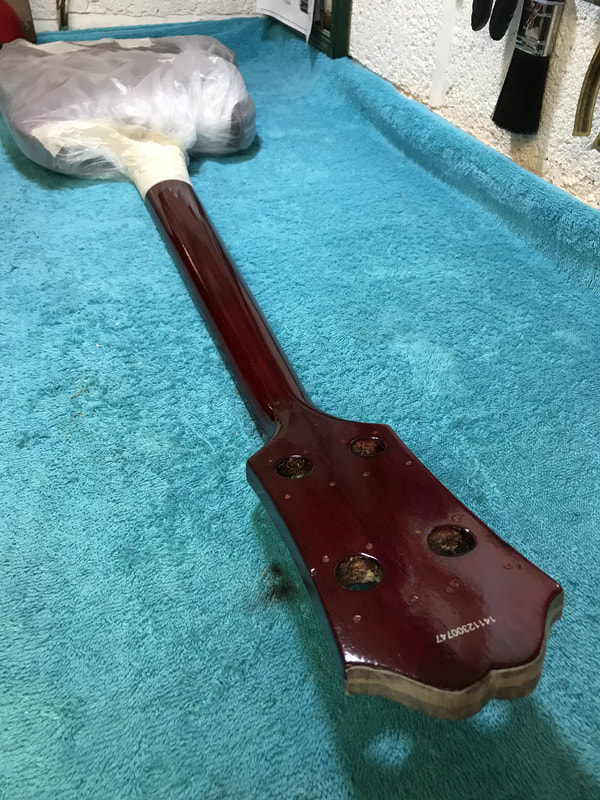
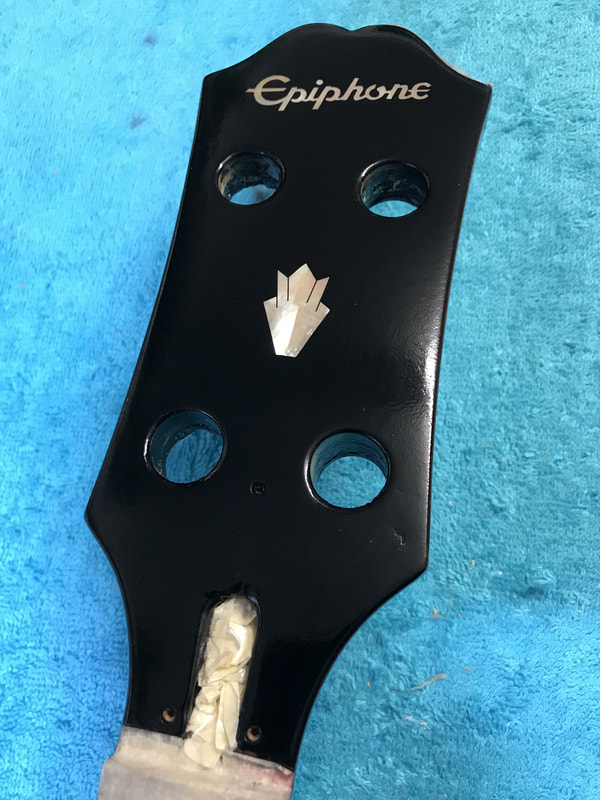
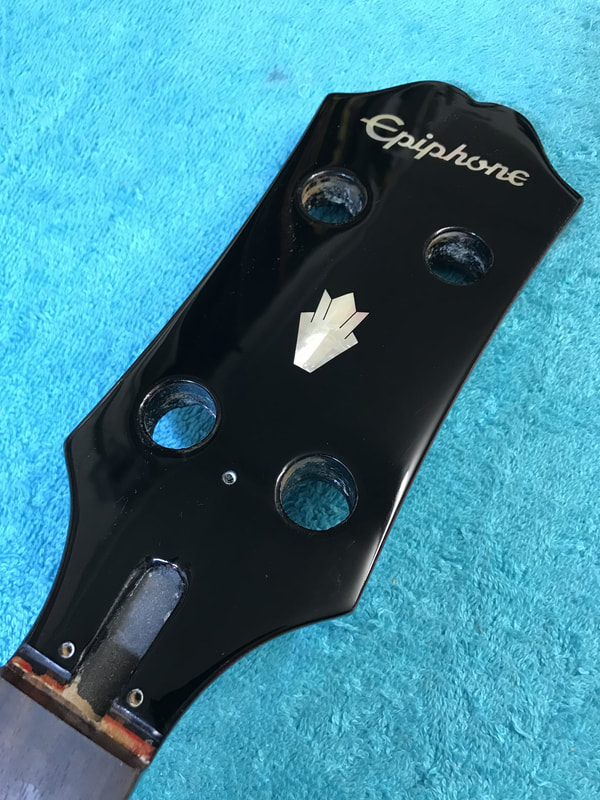
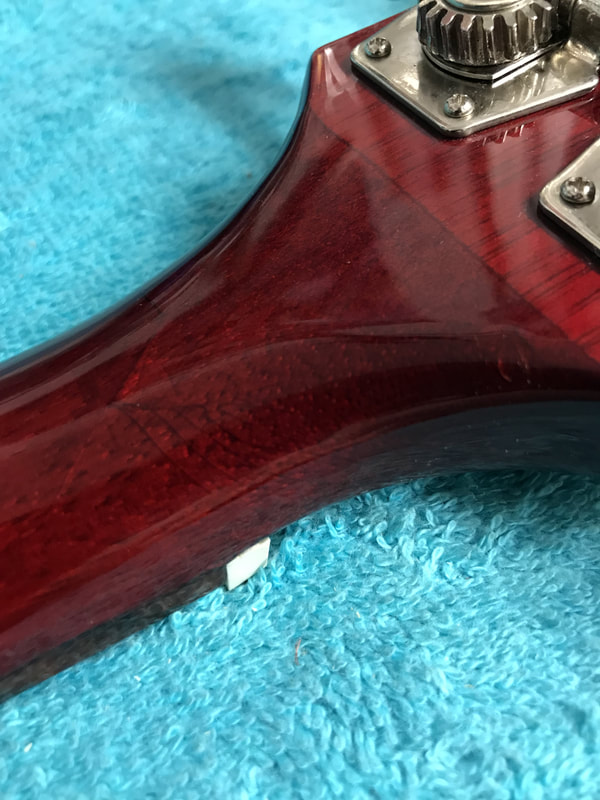
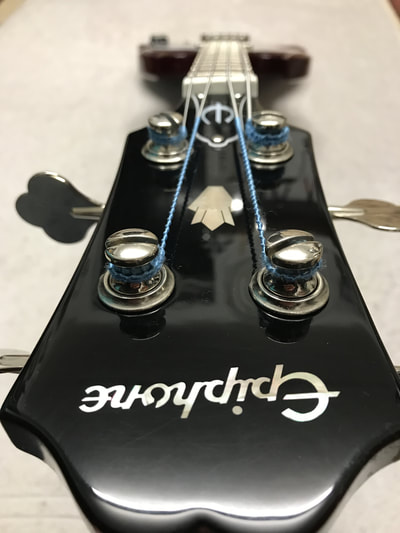
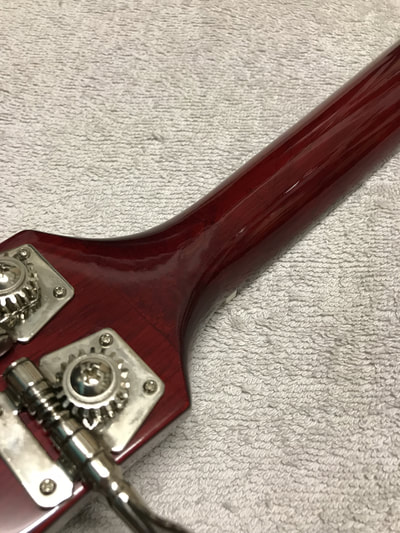
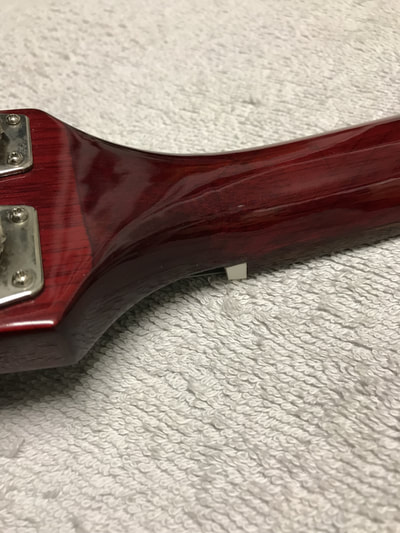
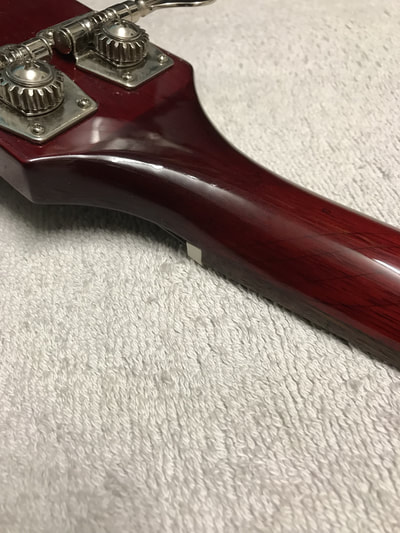
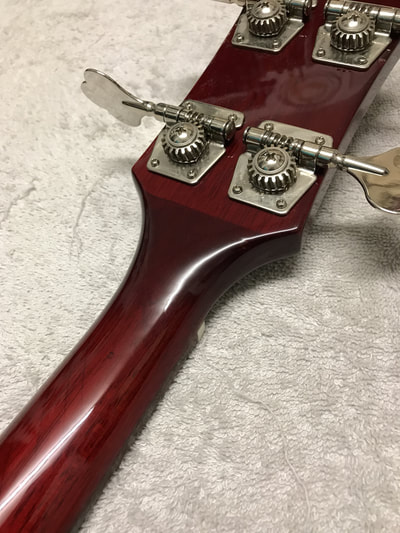
| The crack had joined extremely well, this makes the refinishing the front and back of the headstock easier. The first step is colour matching the finish and blending it over the crack, hiding it in the process. Once happy with the appearance, the guitar is masked off and the lacquer is applied. After the final coat of lacquer has been sprayed, the bass was left for a week to allow the lacquer to sink and cure, before the flattening and polishing process could begin. |
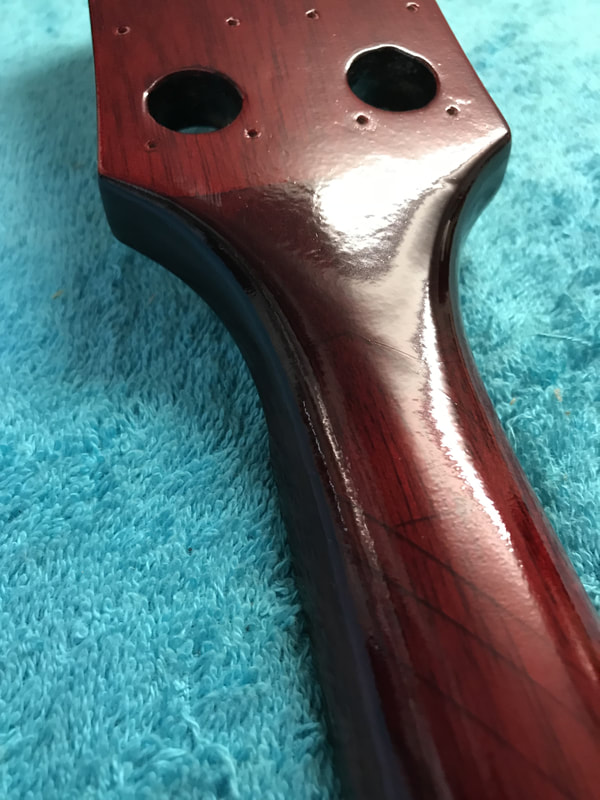
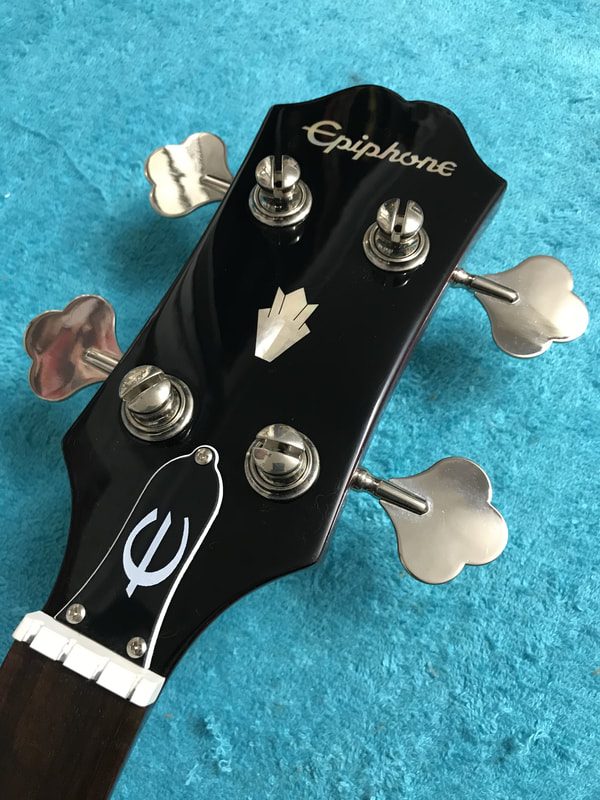
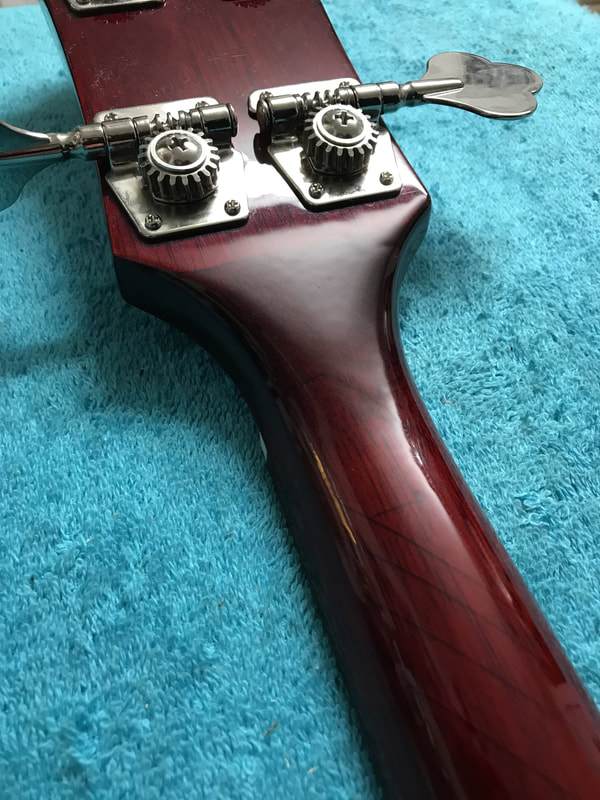
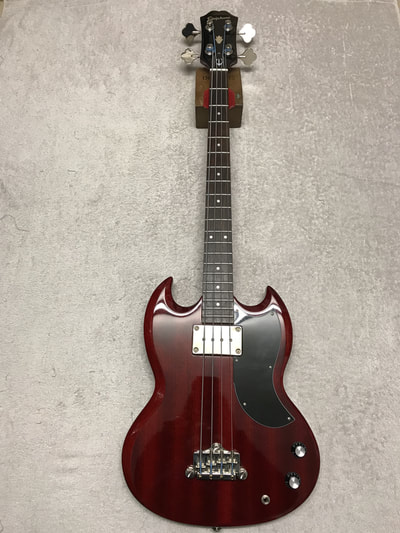
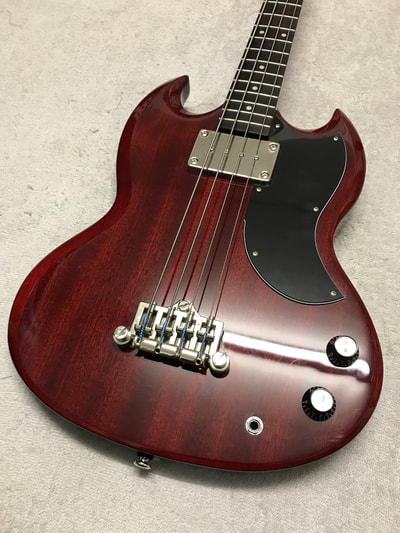
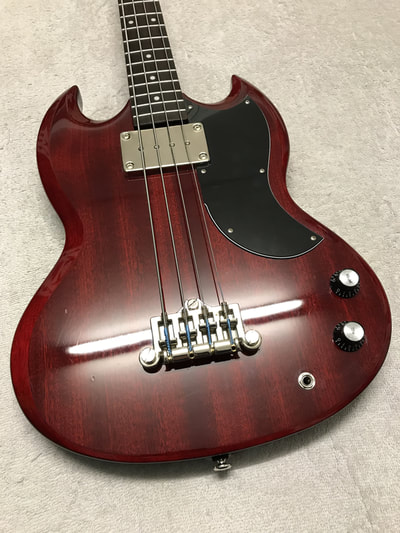
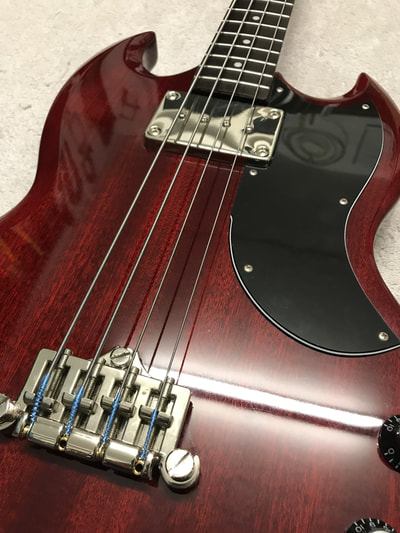
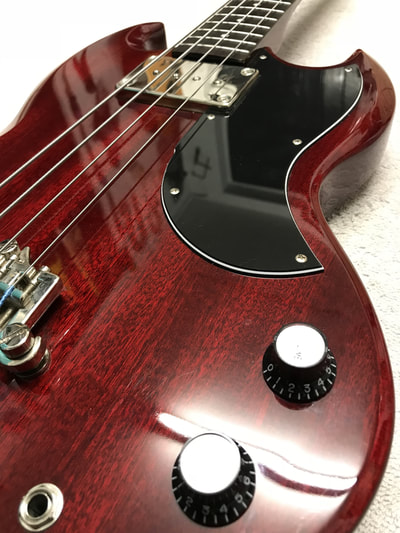
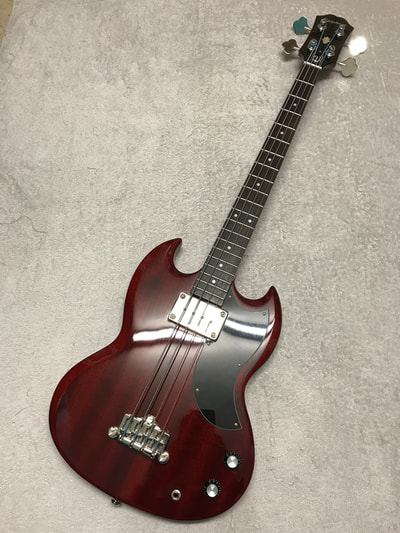
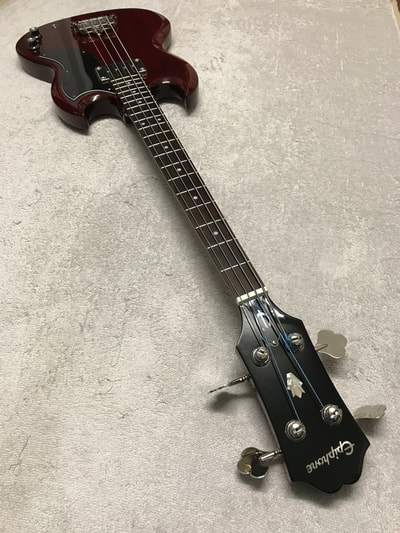
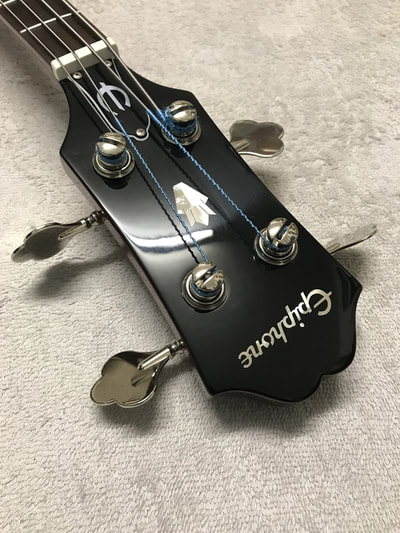
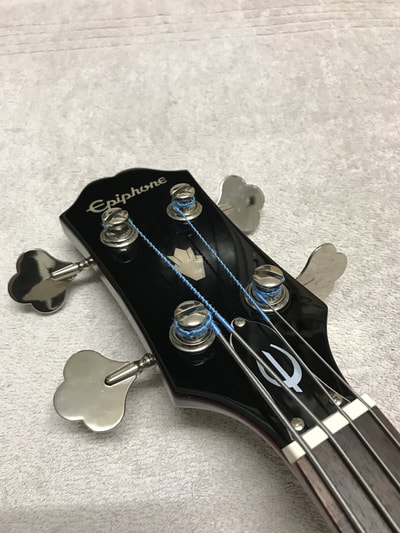
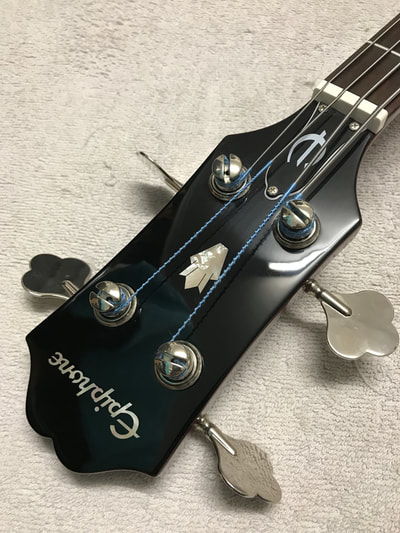
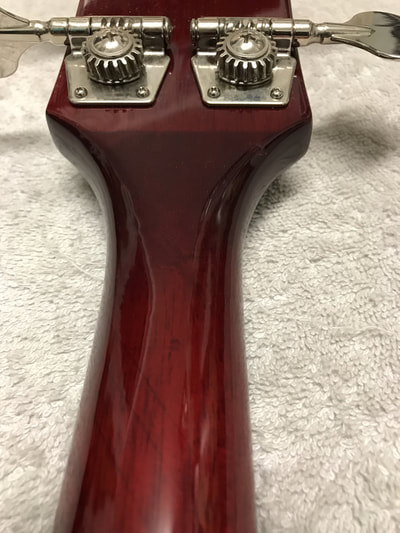
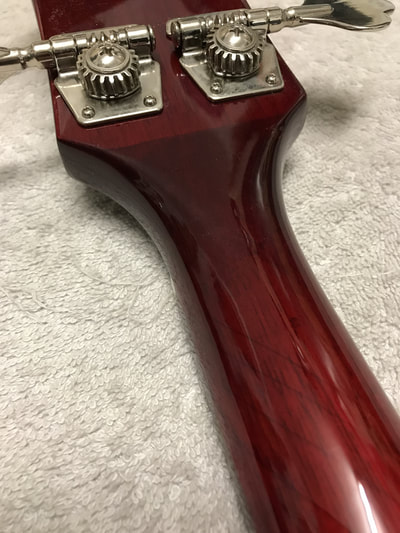
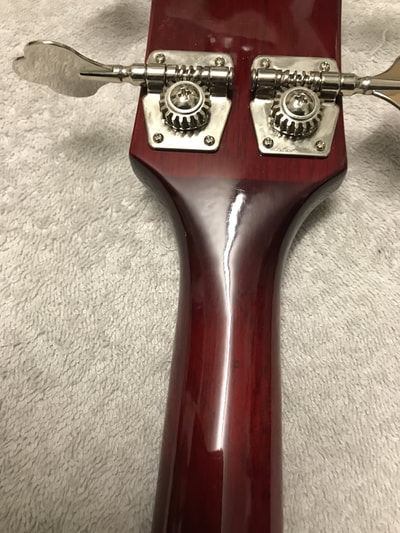
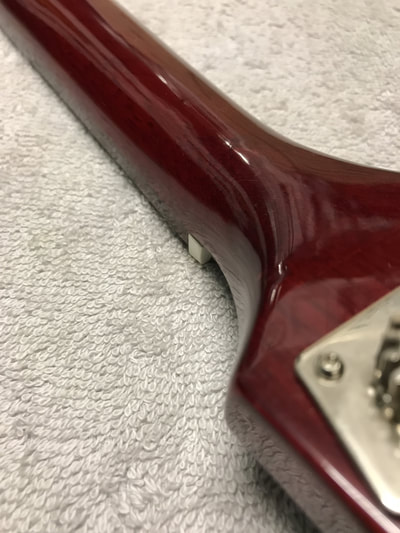
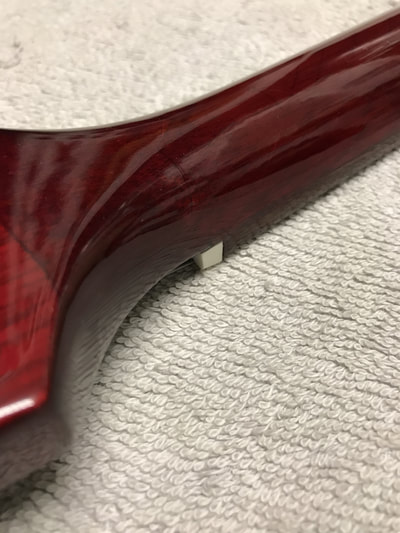
| !Once the lacquer had cured, the lacquer was flattened back to remove the 'orange peal' bumps present in the lacquer. At this stage any cracks in the lacquer are lost as it is smoothed back to a completely flat surface. It is then polished to a high shine, blending it in down the neck with the existing lacquer. The hardware was then fitted, and the bass was restrung with fresh strings. After a set wait period to make sure the repair was solid, the bass was ready to be reunited with it's owner! |

 RSS Feed